Inventory: Waste / Remove Damaged / Returned Products From Inventory #
Refer to this guide for managing product waste. “Wasting” an item removes it from inventory and records it as a loss. In this walkthrough, we’ll show you how to:
- Create Waste Reasons
- Waste an item using the POS
- Locate waste reports to track lost inventory
Navigate to https://login.lifelongpos.com/ #
Making Waste Reasons #
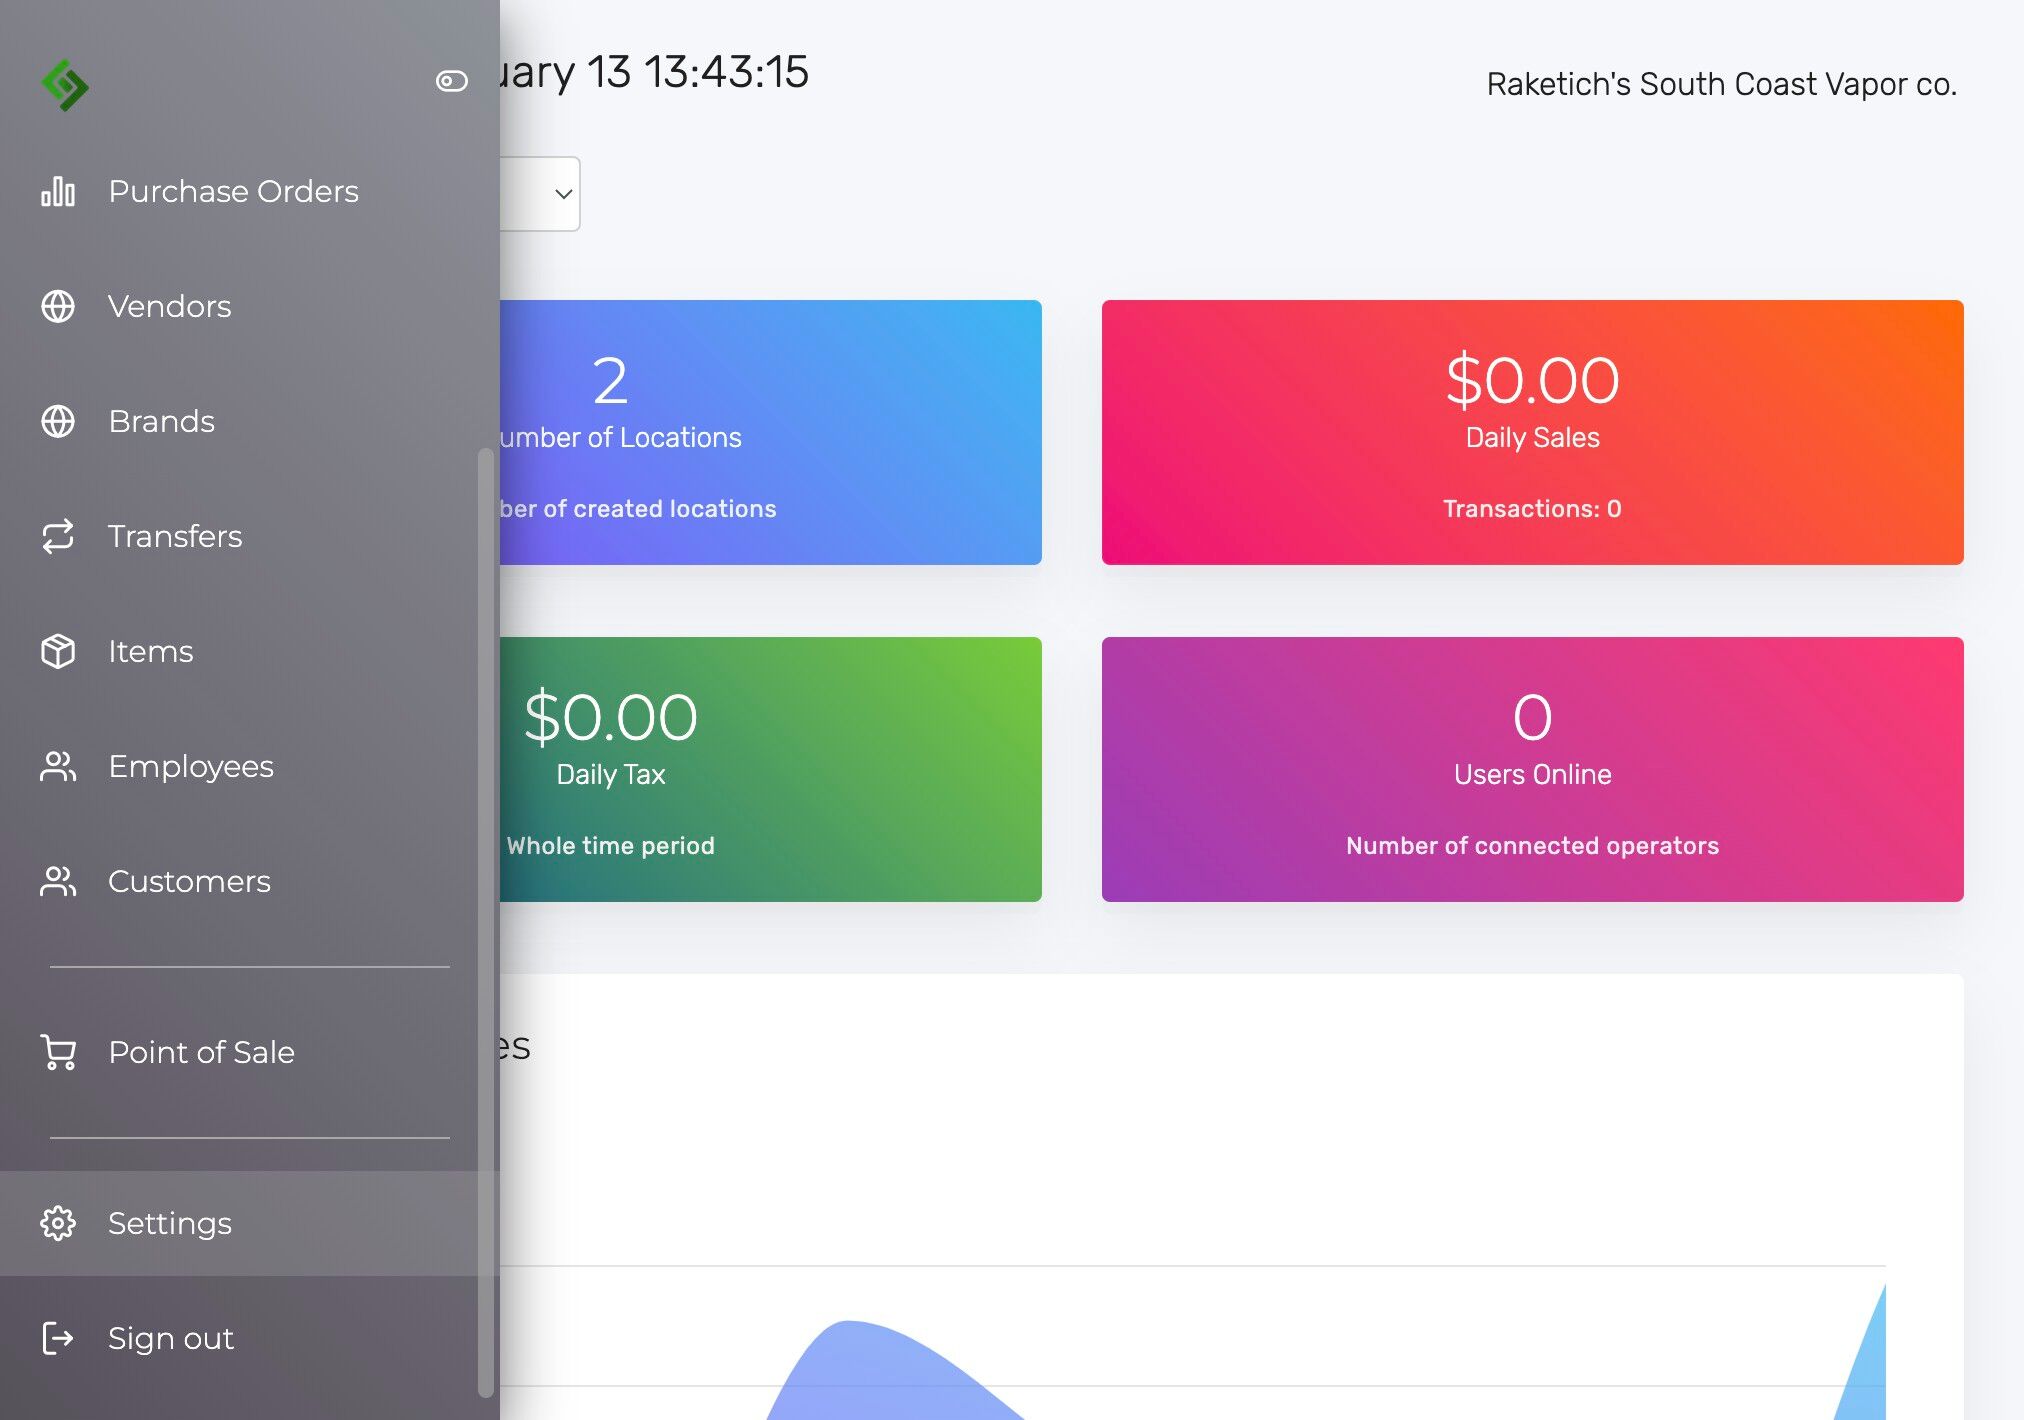
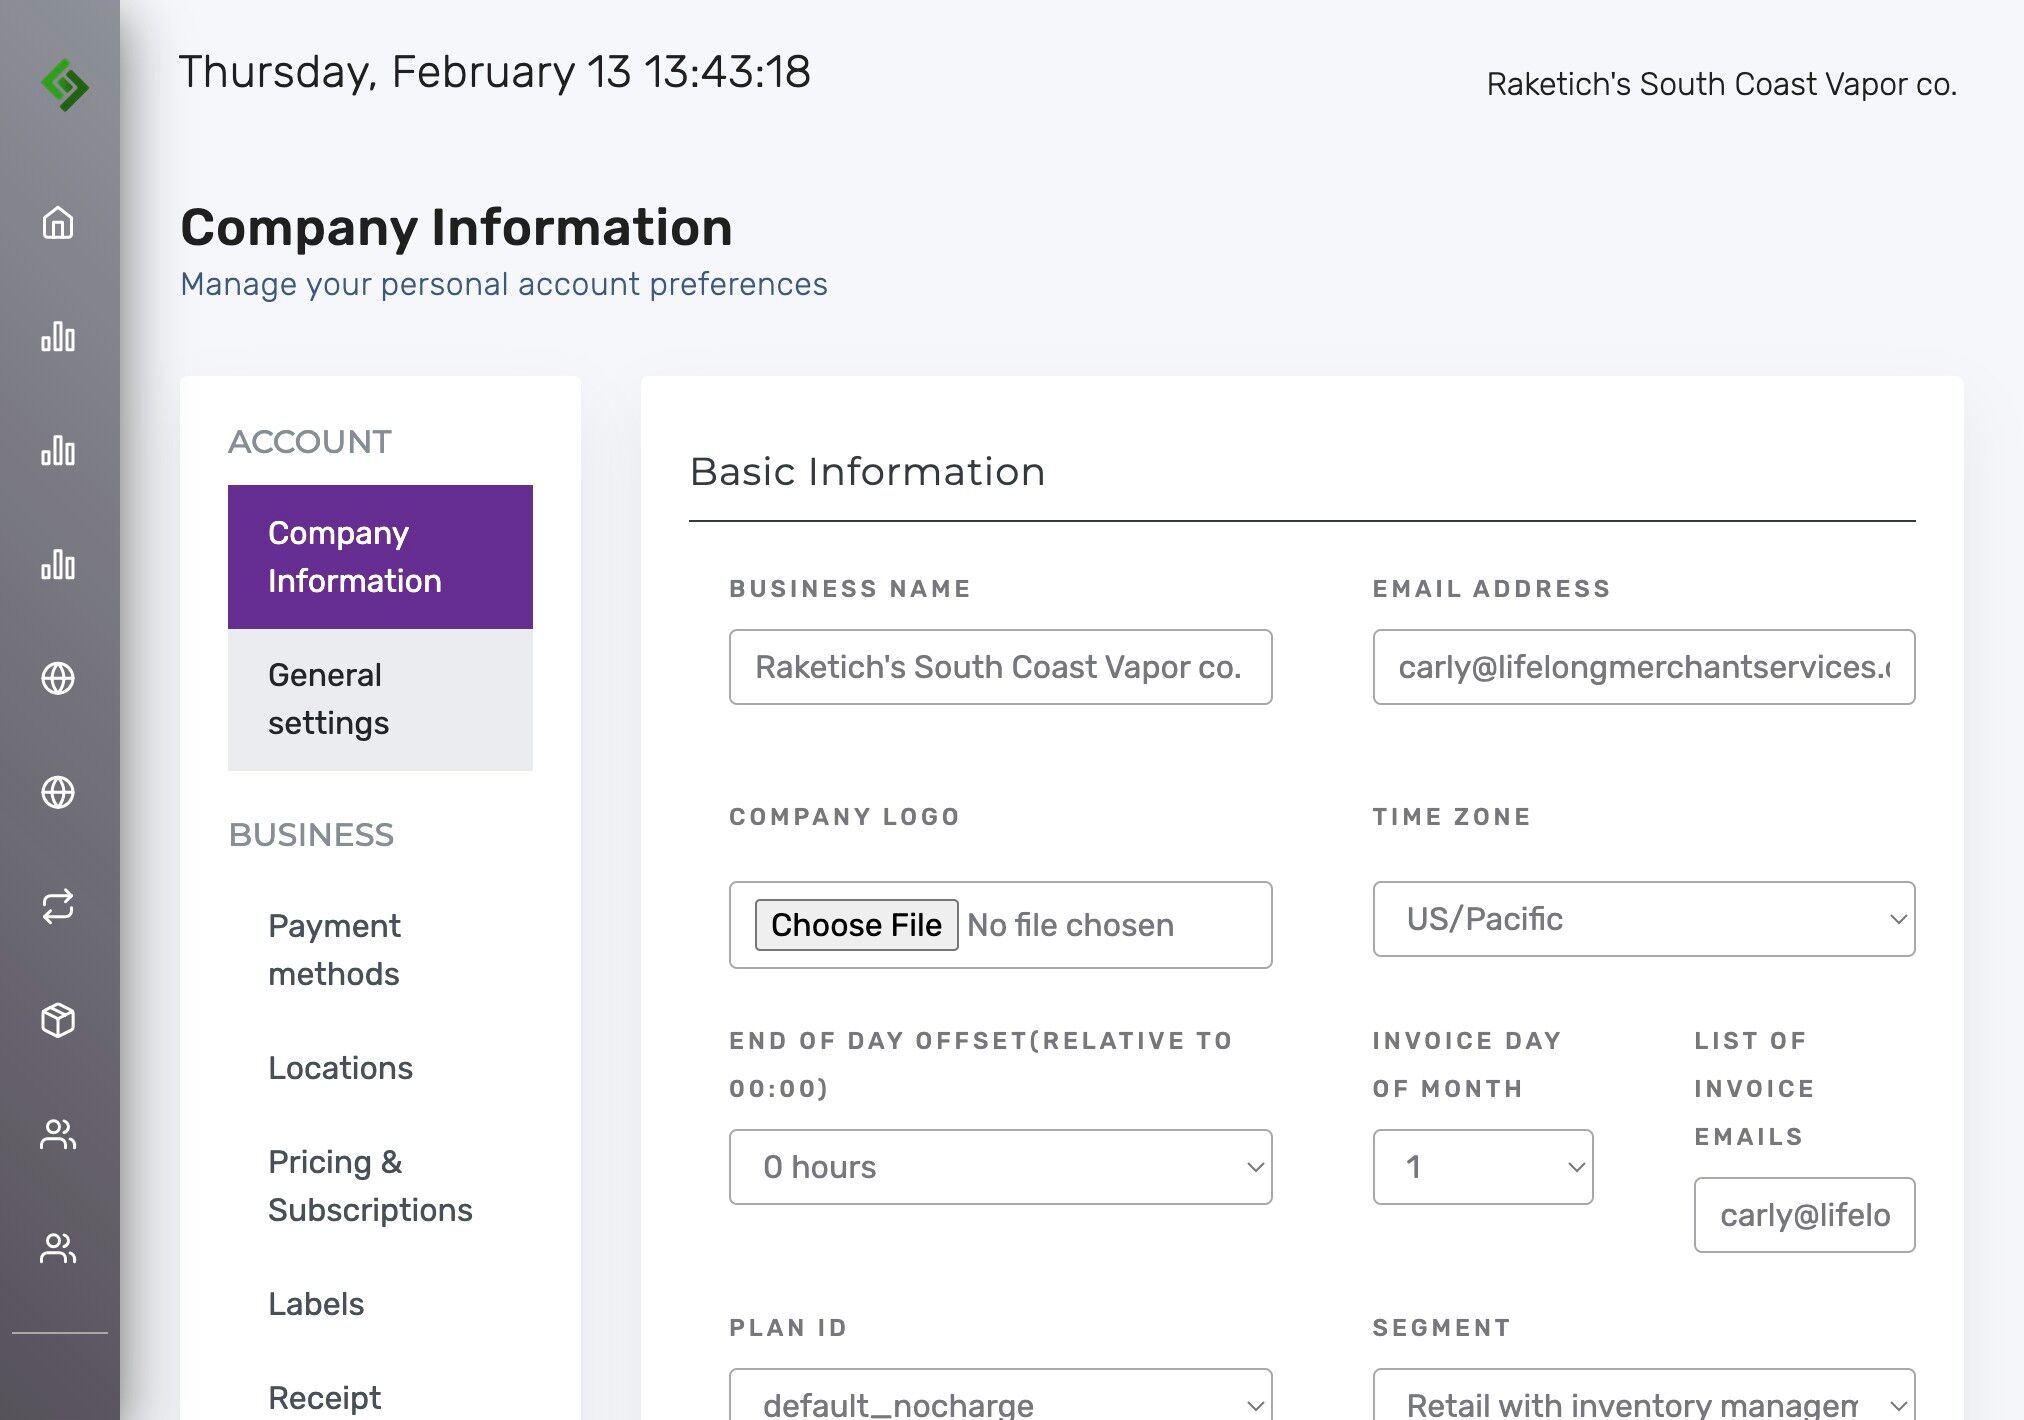
Click “Settings” on the left hand side of the page.
Click “General settings”
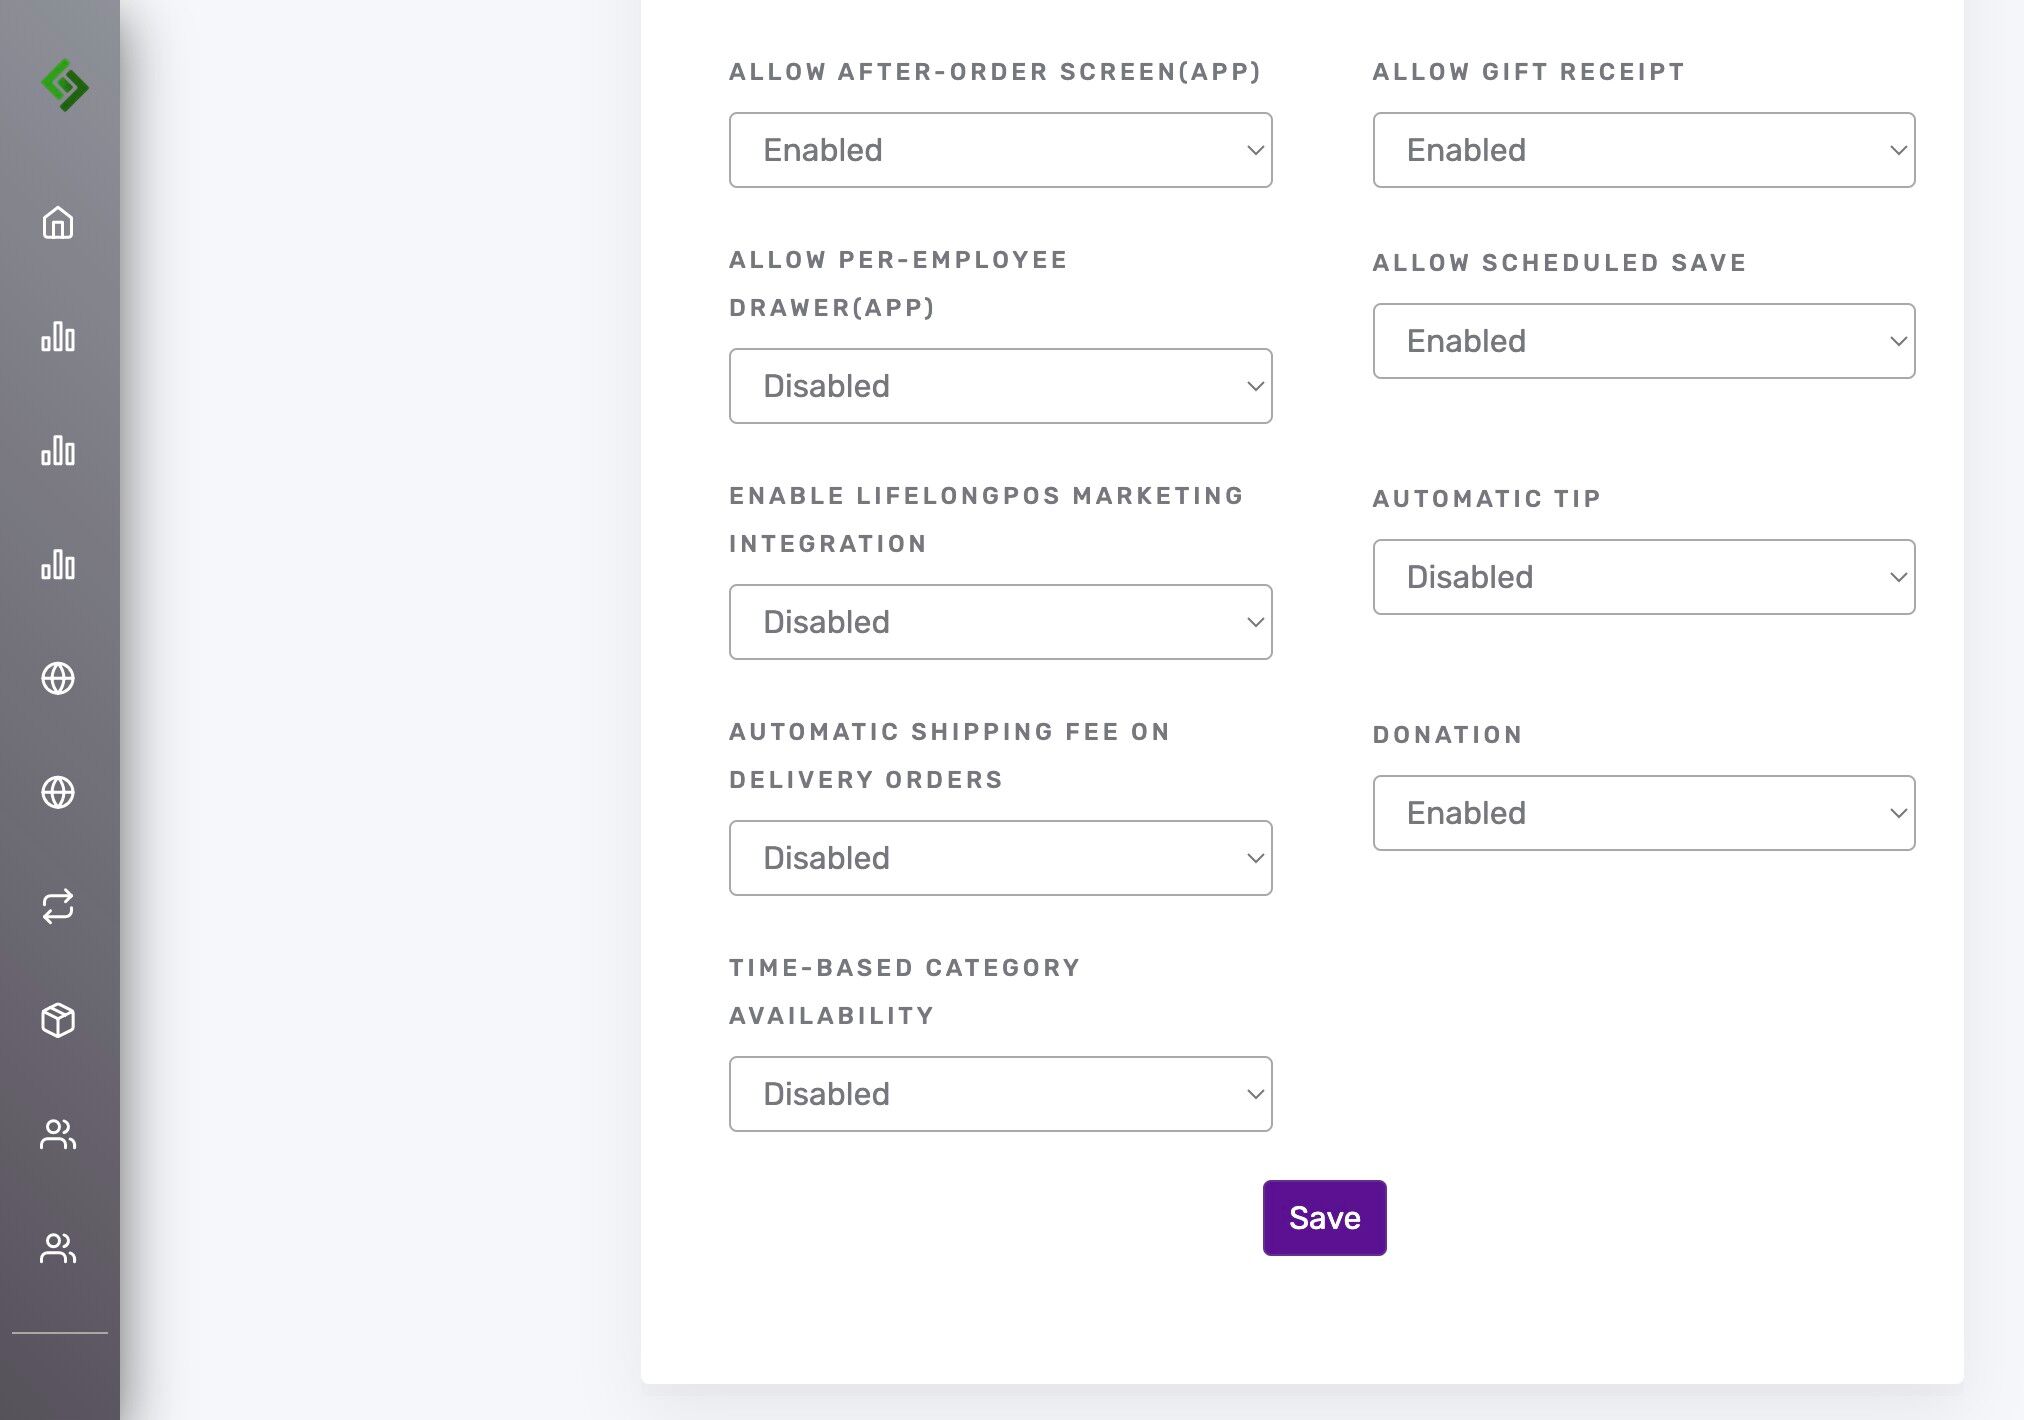
You can use Ctrl + F on Windows or Command + F on Mac to quickly find this setting header. Scroll down or search to find Sub Category headers below.
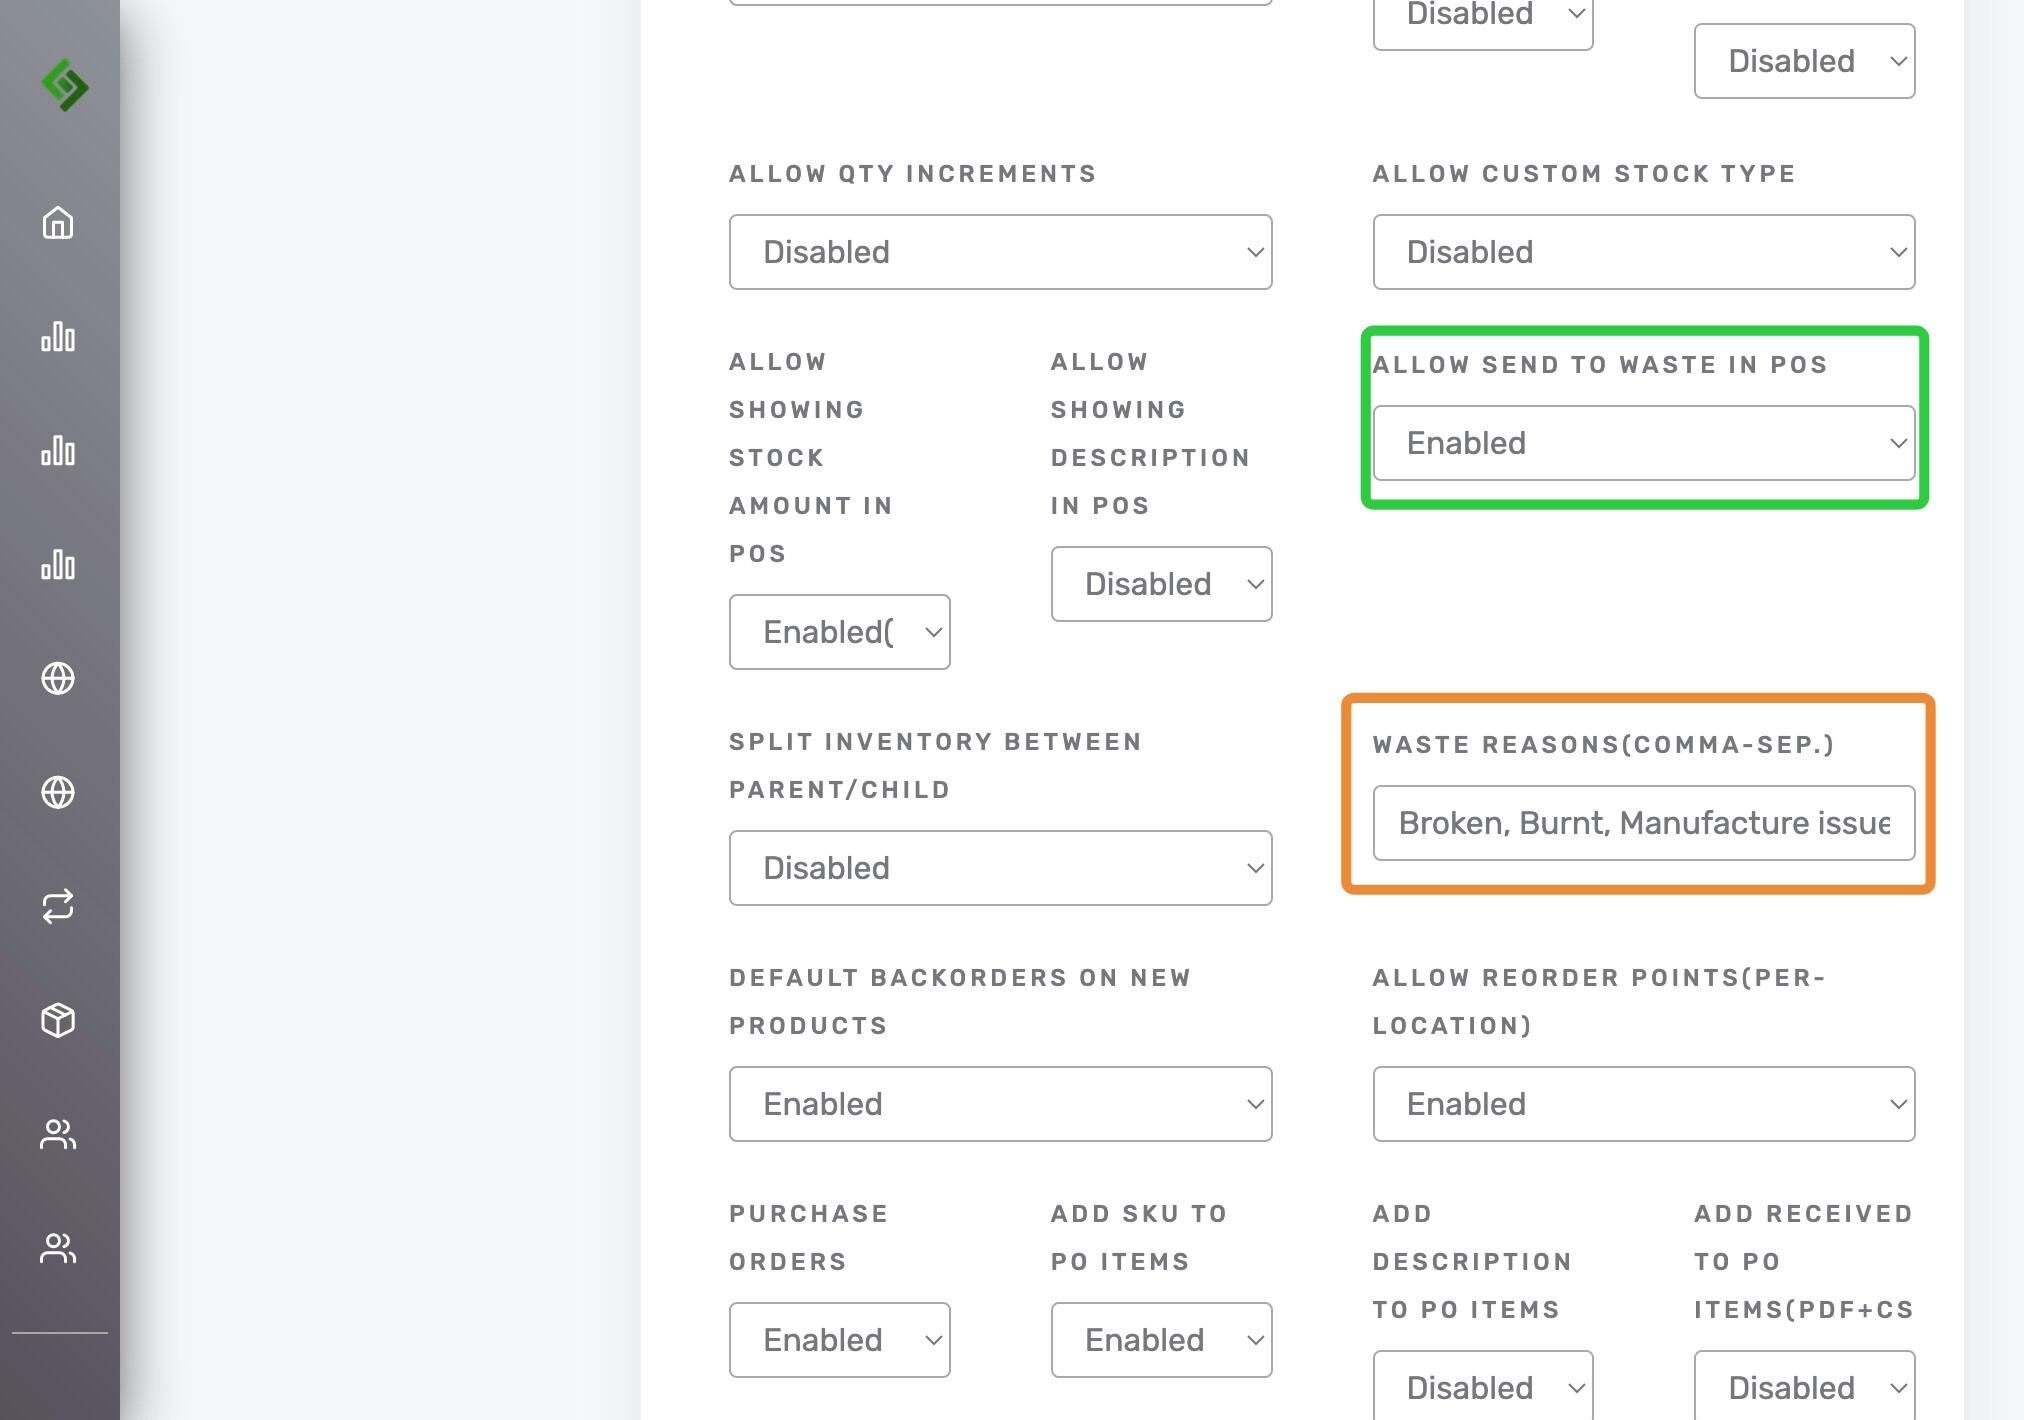
- Allow Send to Waste in POS: Click the dropdown to Enable.
- Waste Reasons: Create a list of common reasons why an item might need to be marked as “Wasted.” Example: Most clients use the waste function for disposable vapes. Common reasons include: Burnt, Leaking, Broken, or Manufacturer Defect.
- Make sure each reason is followed by a comma.
Slide Down to the very bottom of the page> Click “Save“
Wasting an Item on the POS App #
Important Notes on Wasting Products:
- Once a product is marked as “Wasted,” it is immediately removed from your inventory because it can no longer be sold.
- Refunds & Exchanges: Wasting an item is not the same as issuing a refund or exchange. If a refund is being processed, the item should be wasted afterward as a separate step to ensure accurate inventory and loss tracking.
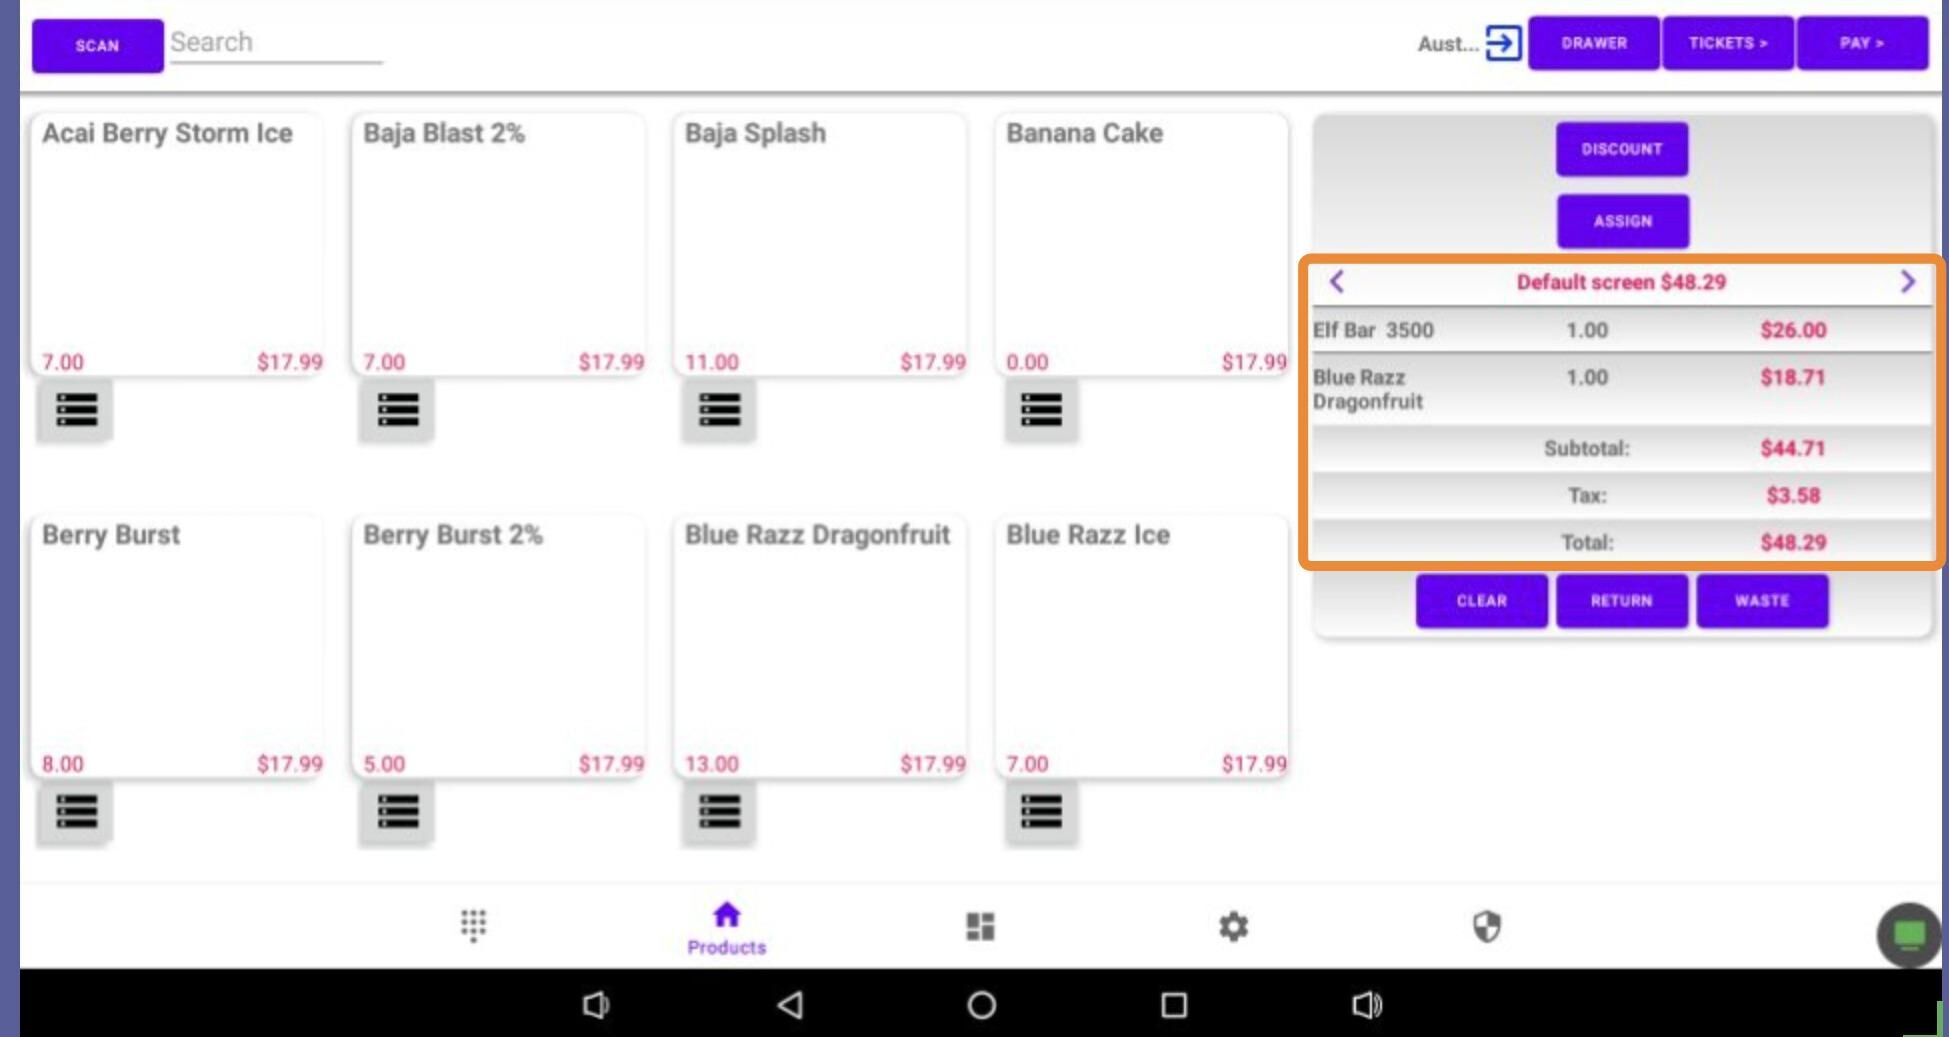
On the Lifelong POS register, add any items you wish to waste. These items will be deducted from inventory and automatically recorded in the Waste Report.
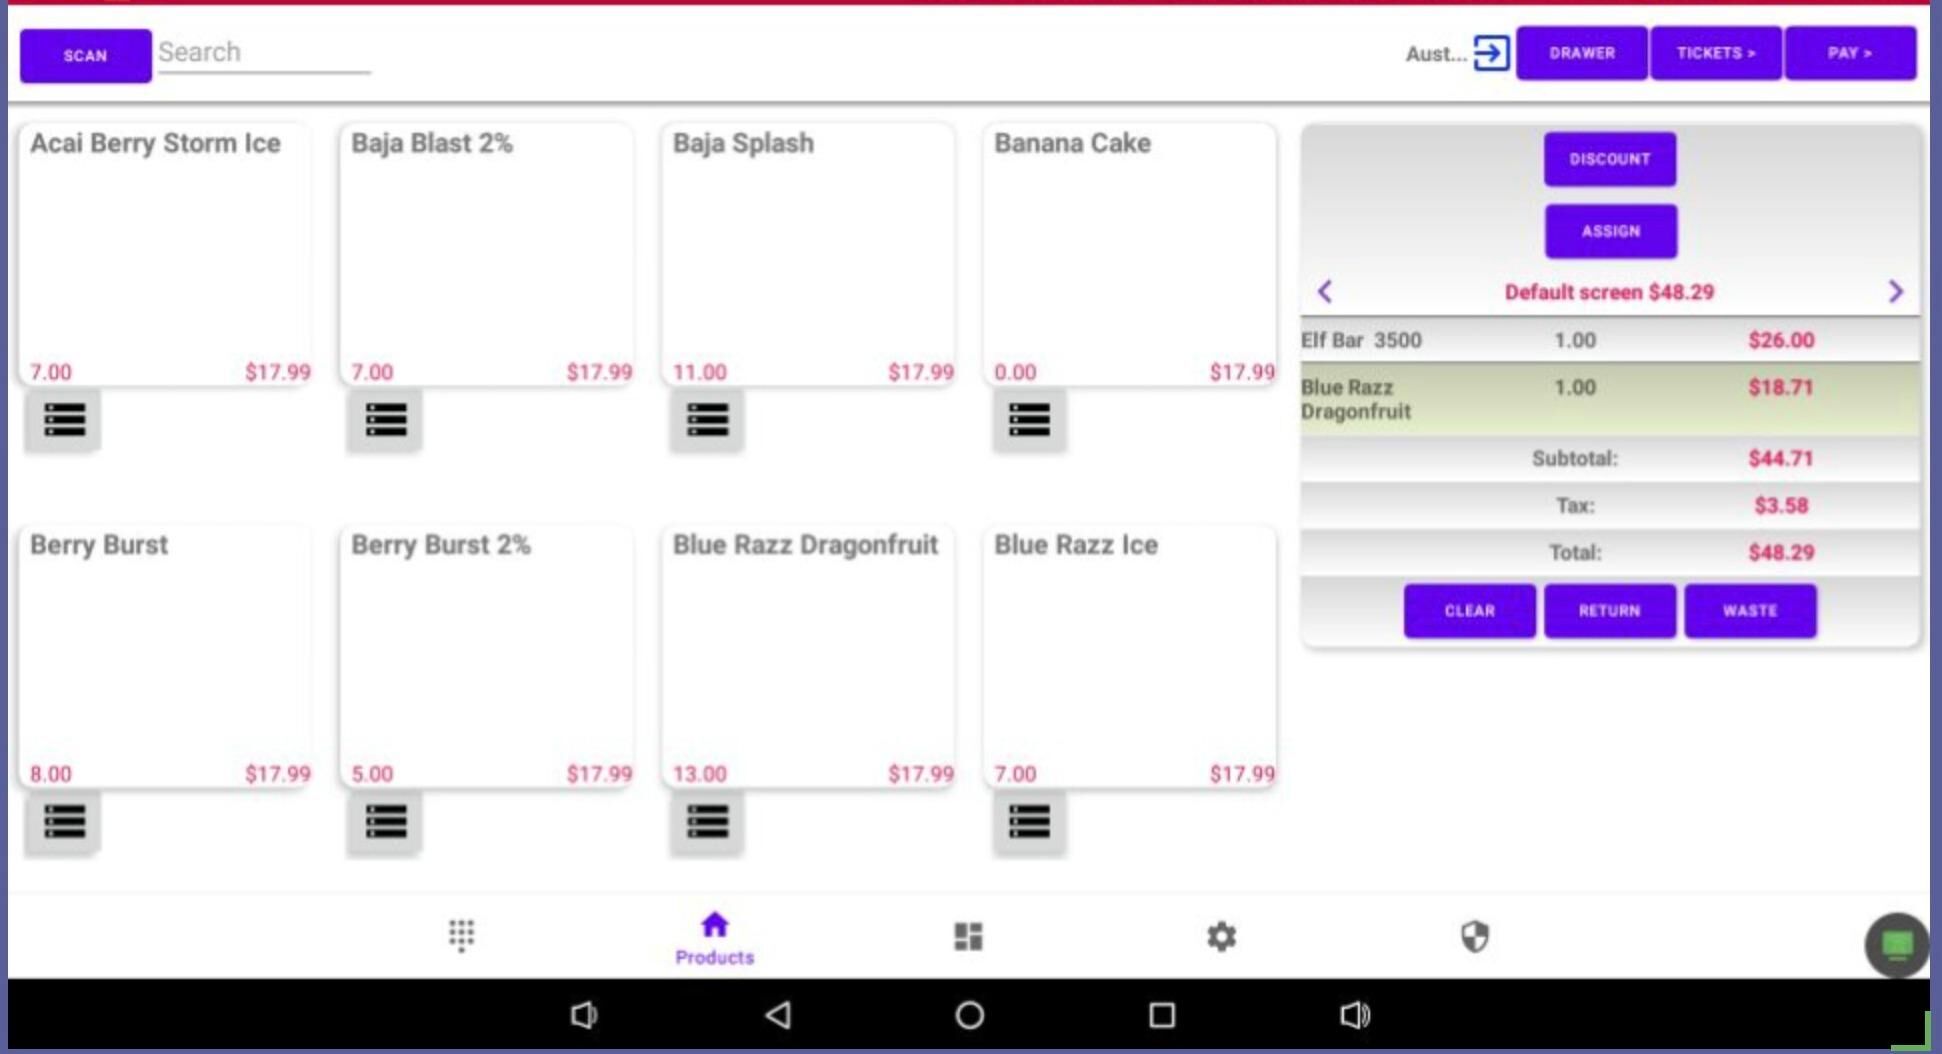
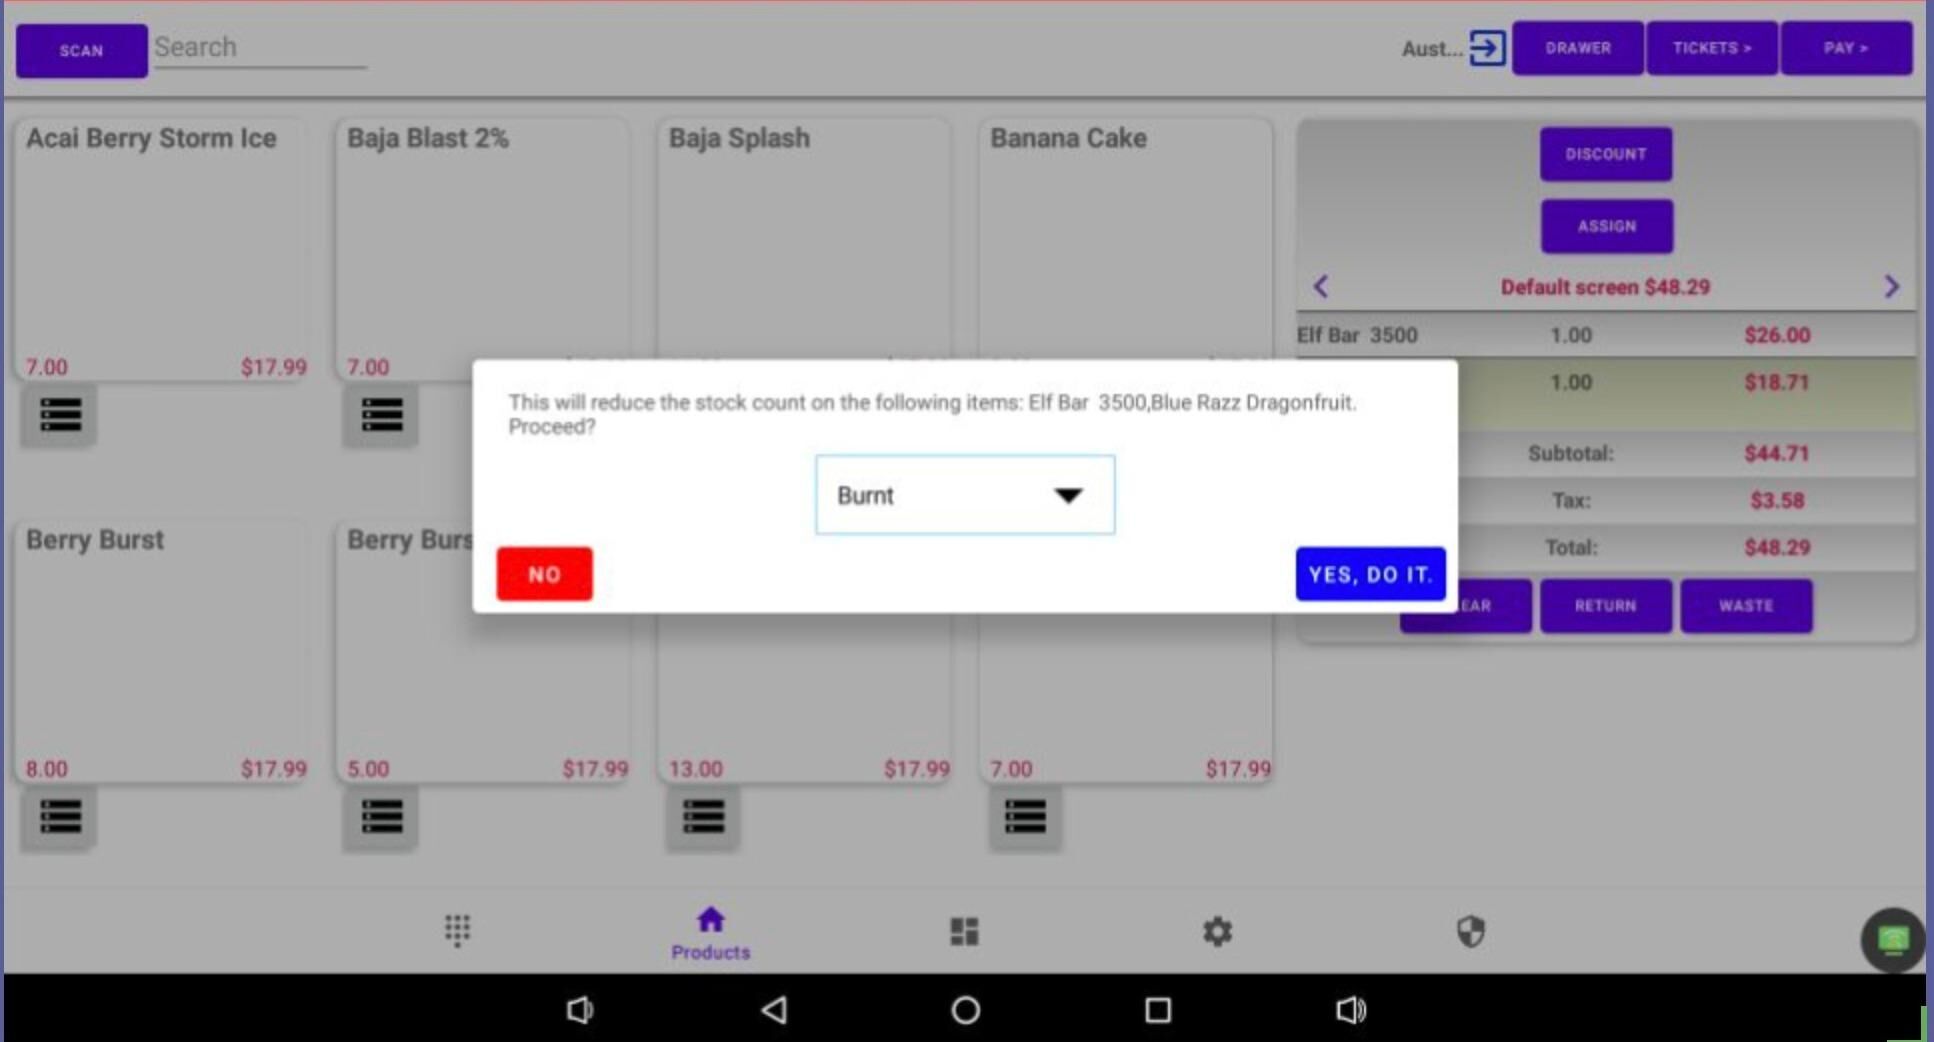
Click the “Waste” button
Select a reason for this product to be “Wasted“
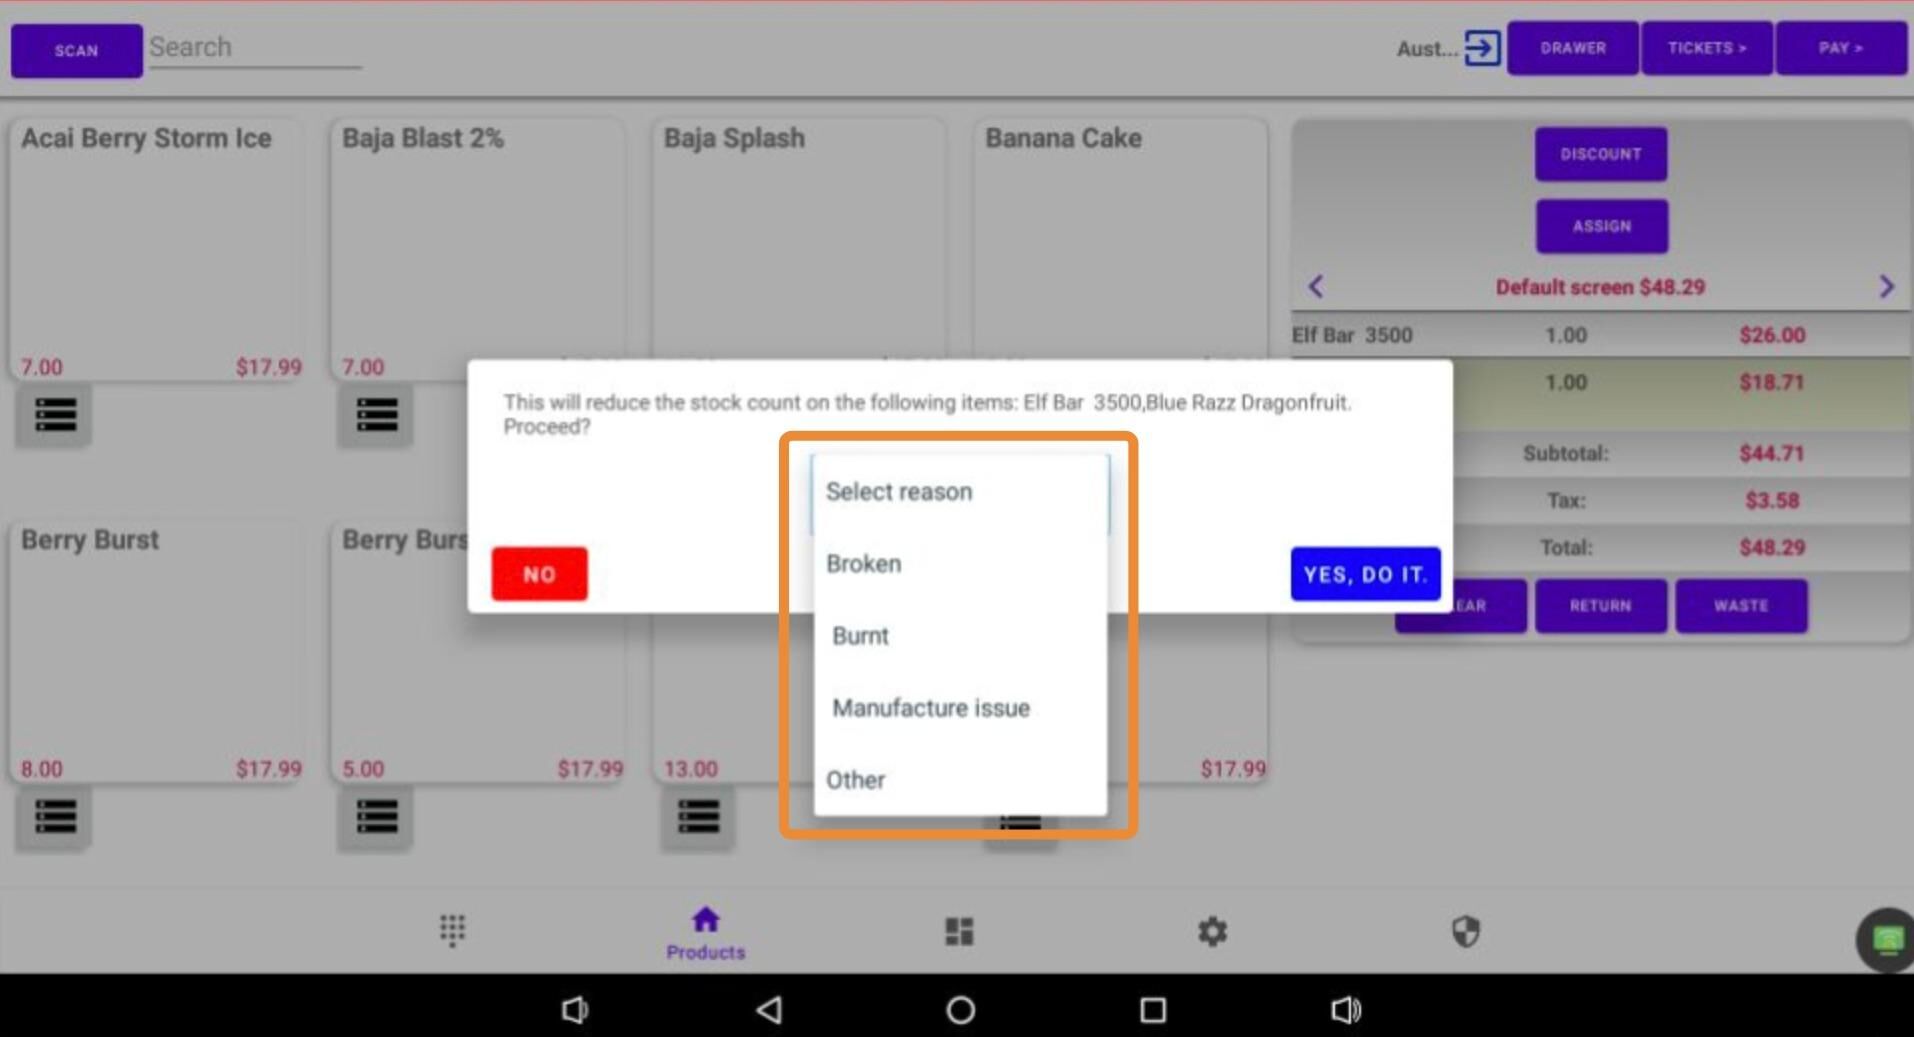
After selecting a waste reason, click “Yes, Do it” to confirm and complete the waste action.
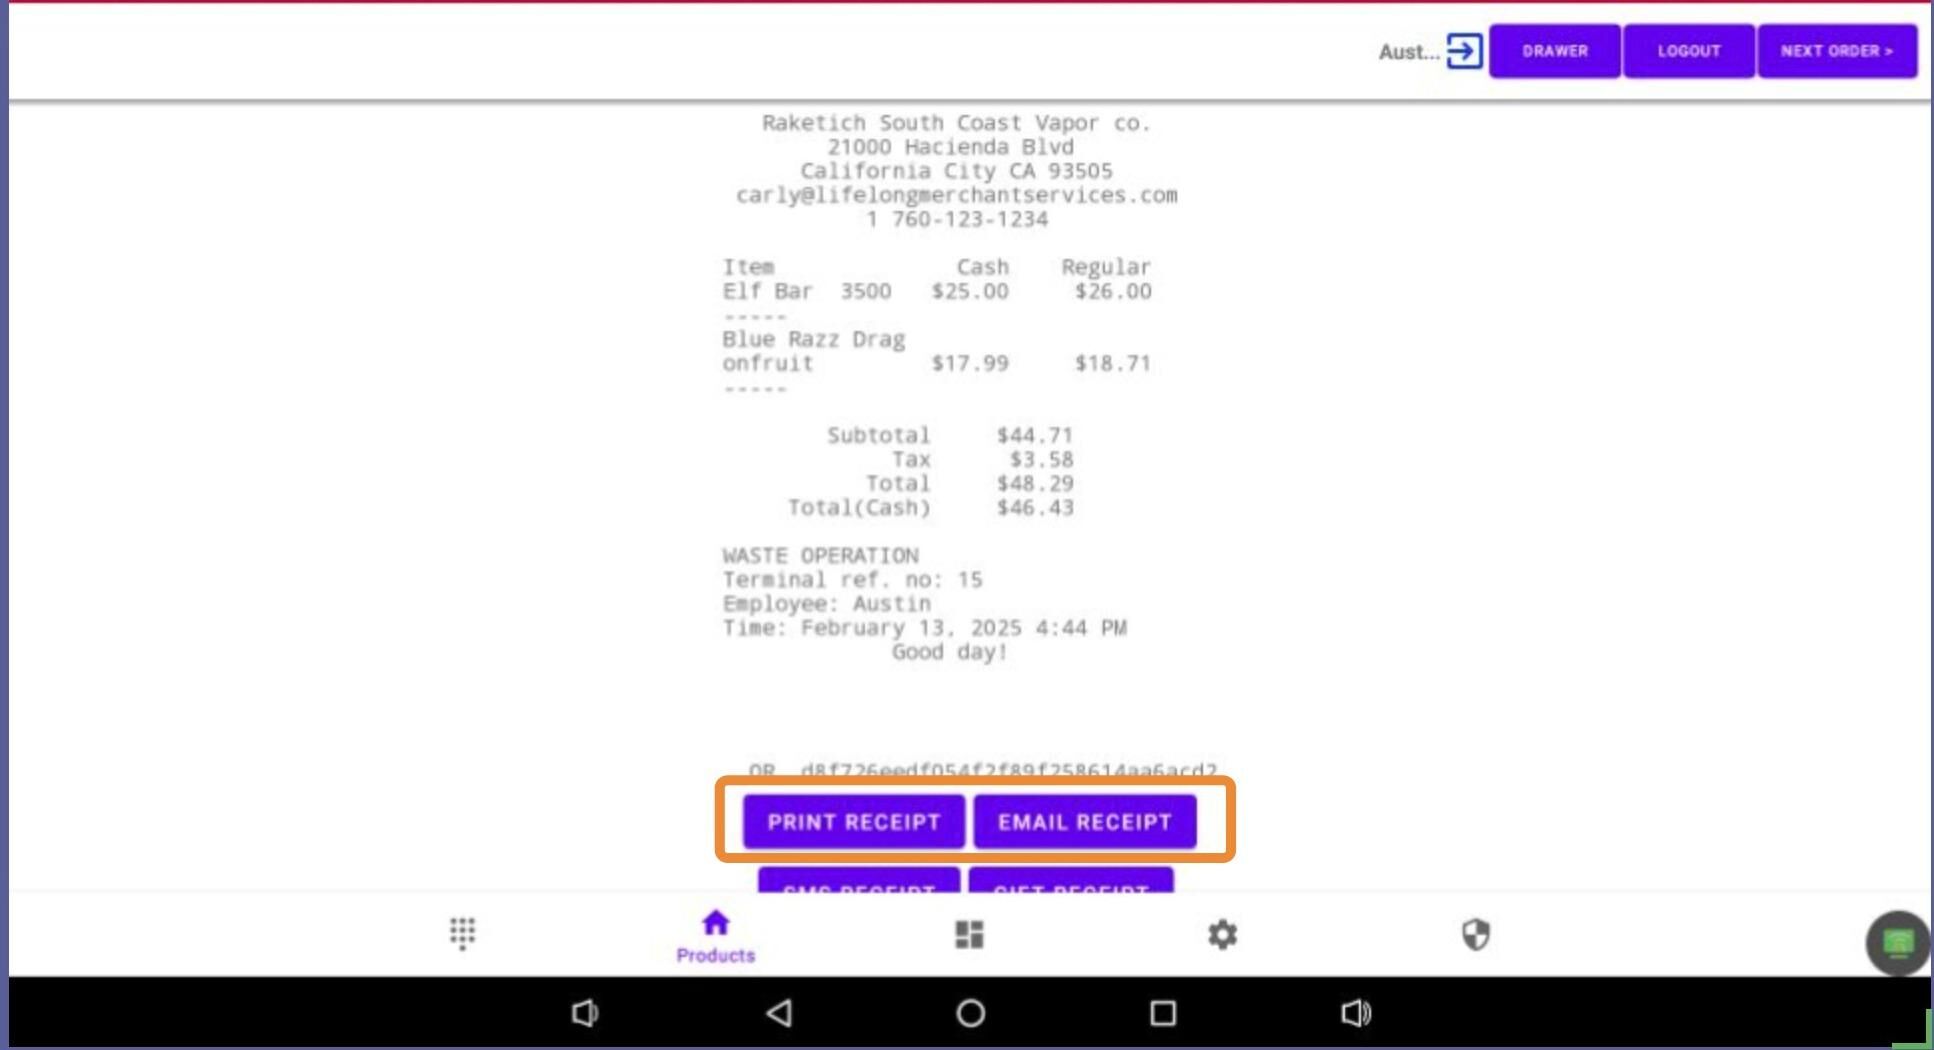
It’s recommended to print the receipt and attach it to the item if you’re sending it back to the manufacturer. Once complete, click “Next Order” to finish the process.
Waste Reasons Report #
Tip: The Waste Report can be downloaded and sent to the manufacturer for potential exchanges or discounts. You can also view wasted items in the Sales Tab using the filter: Status → Waste
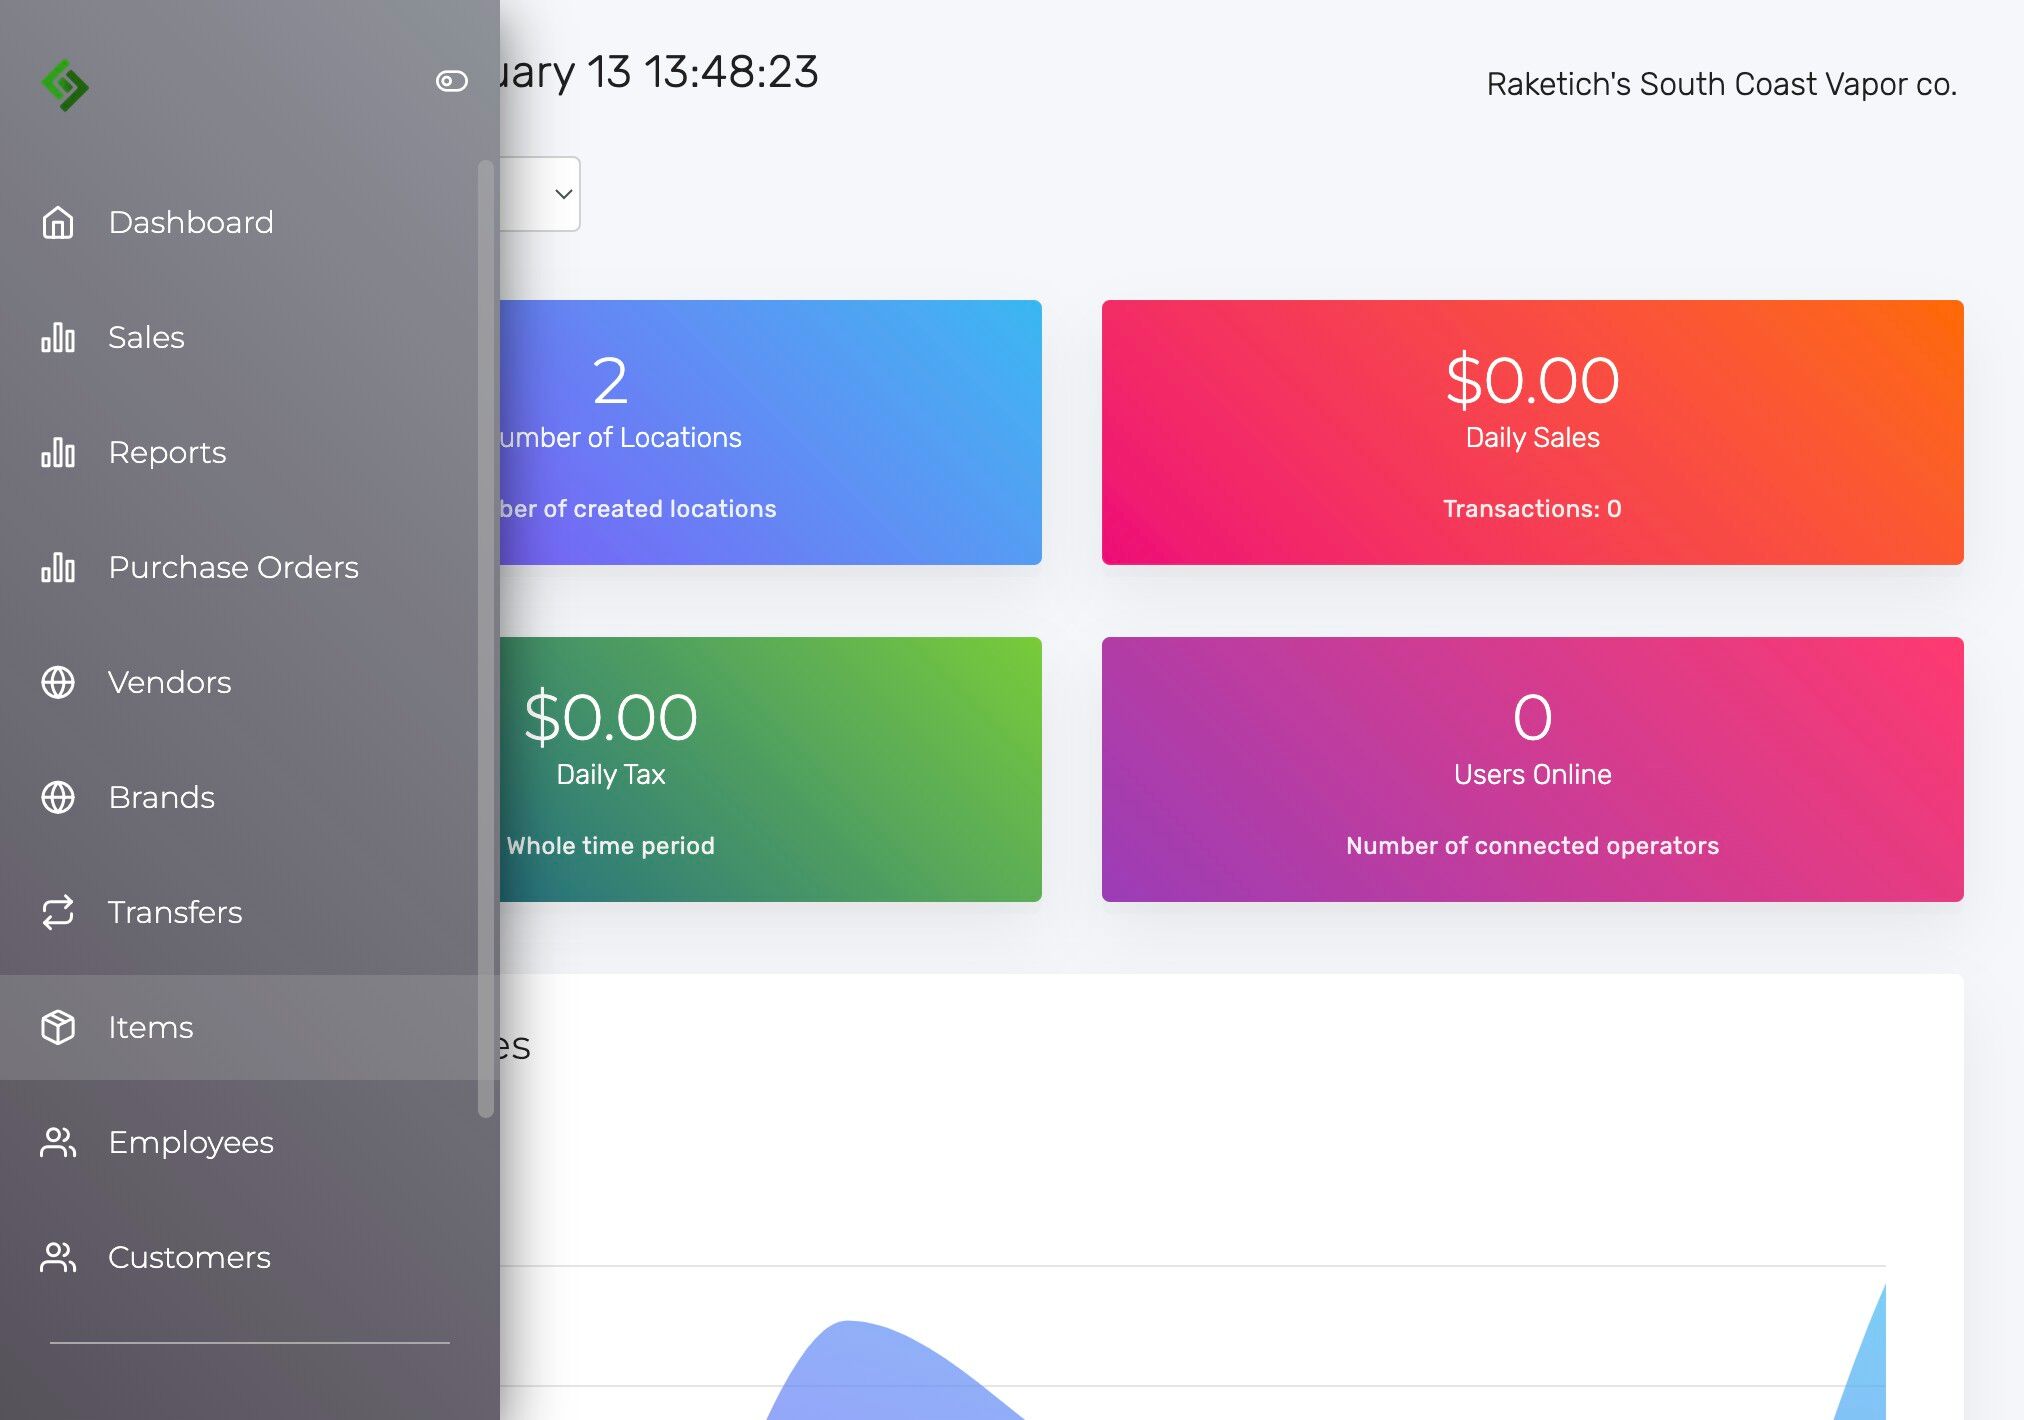
Click “Items” on the left hand side of the page.
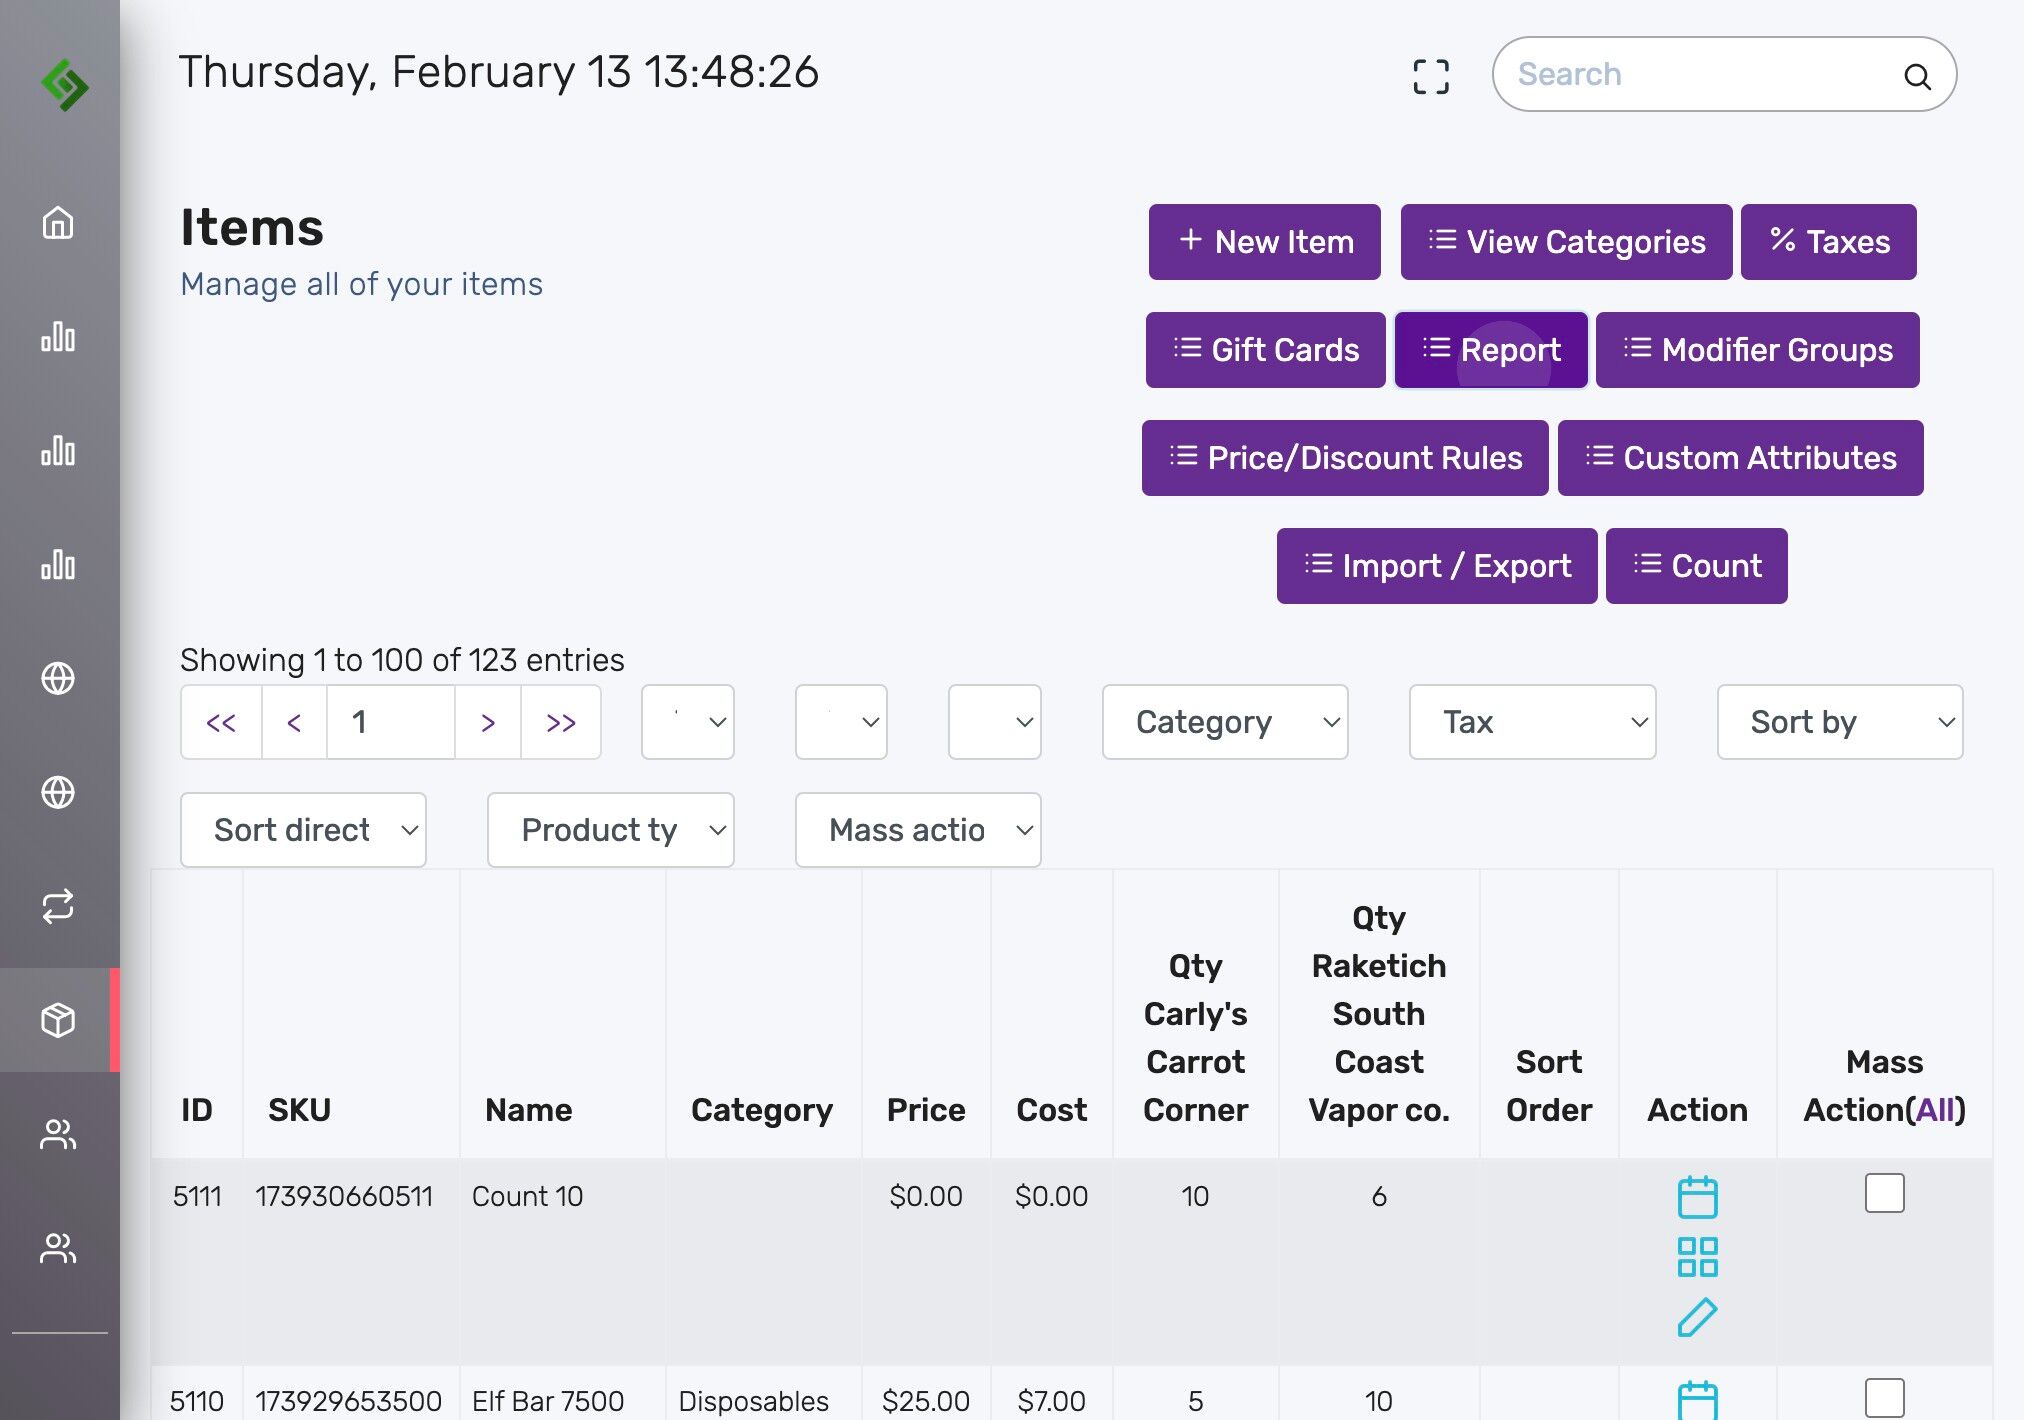
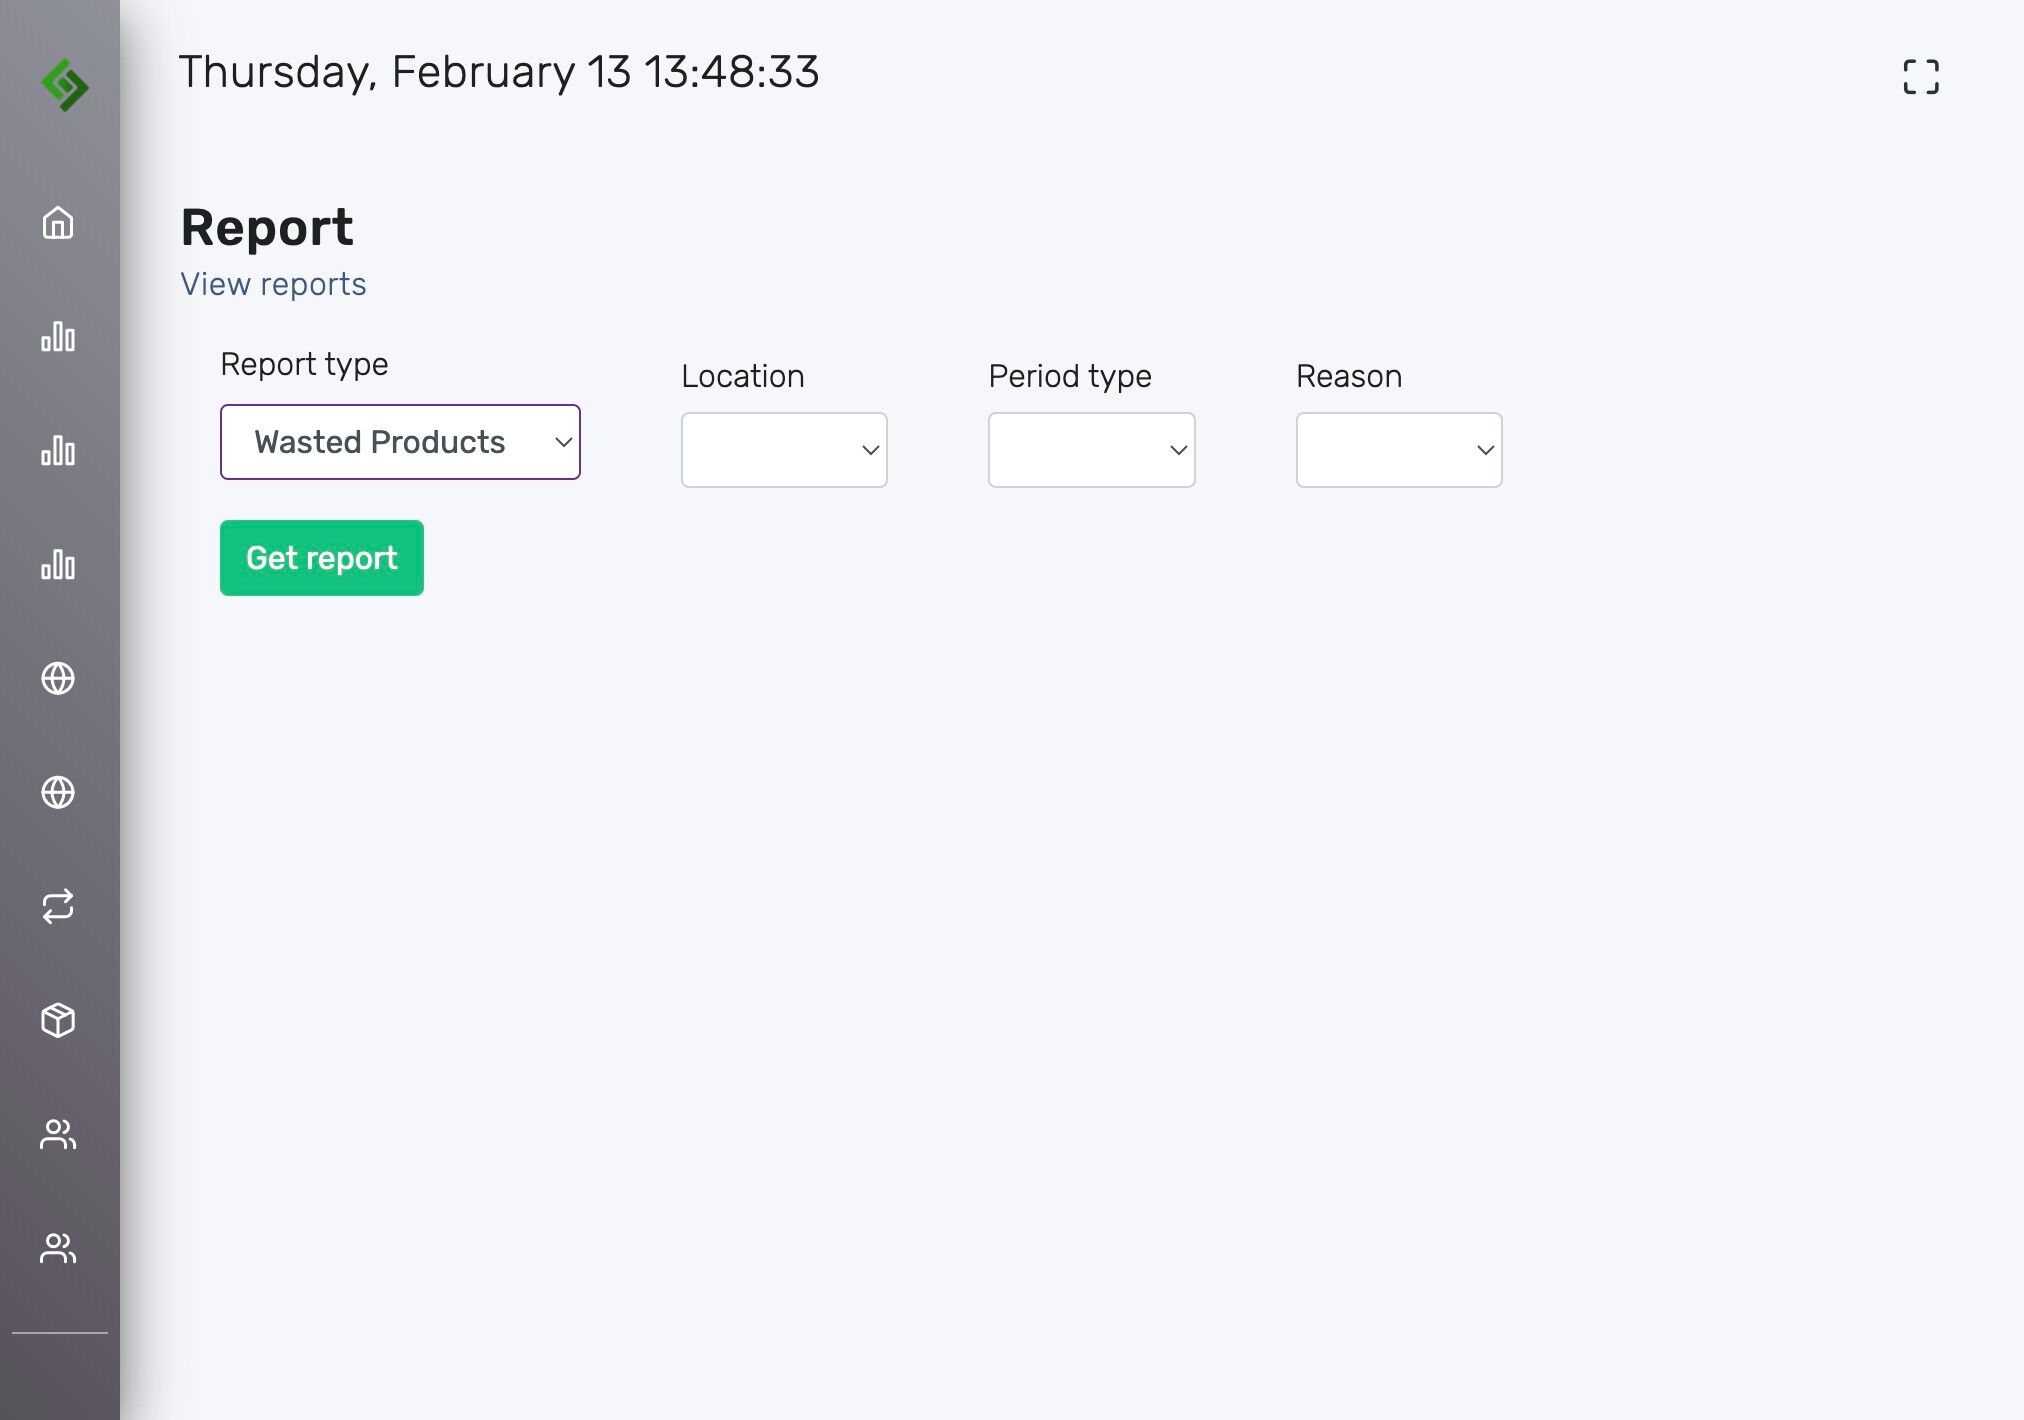
Click the “Report” button.
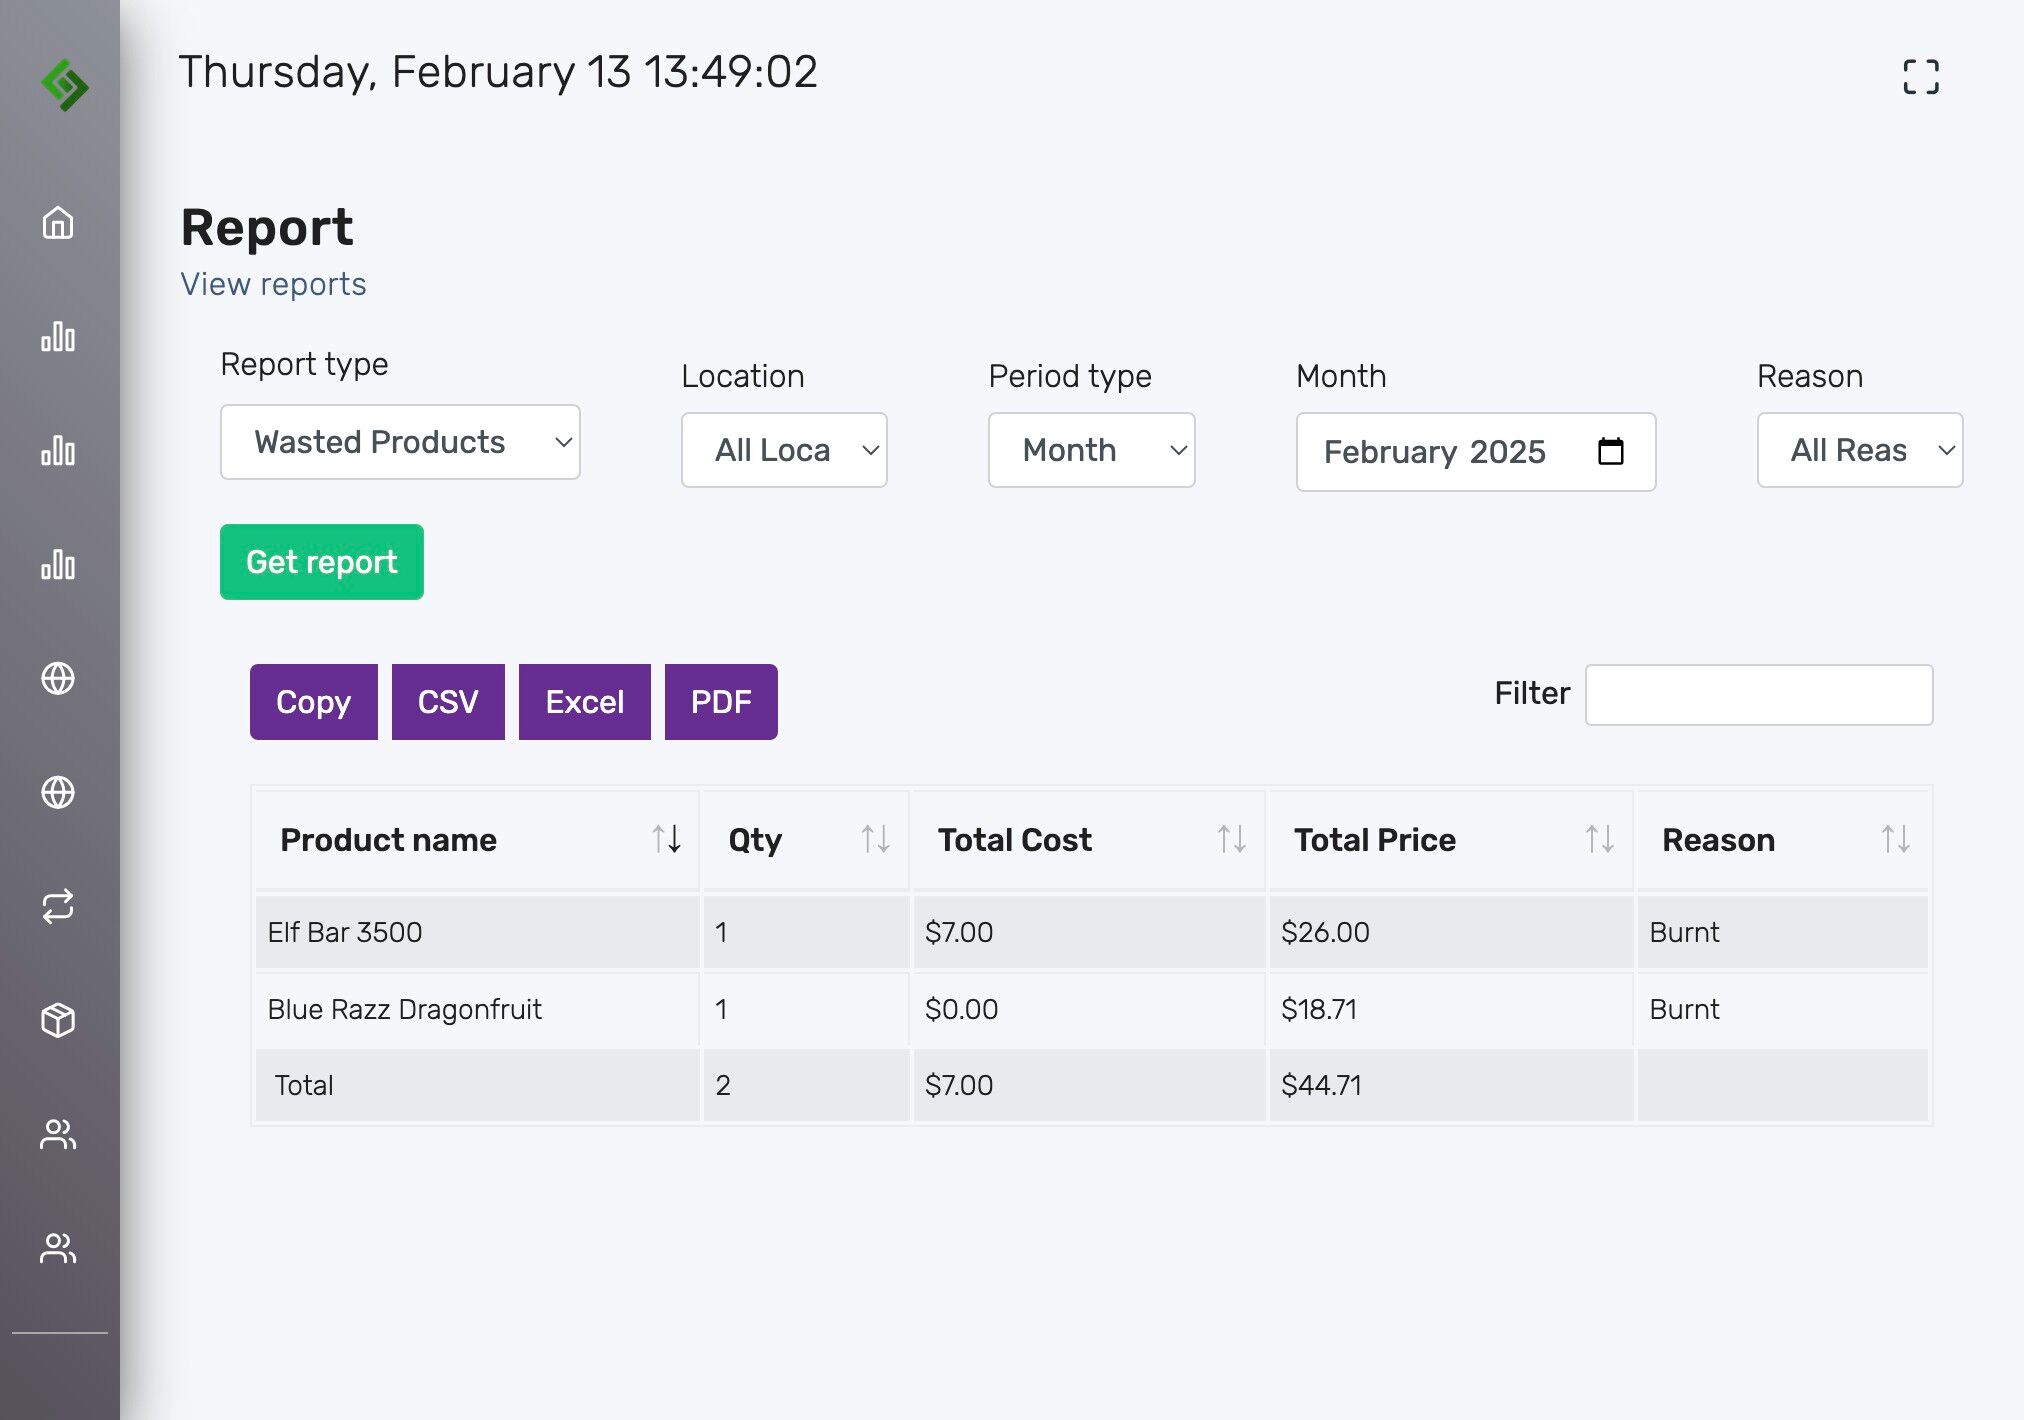
Under report type, click the dropdown and select the “Wasted Products” option.
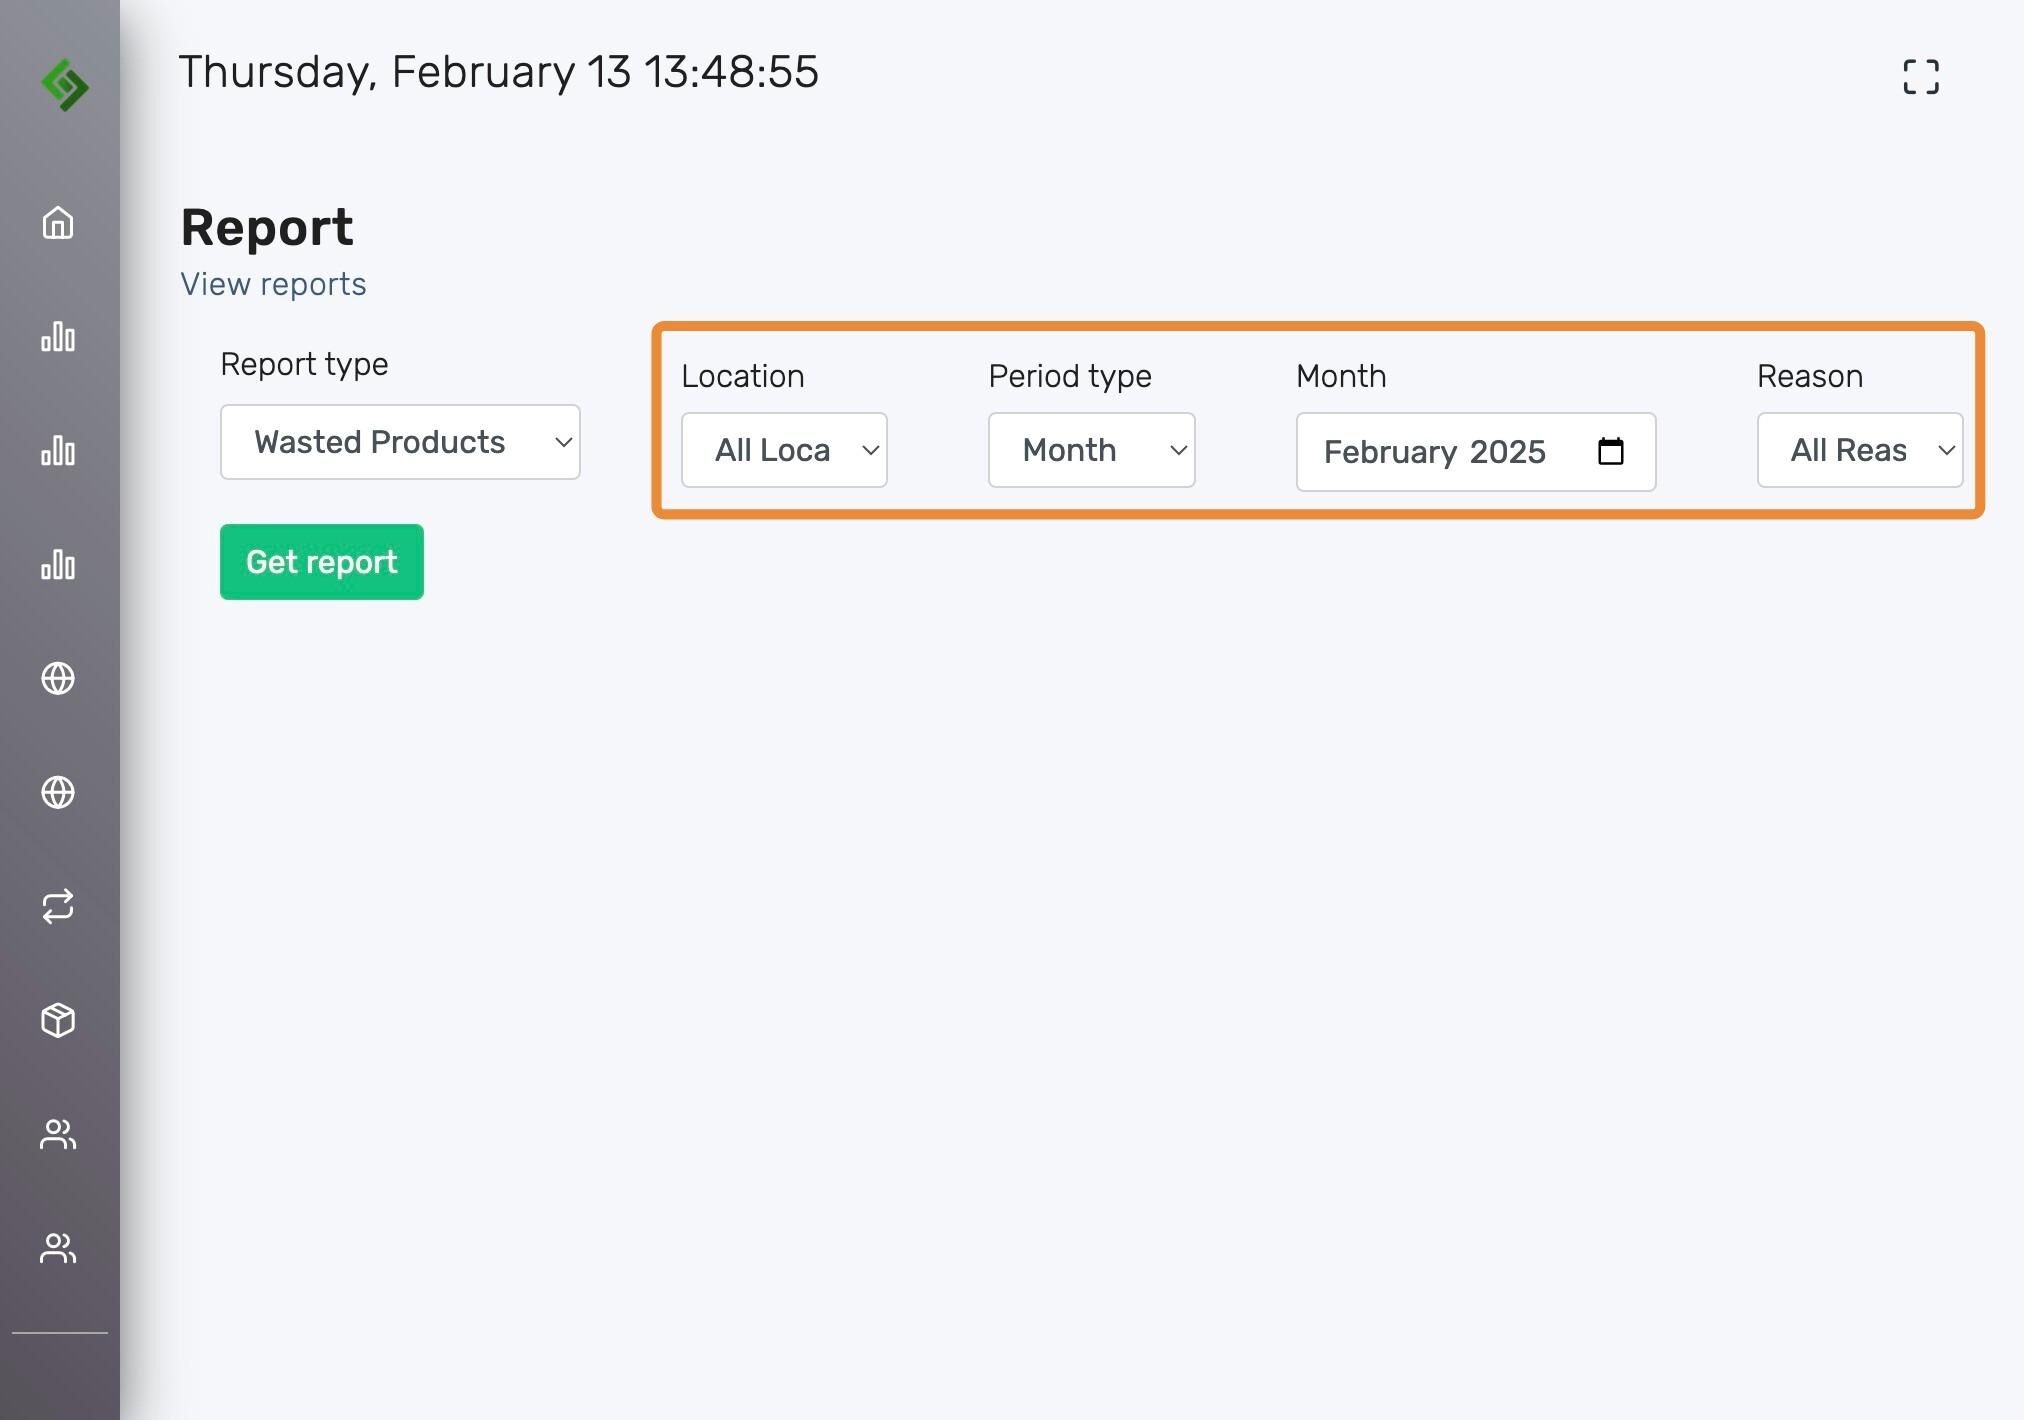
Select Filters for Waste Report #
To refine your Waste Report, use the following filters:
- Location – Choose the store or site where the waste occurred.
- Period Type – Select a specific date range (e.g., daily, weekly, custom).
- Reason – Filter by the specific waste reason (e.g., Broken, Leaking, Defect).
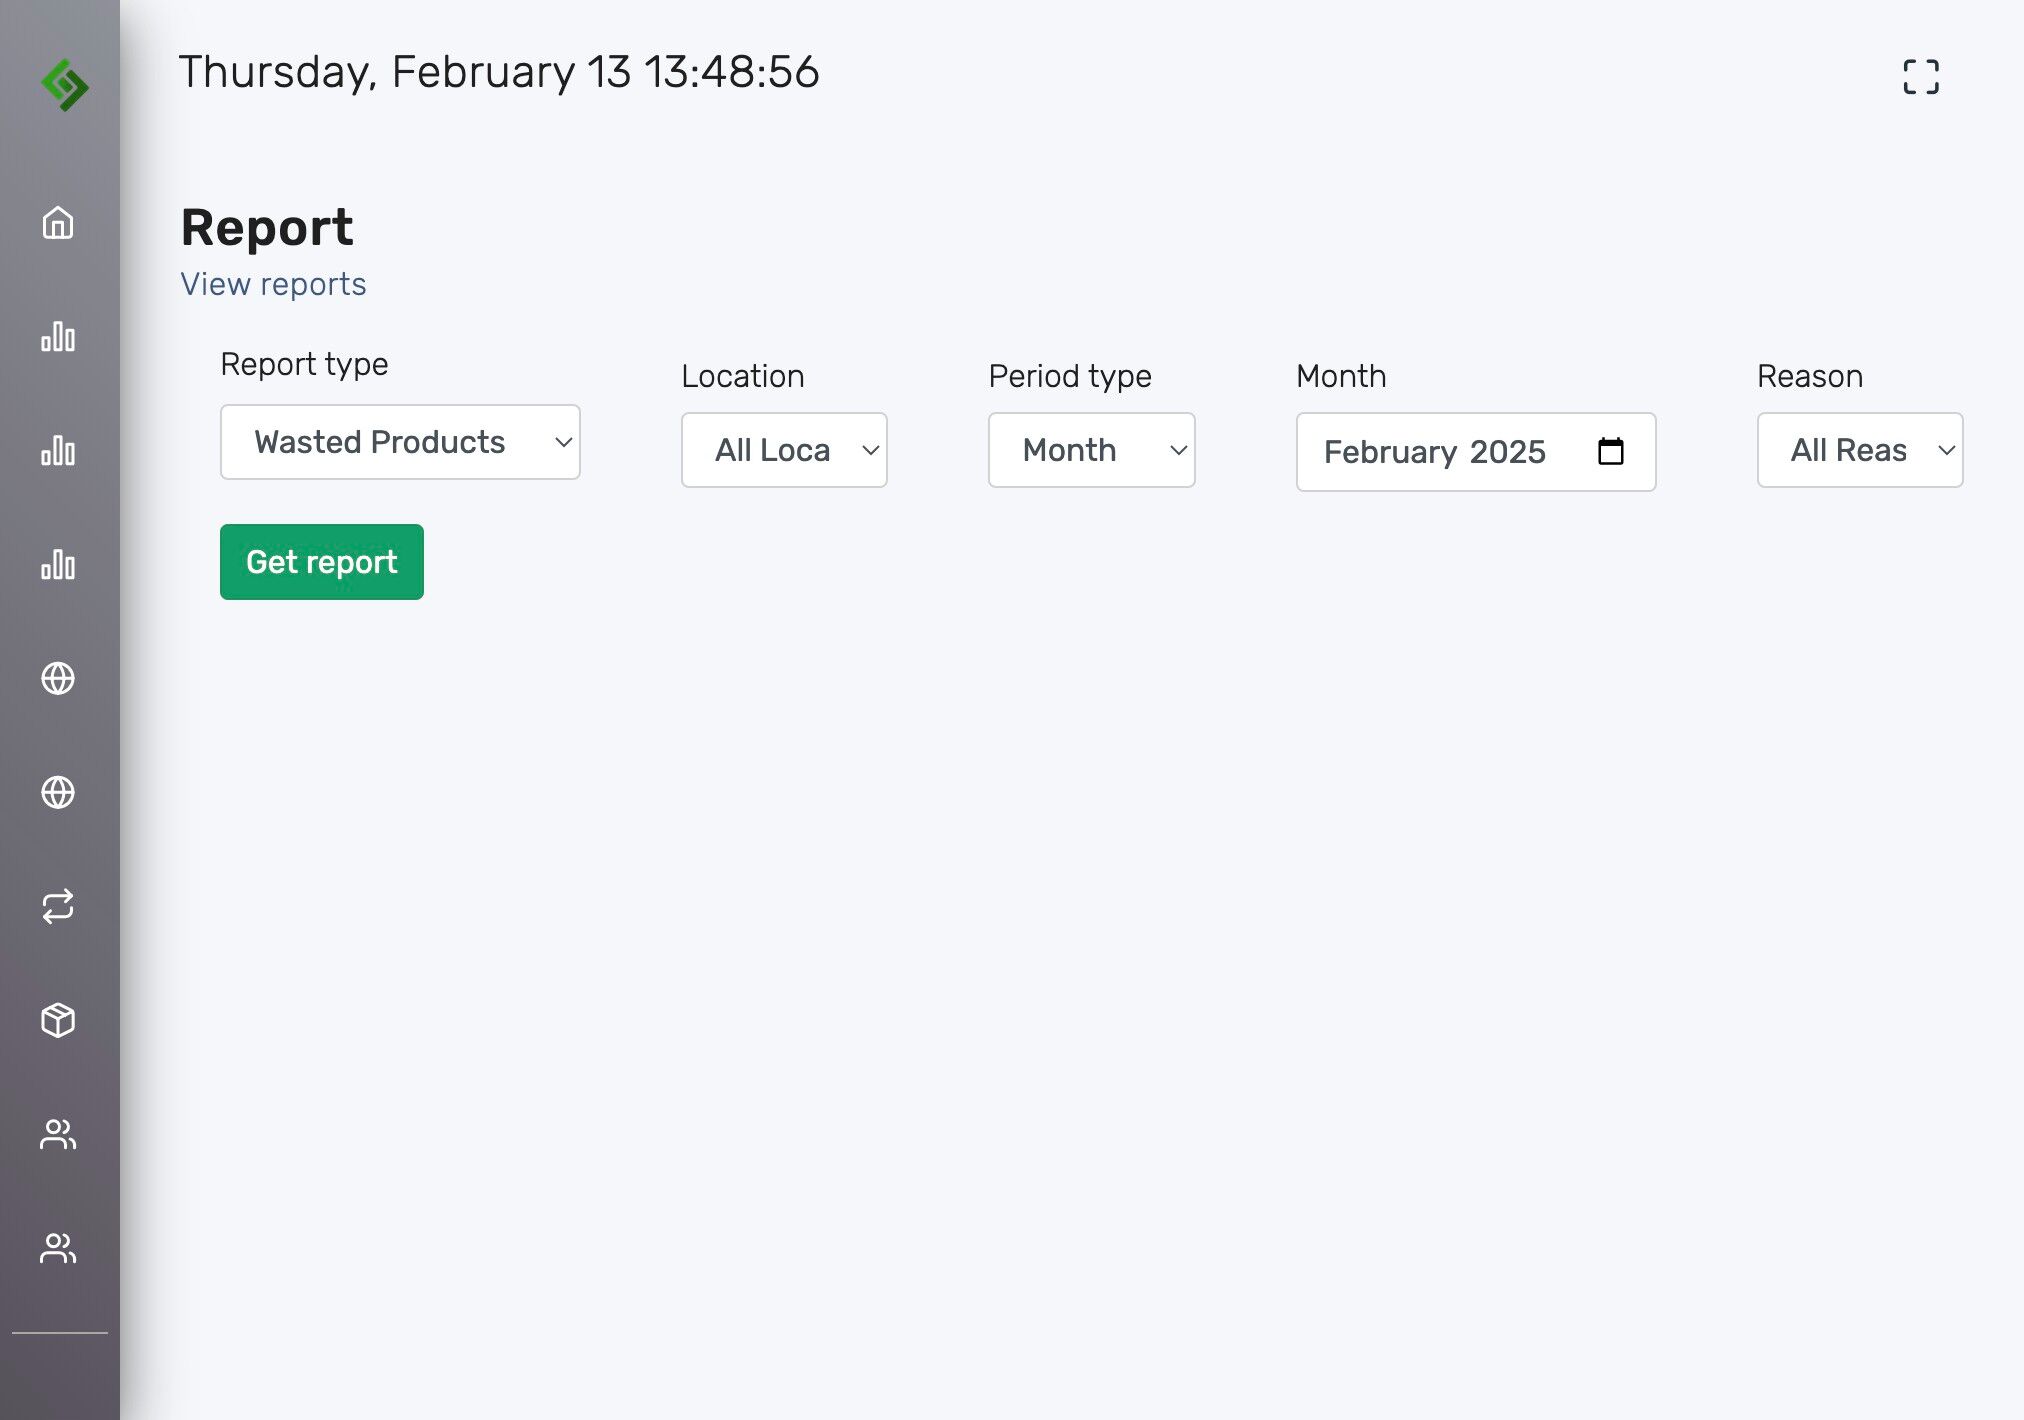
Click the “Get report” button.
The Waste Report will display the following details:
- Product Name
- Quantity (Qty)
- Cost
- Price
- Reason for Waste
This report can be downloaded for your records via CSV, Excel or PDF. It can also be shared with manufacturers for potential credits, exchanges, or discounts.