Transfer Products / Inventory Between Locations #
Let’s transfer products/inventory between locations #
Follow the step-by-step instructions below.
Navigate to the login page #
Visit either https://login.lifelongpos.com/ or https://manage.acadiapos.com/login
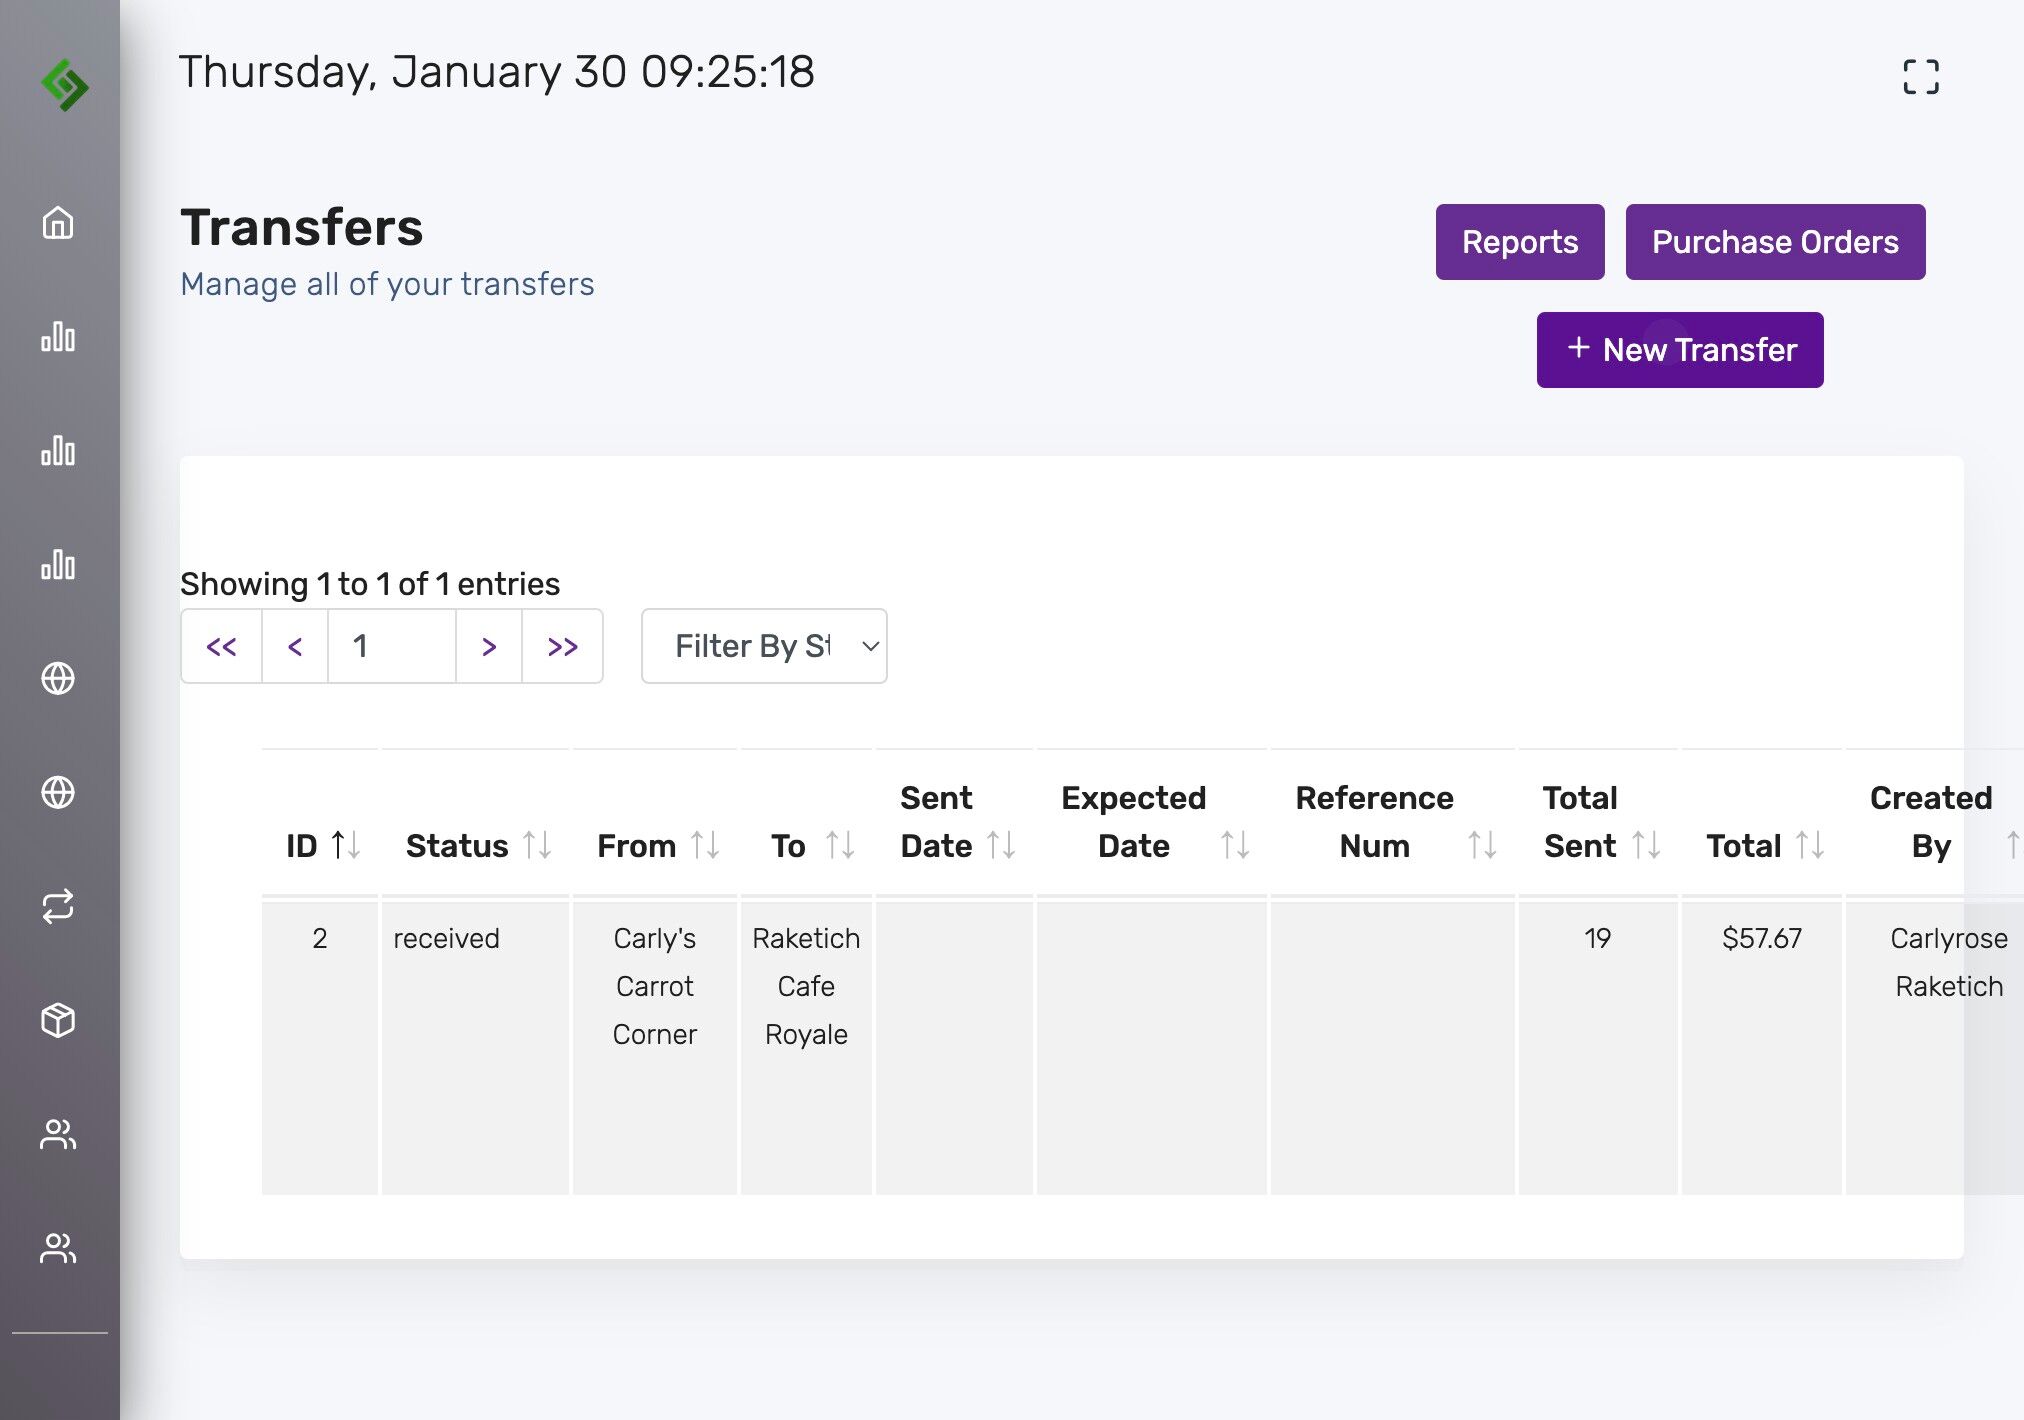
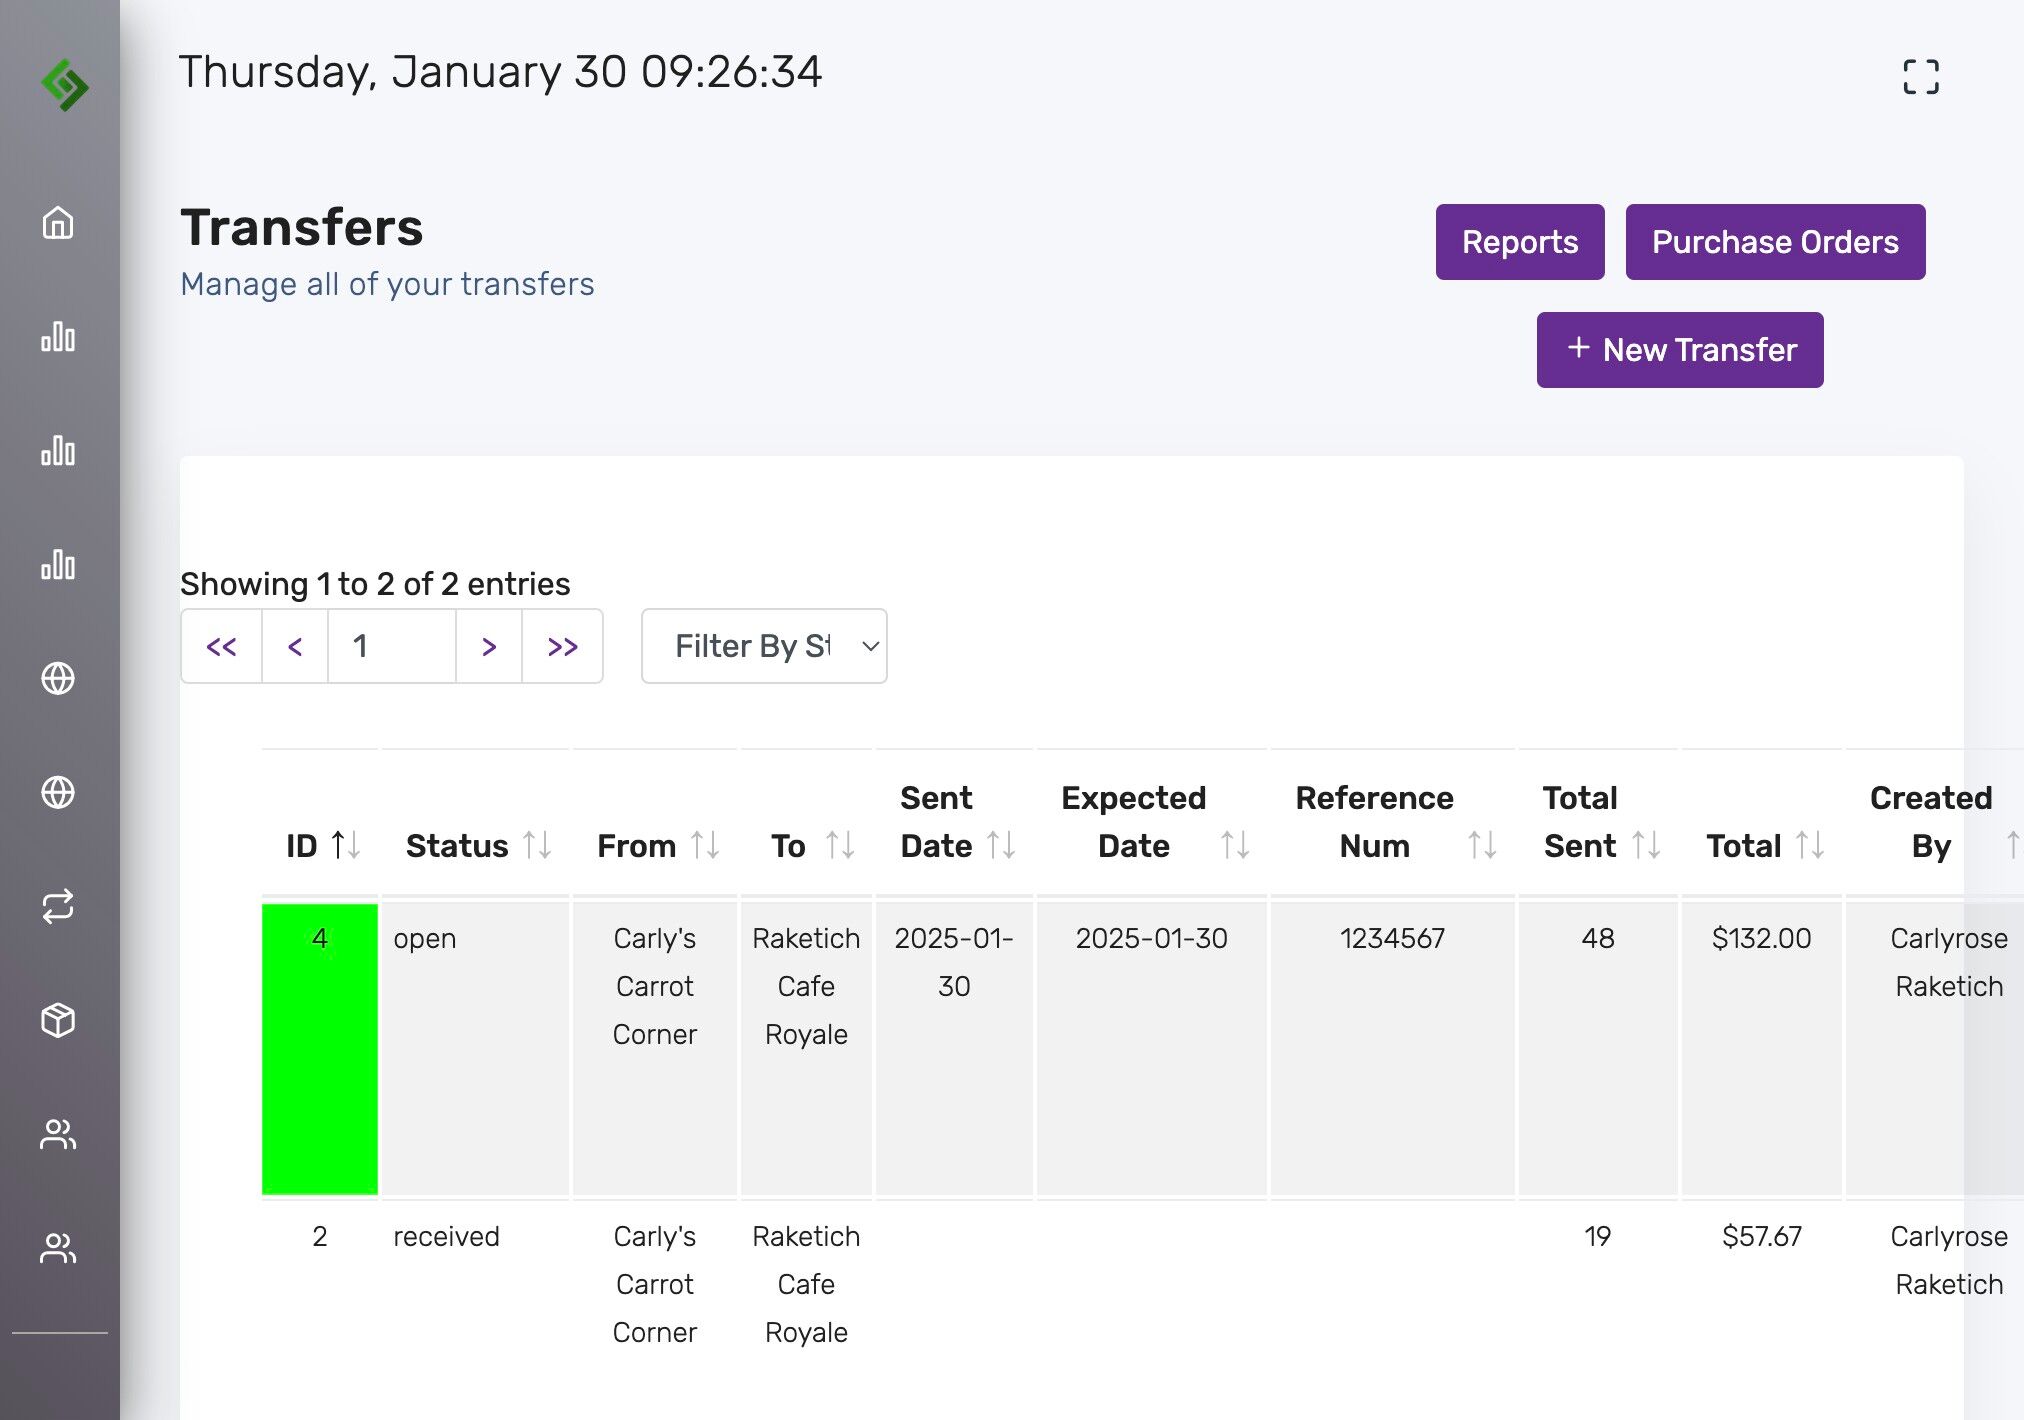
Click the “Transfers” tab #
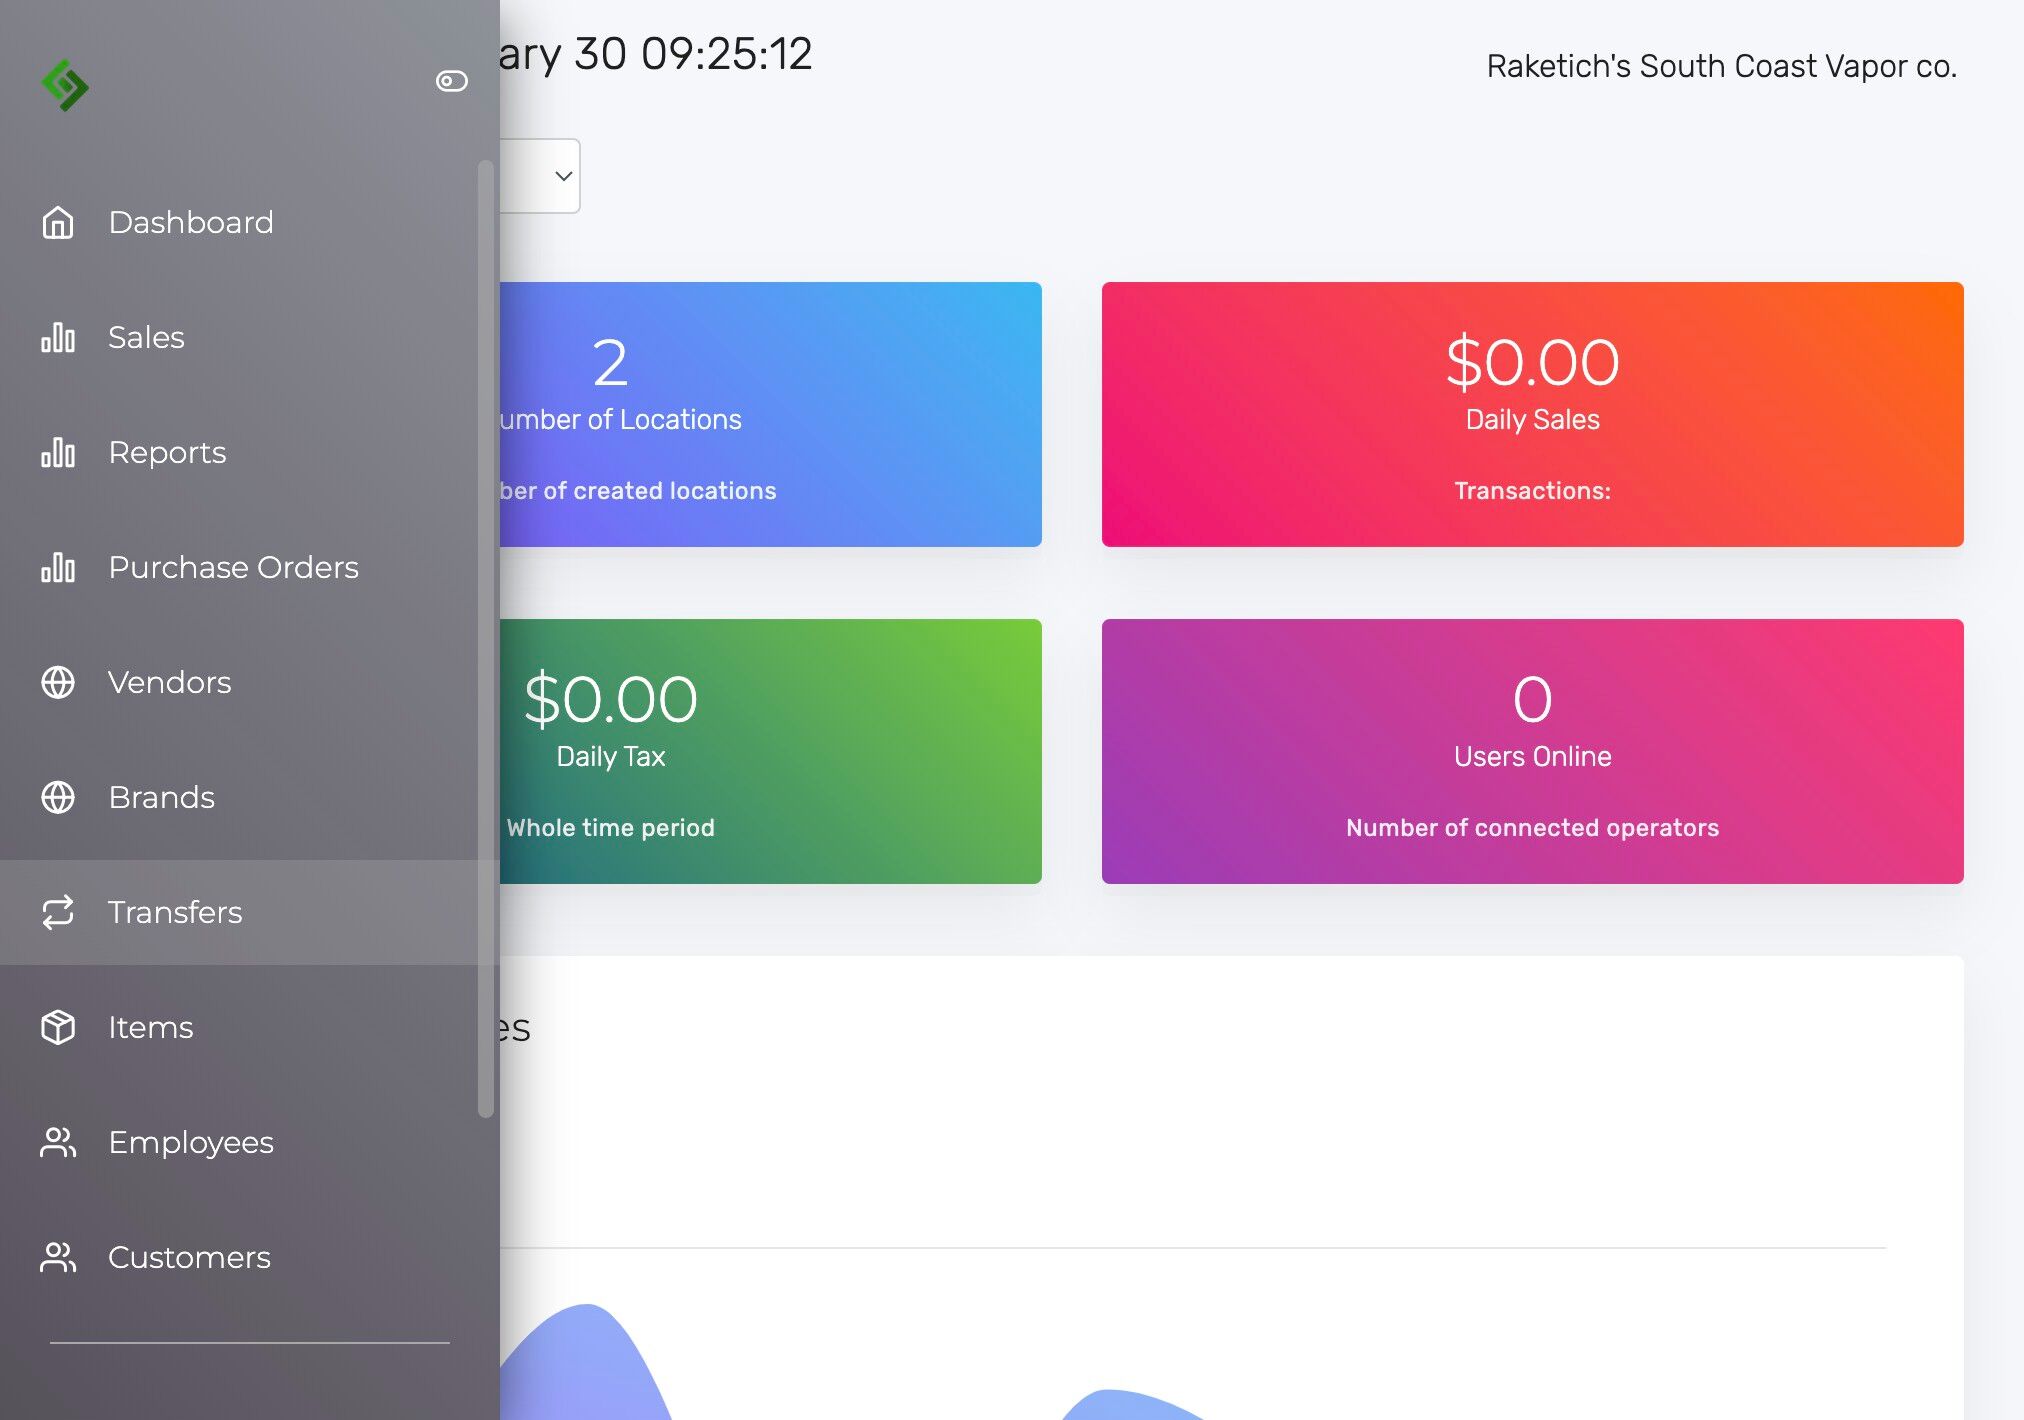
Click “New Transfer” #
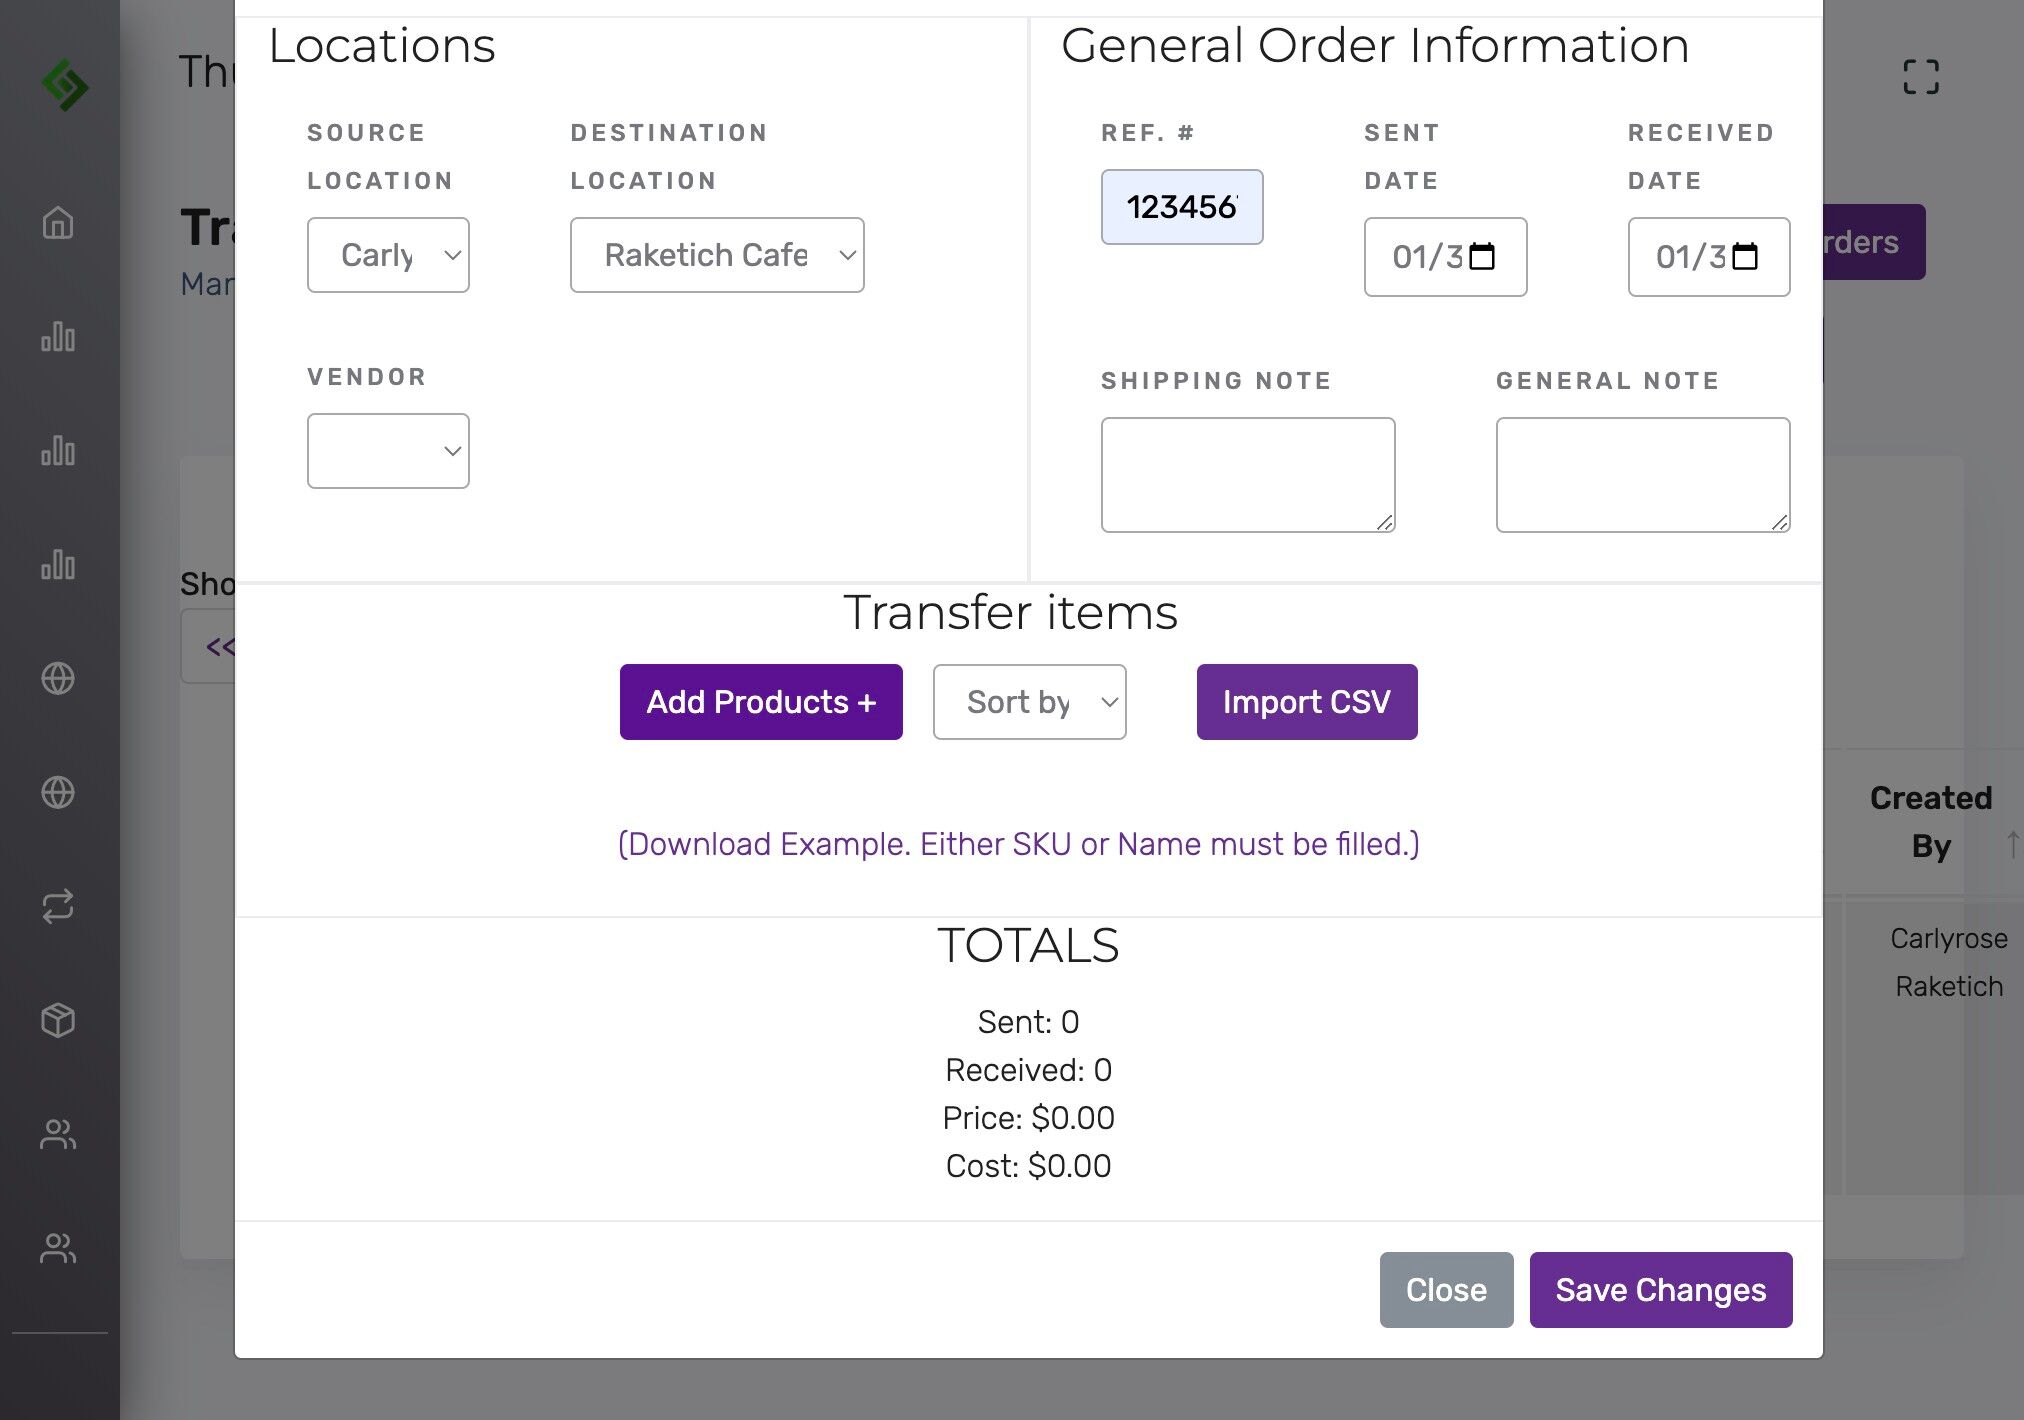
Select the Source Location #

Select the Destination Location #
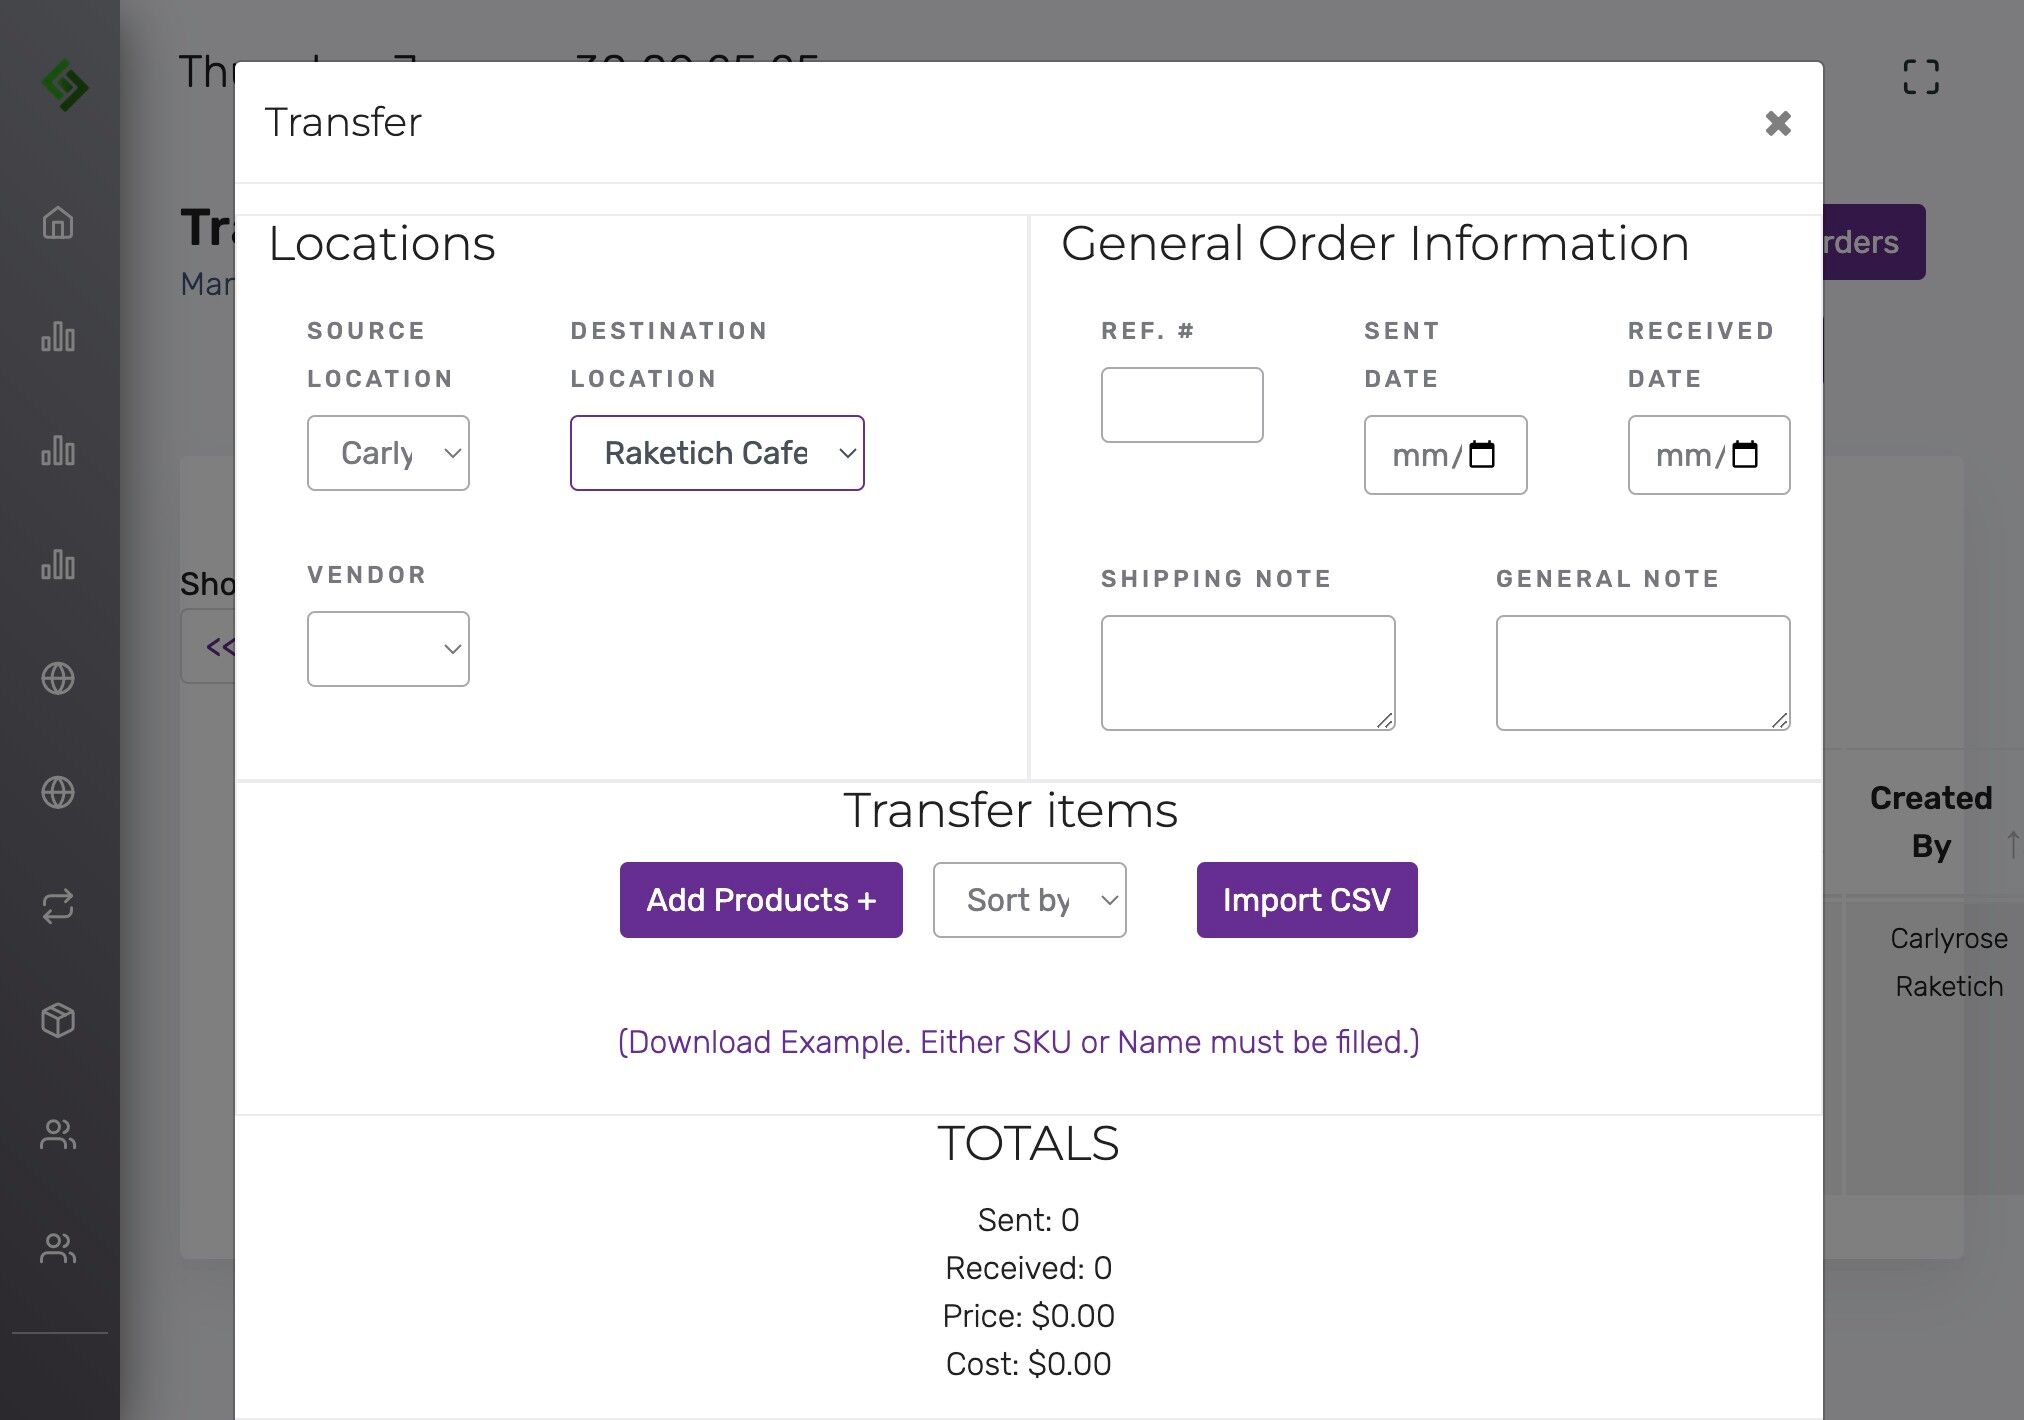
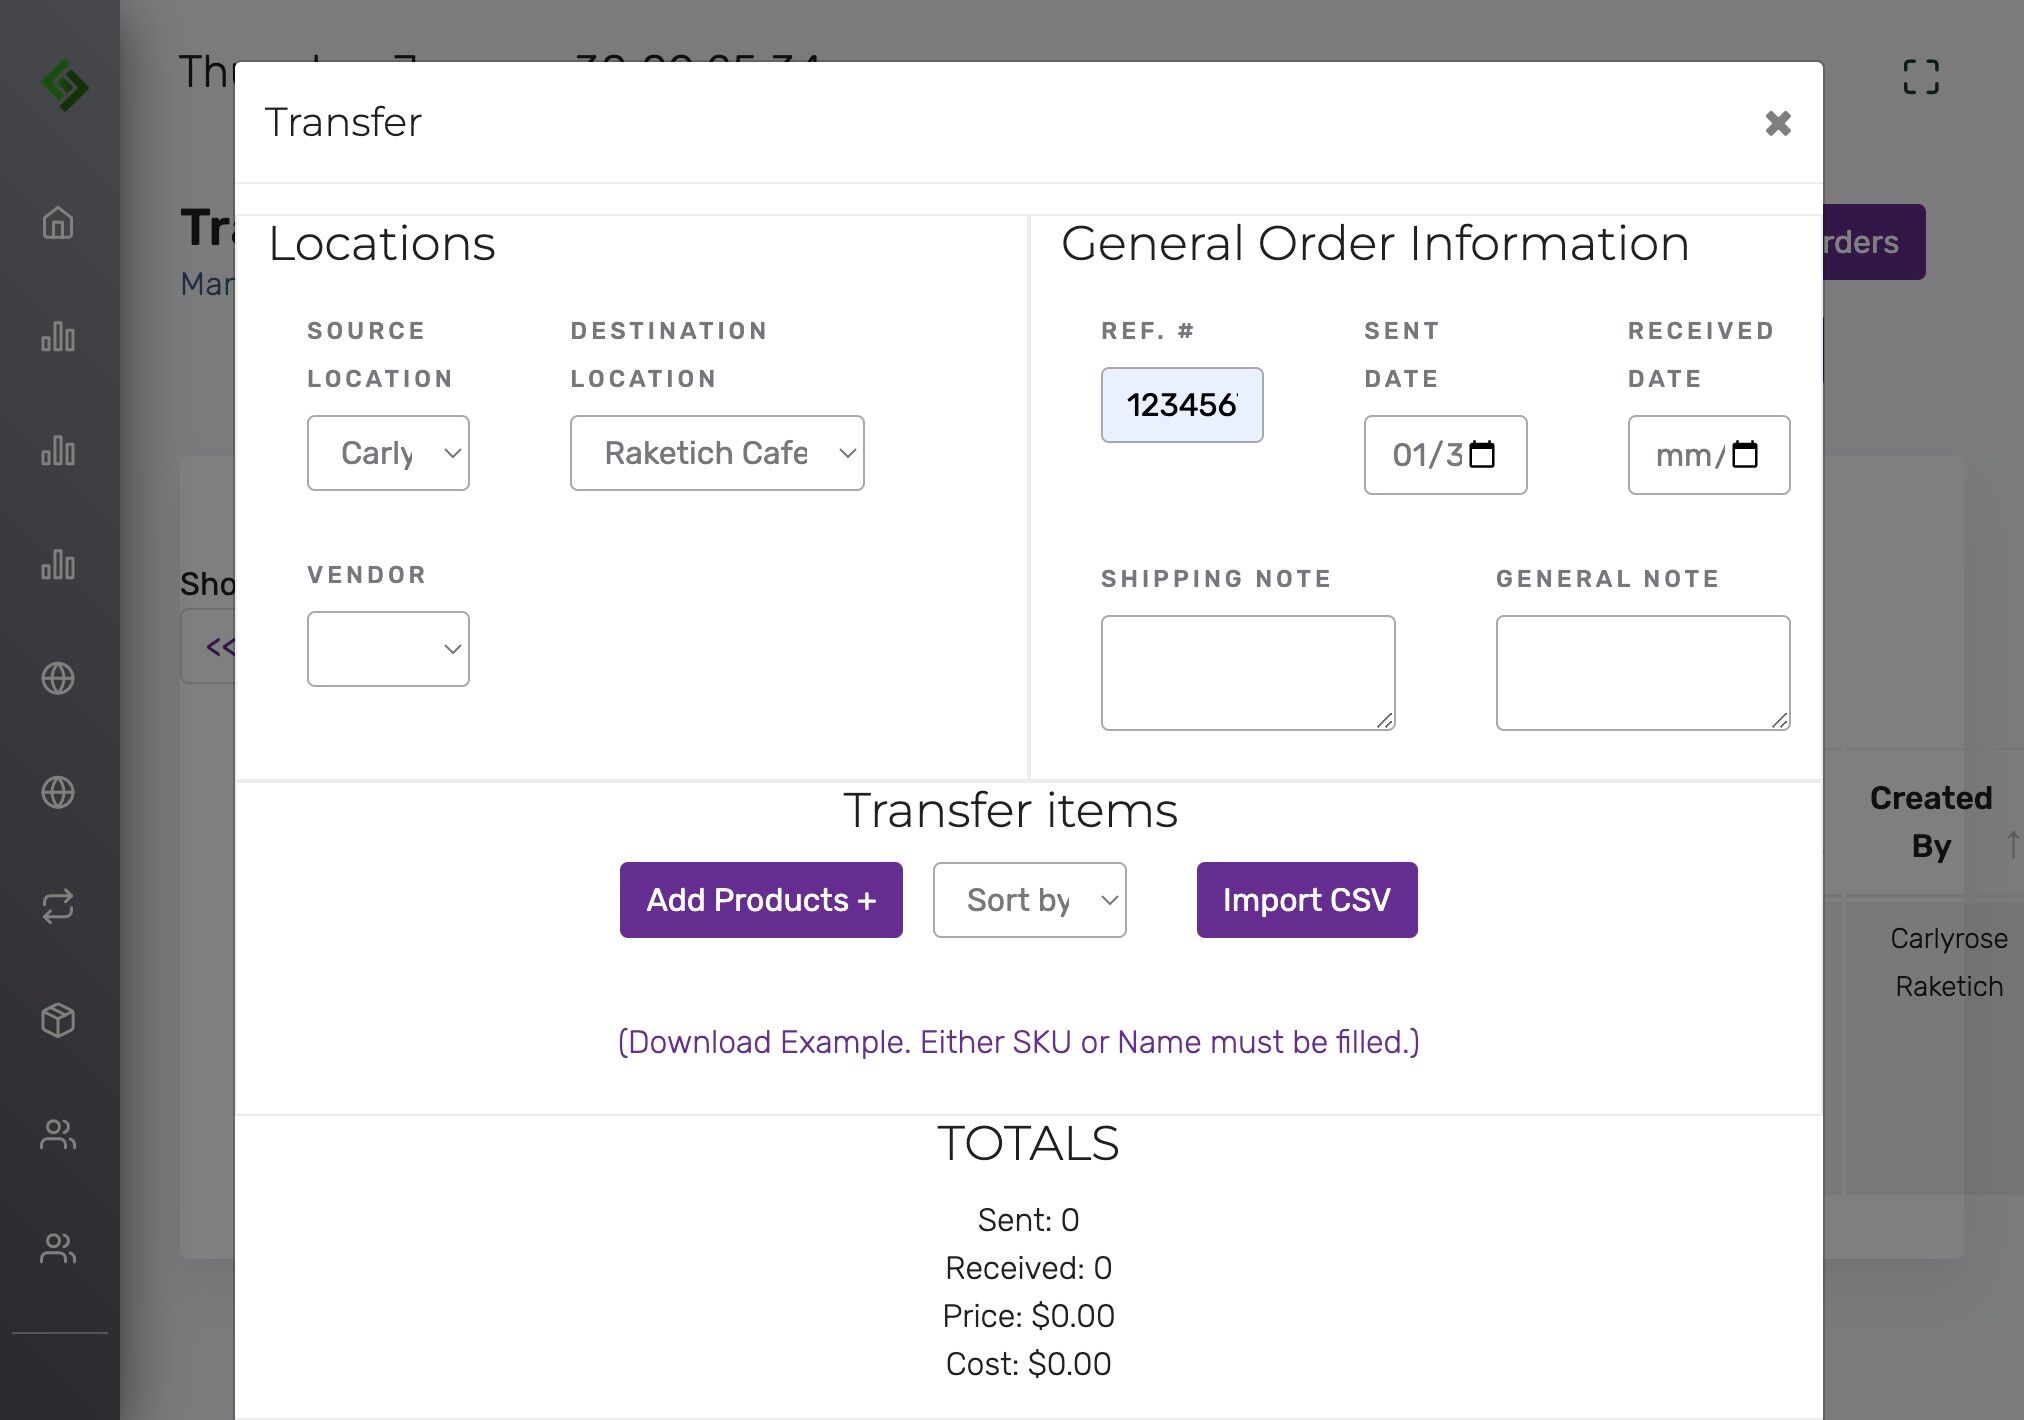
Optionally add a reference number #
This helps in locating the transfer easily.

Select Sent Date and Received Date #
Click “Add Products +” #
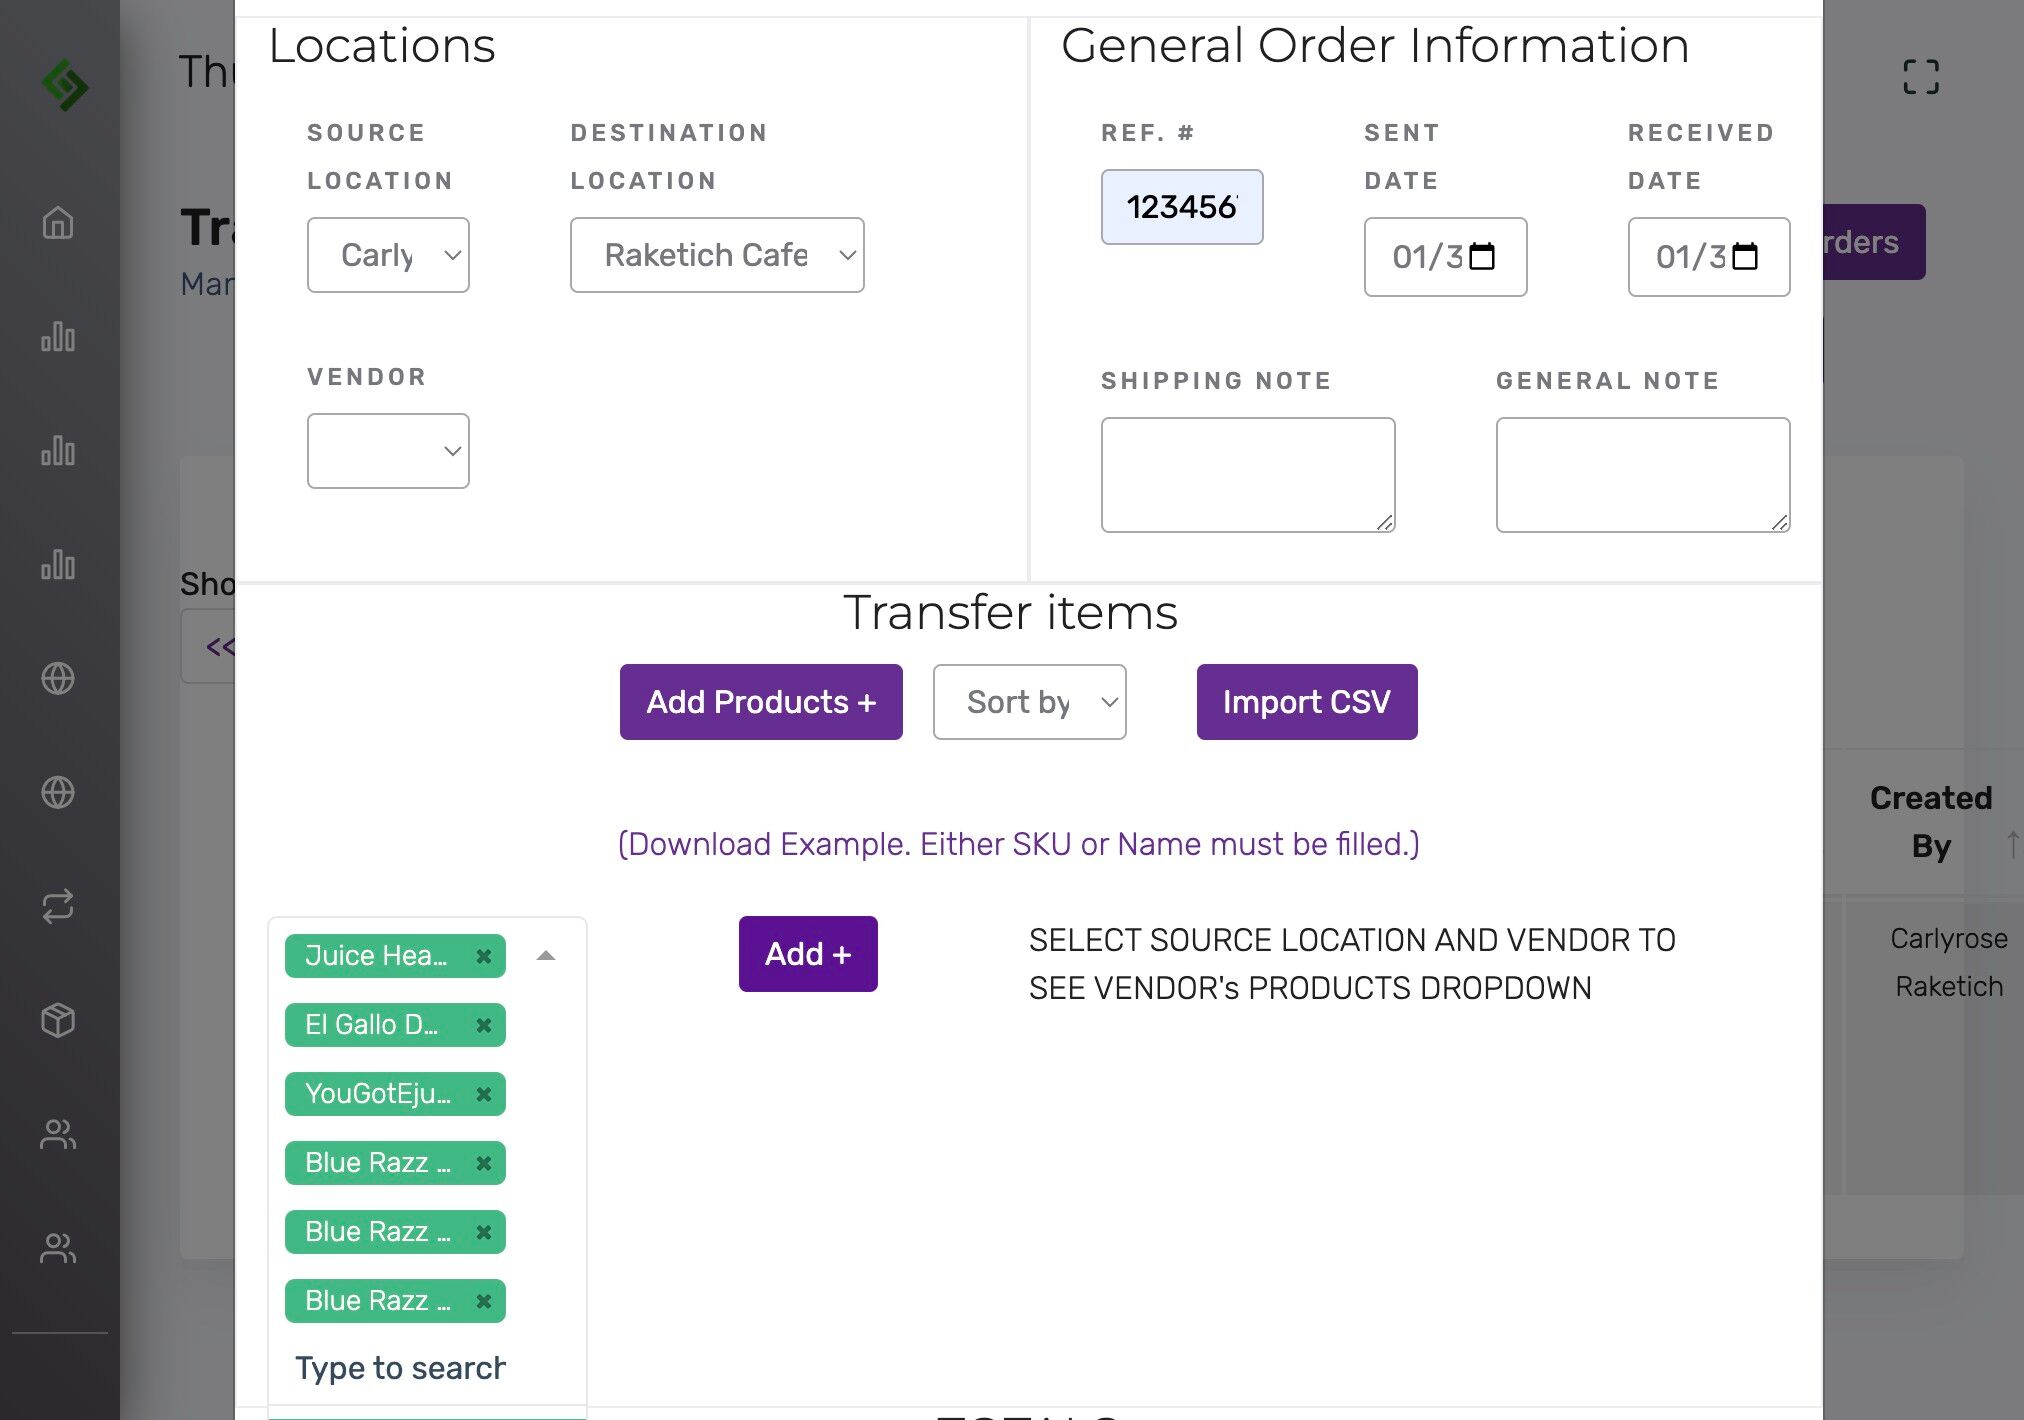
Search and add product names #
Click ‘Type to search’ to find and add names of products already in inventory.
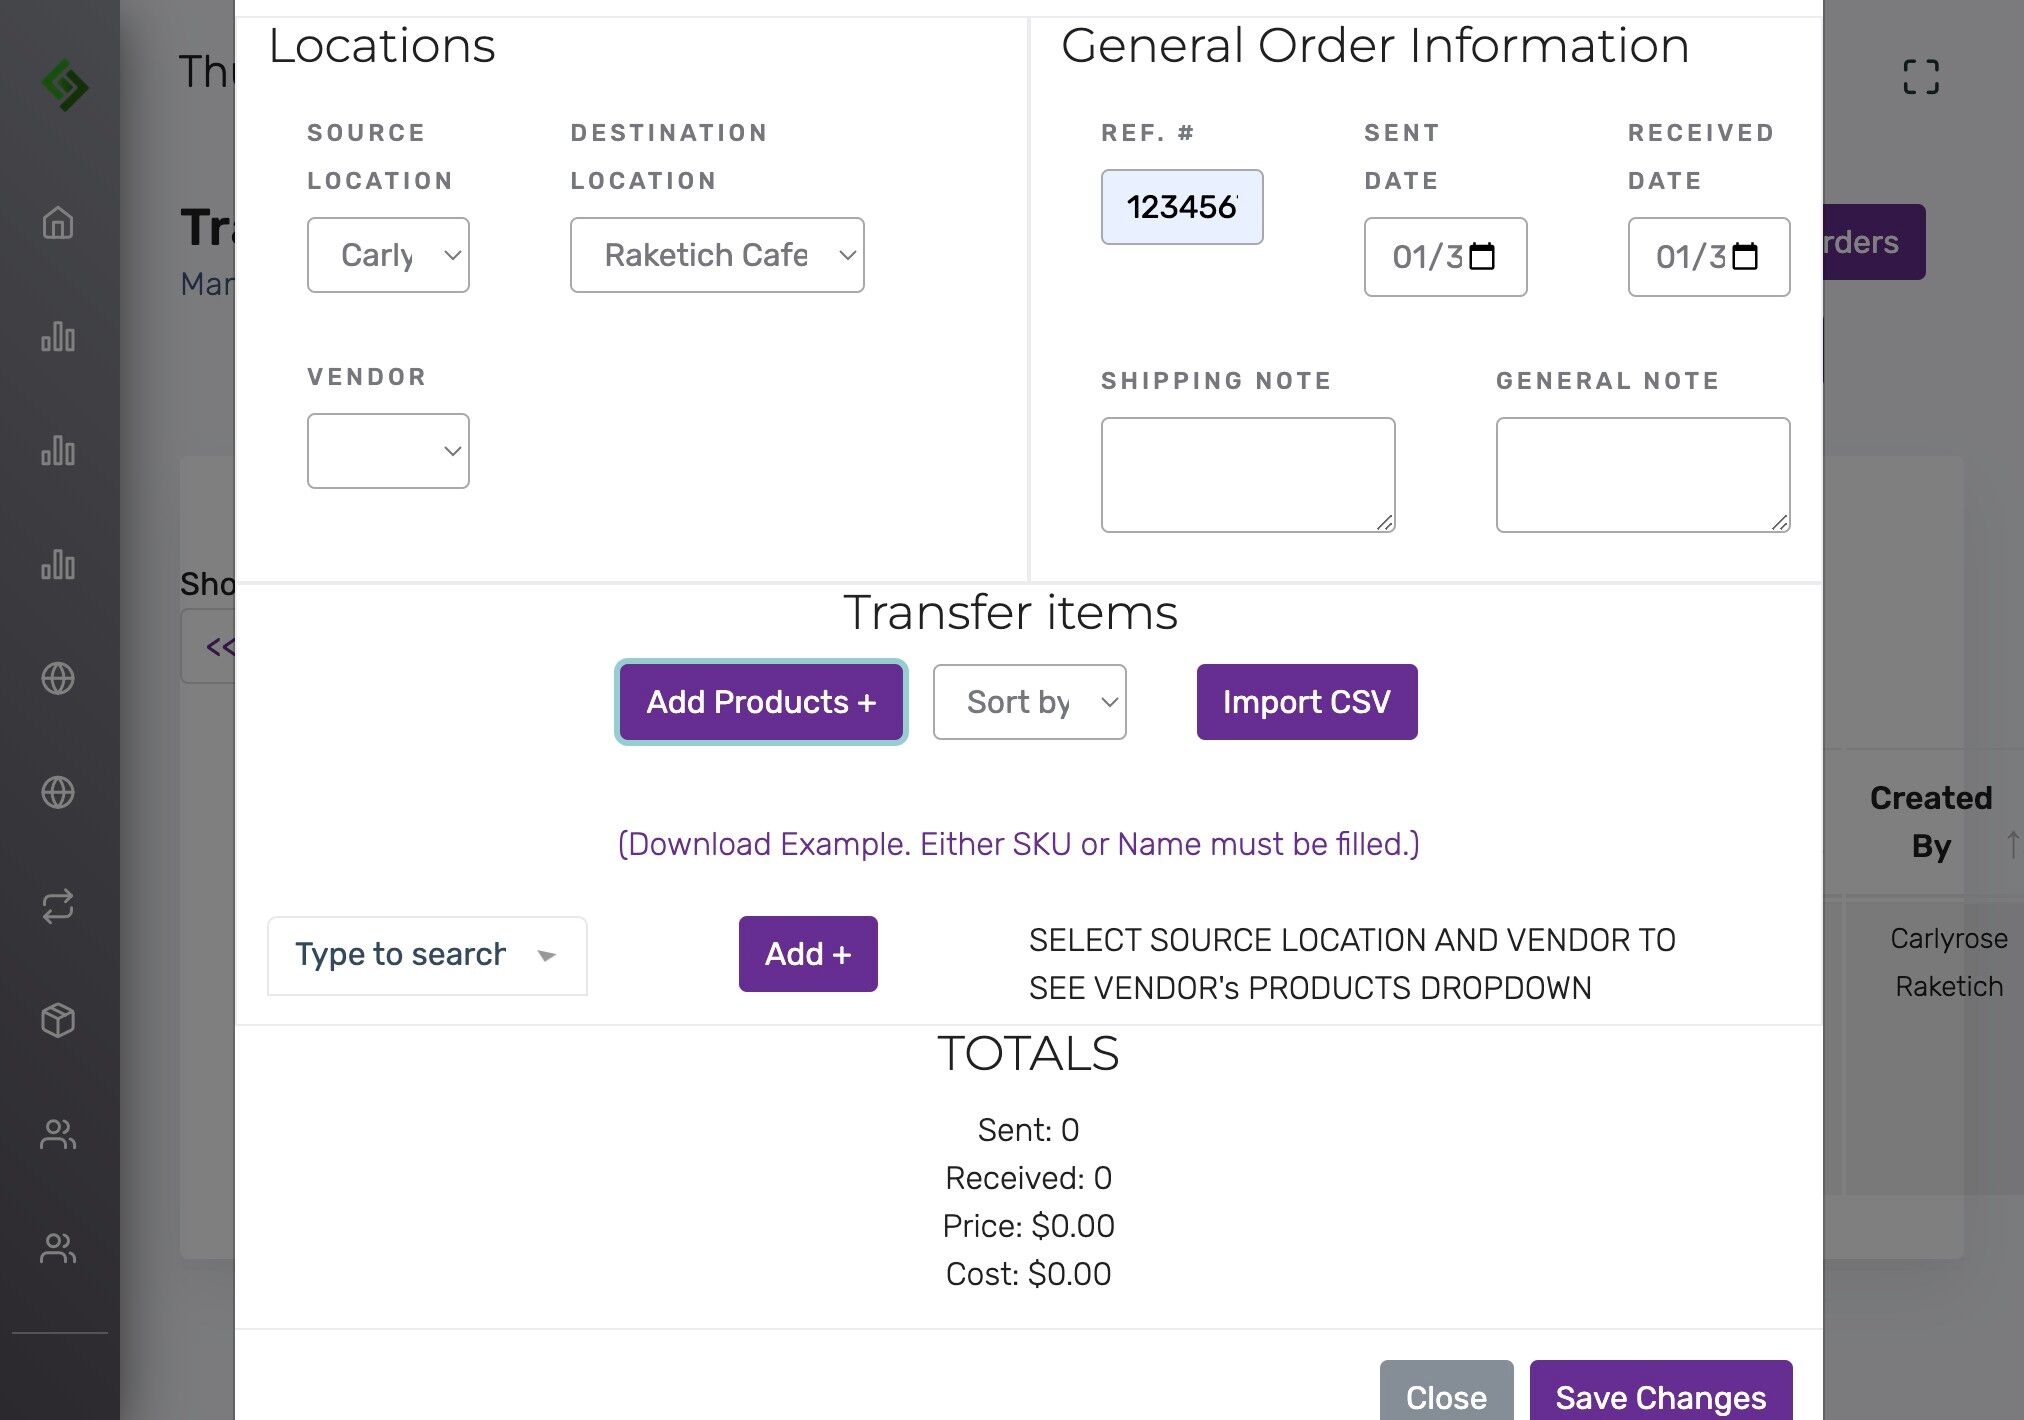
Add items to the transfer #
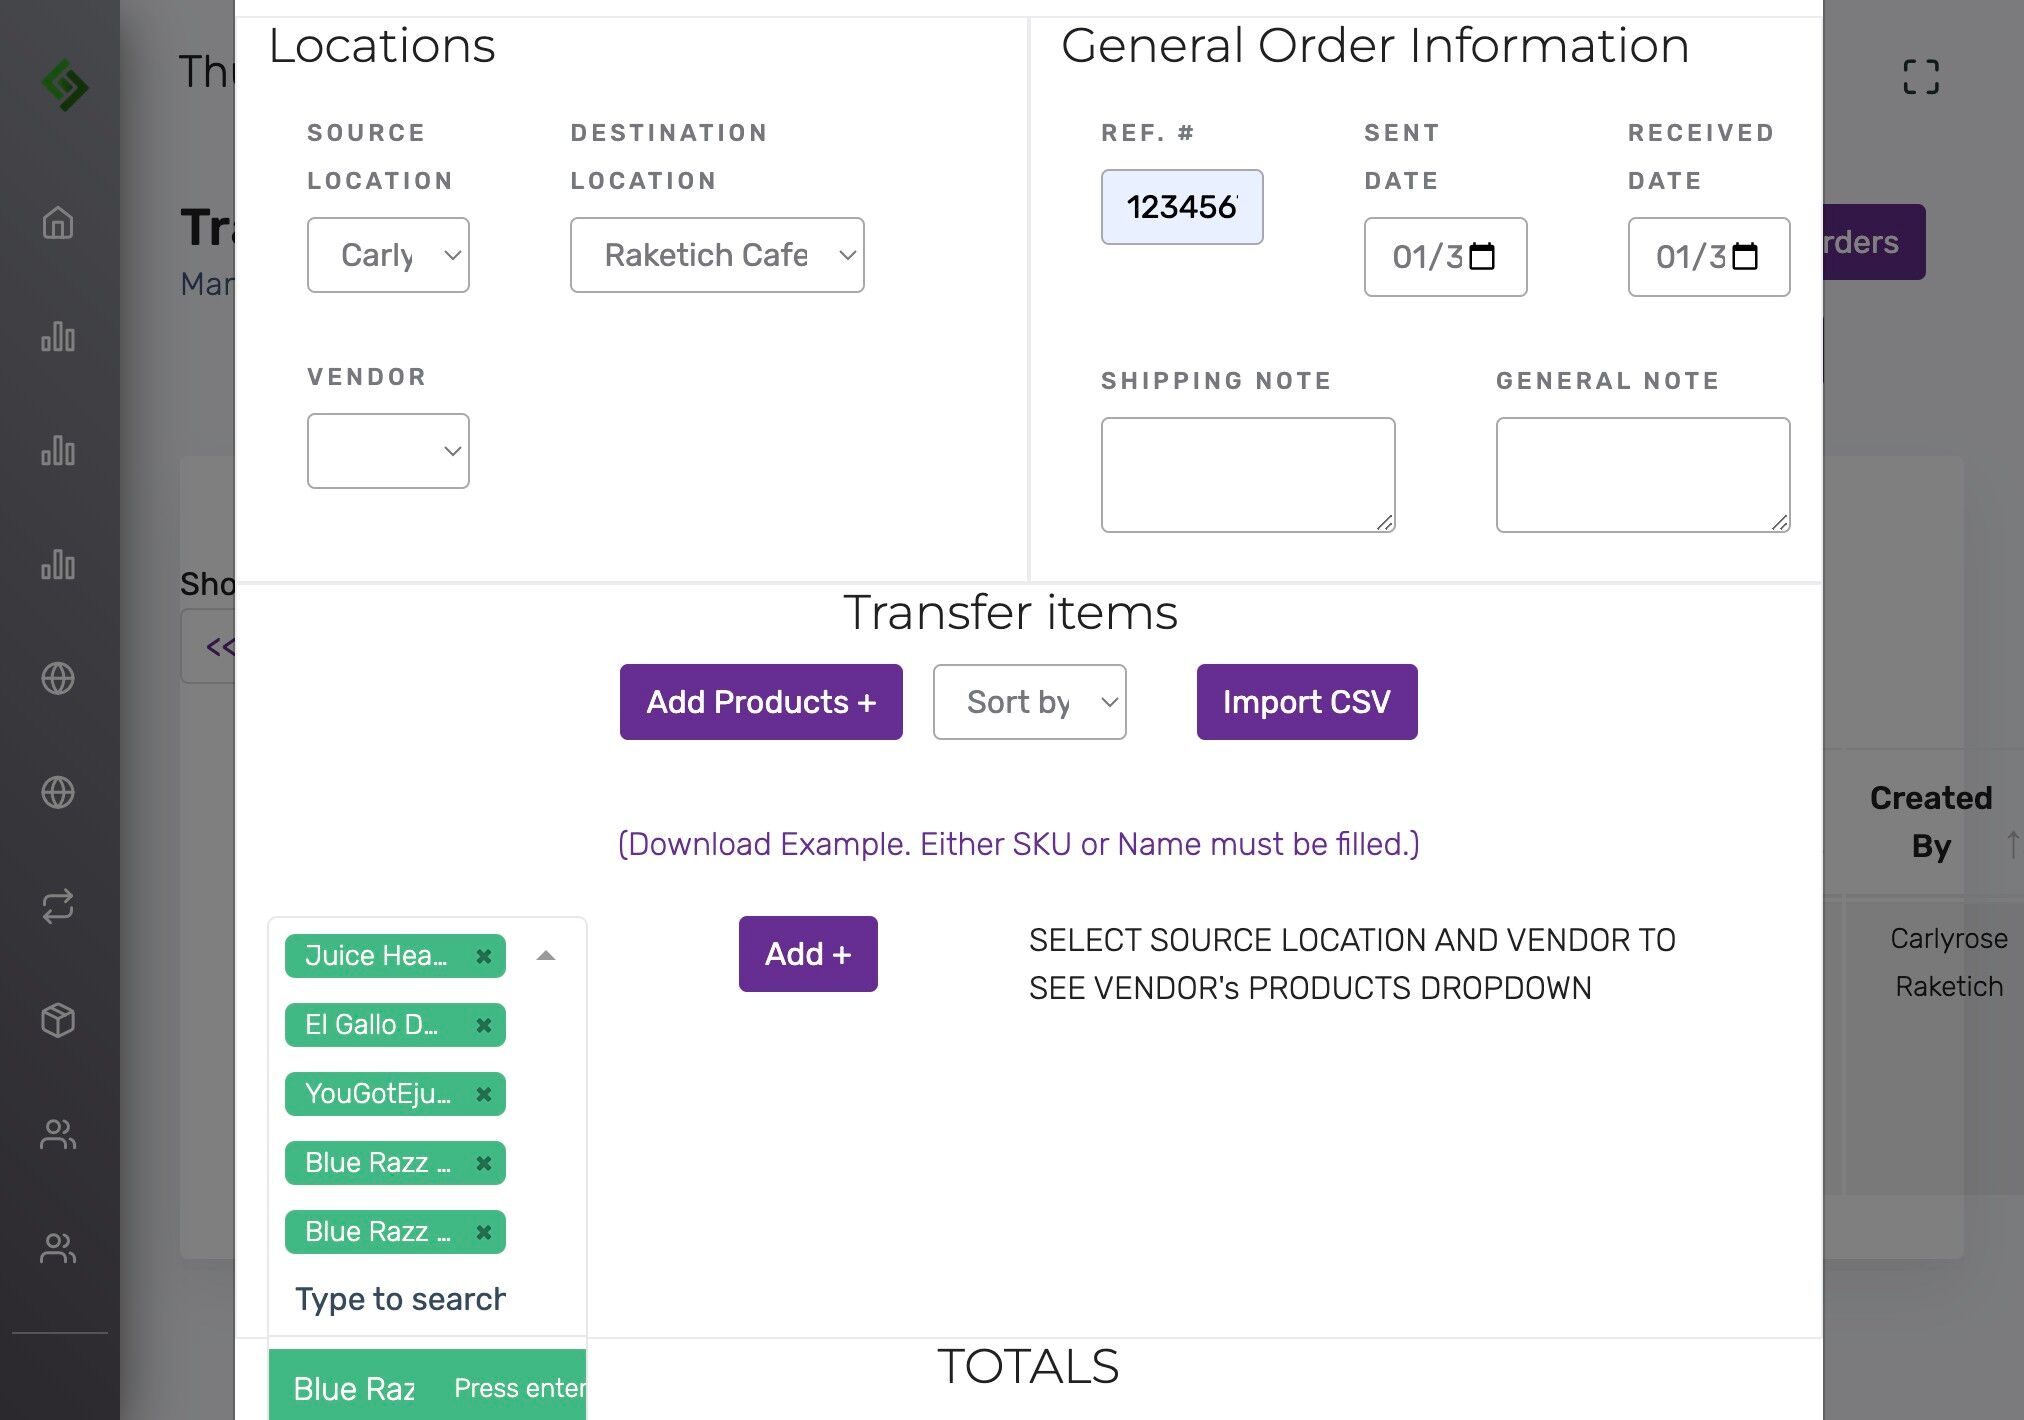
Click “Add +” after selecting items #
Enter the quantity to send #
This should match the amount physically packed and shipped to the other location.
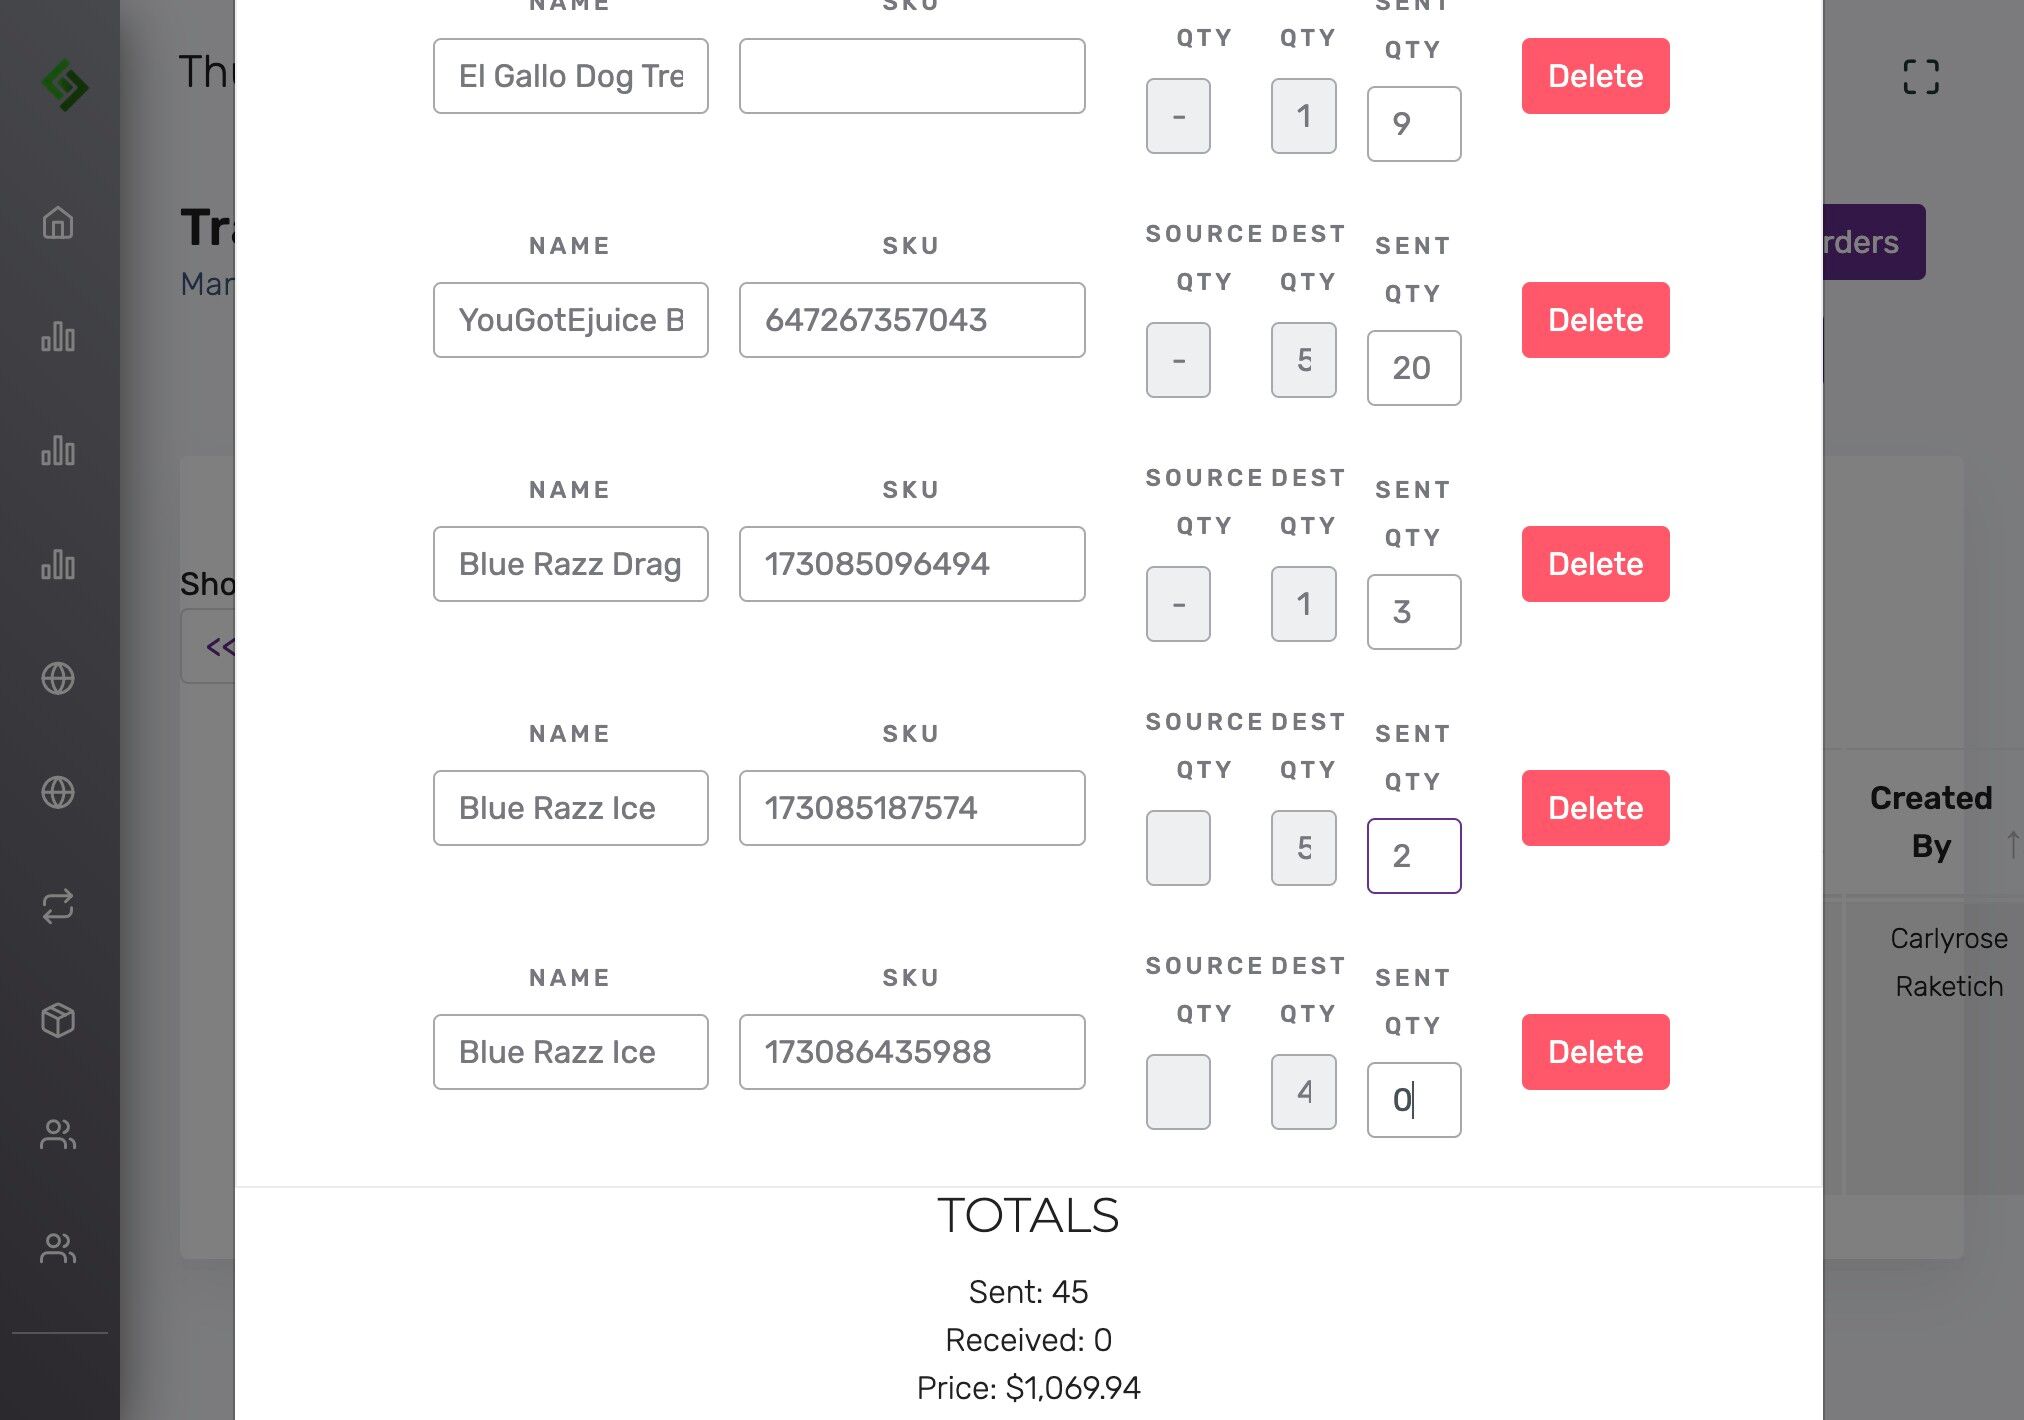
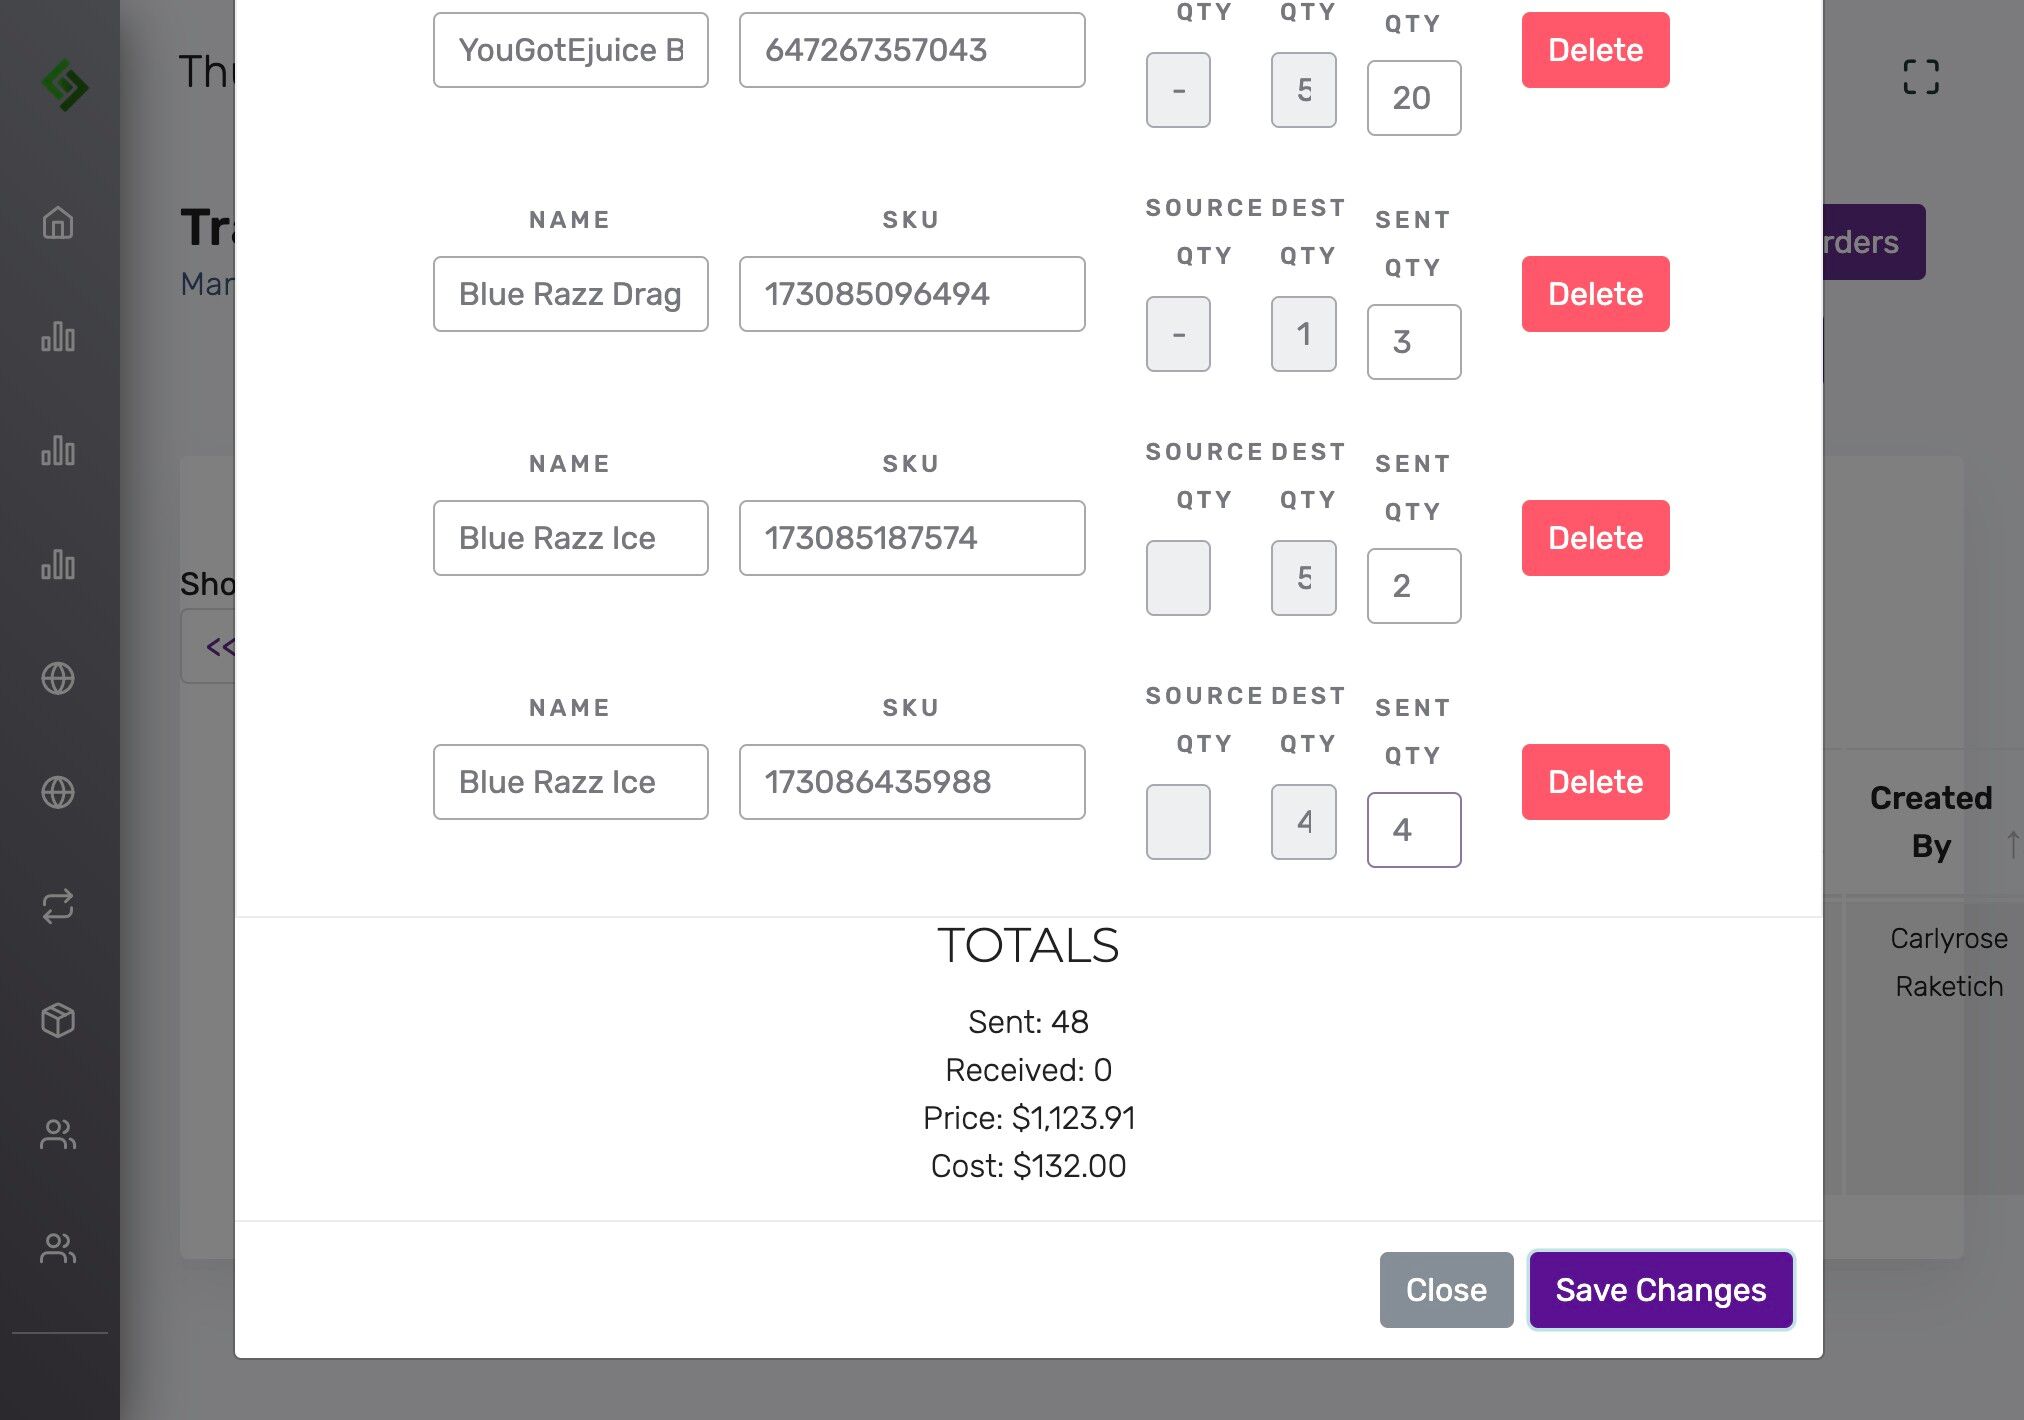
Click “Save Changes” #
Status will now say “Open” #
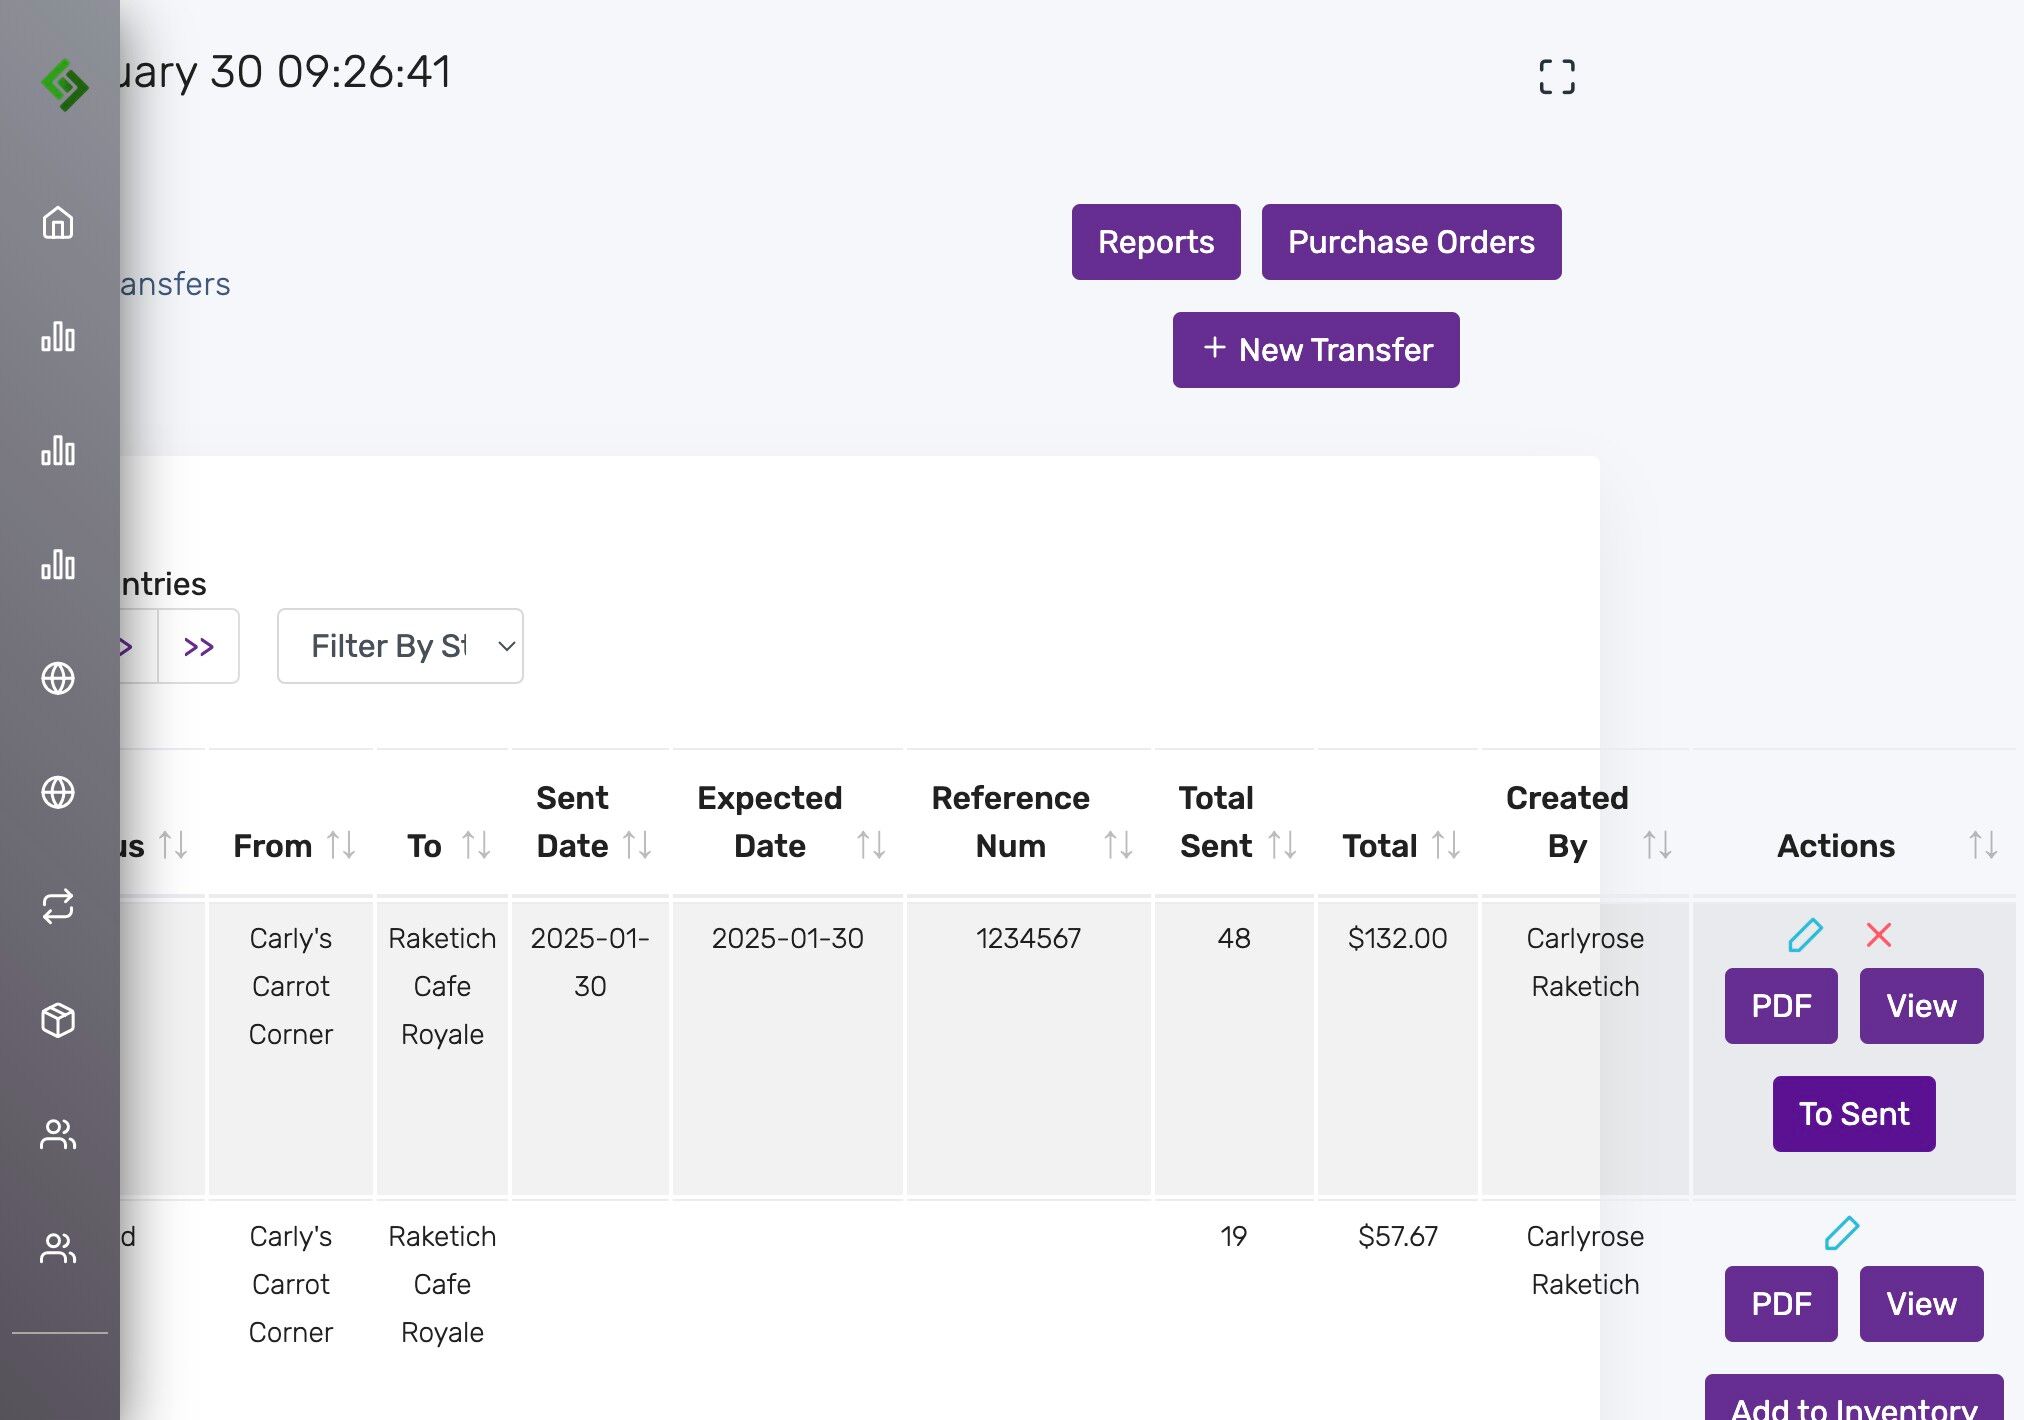
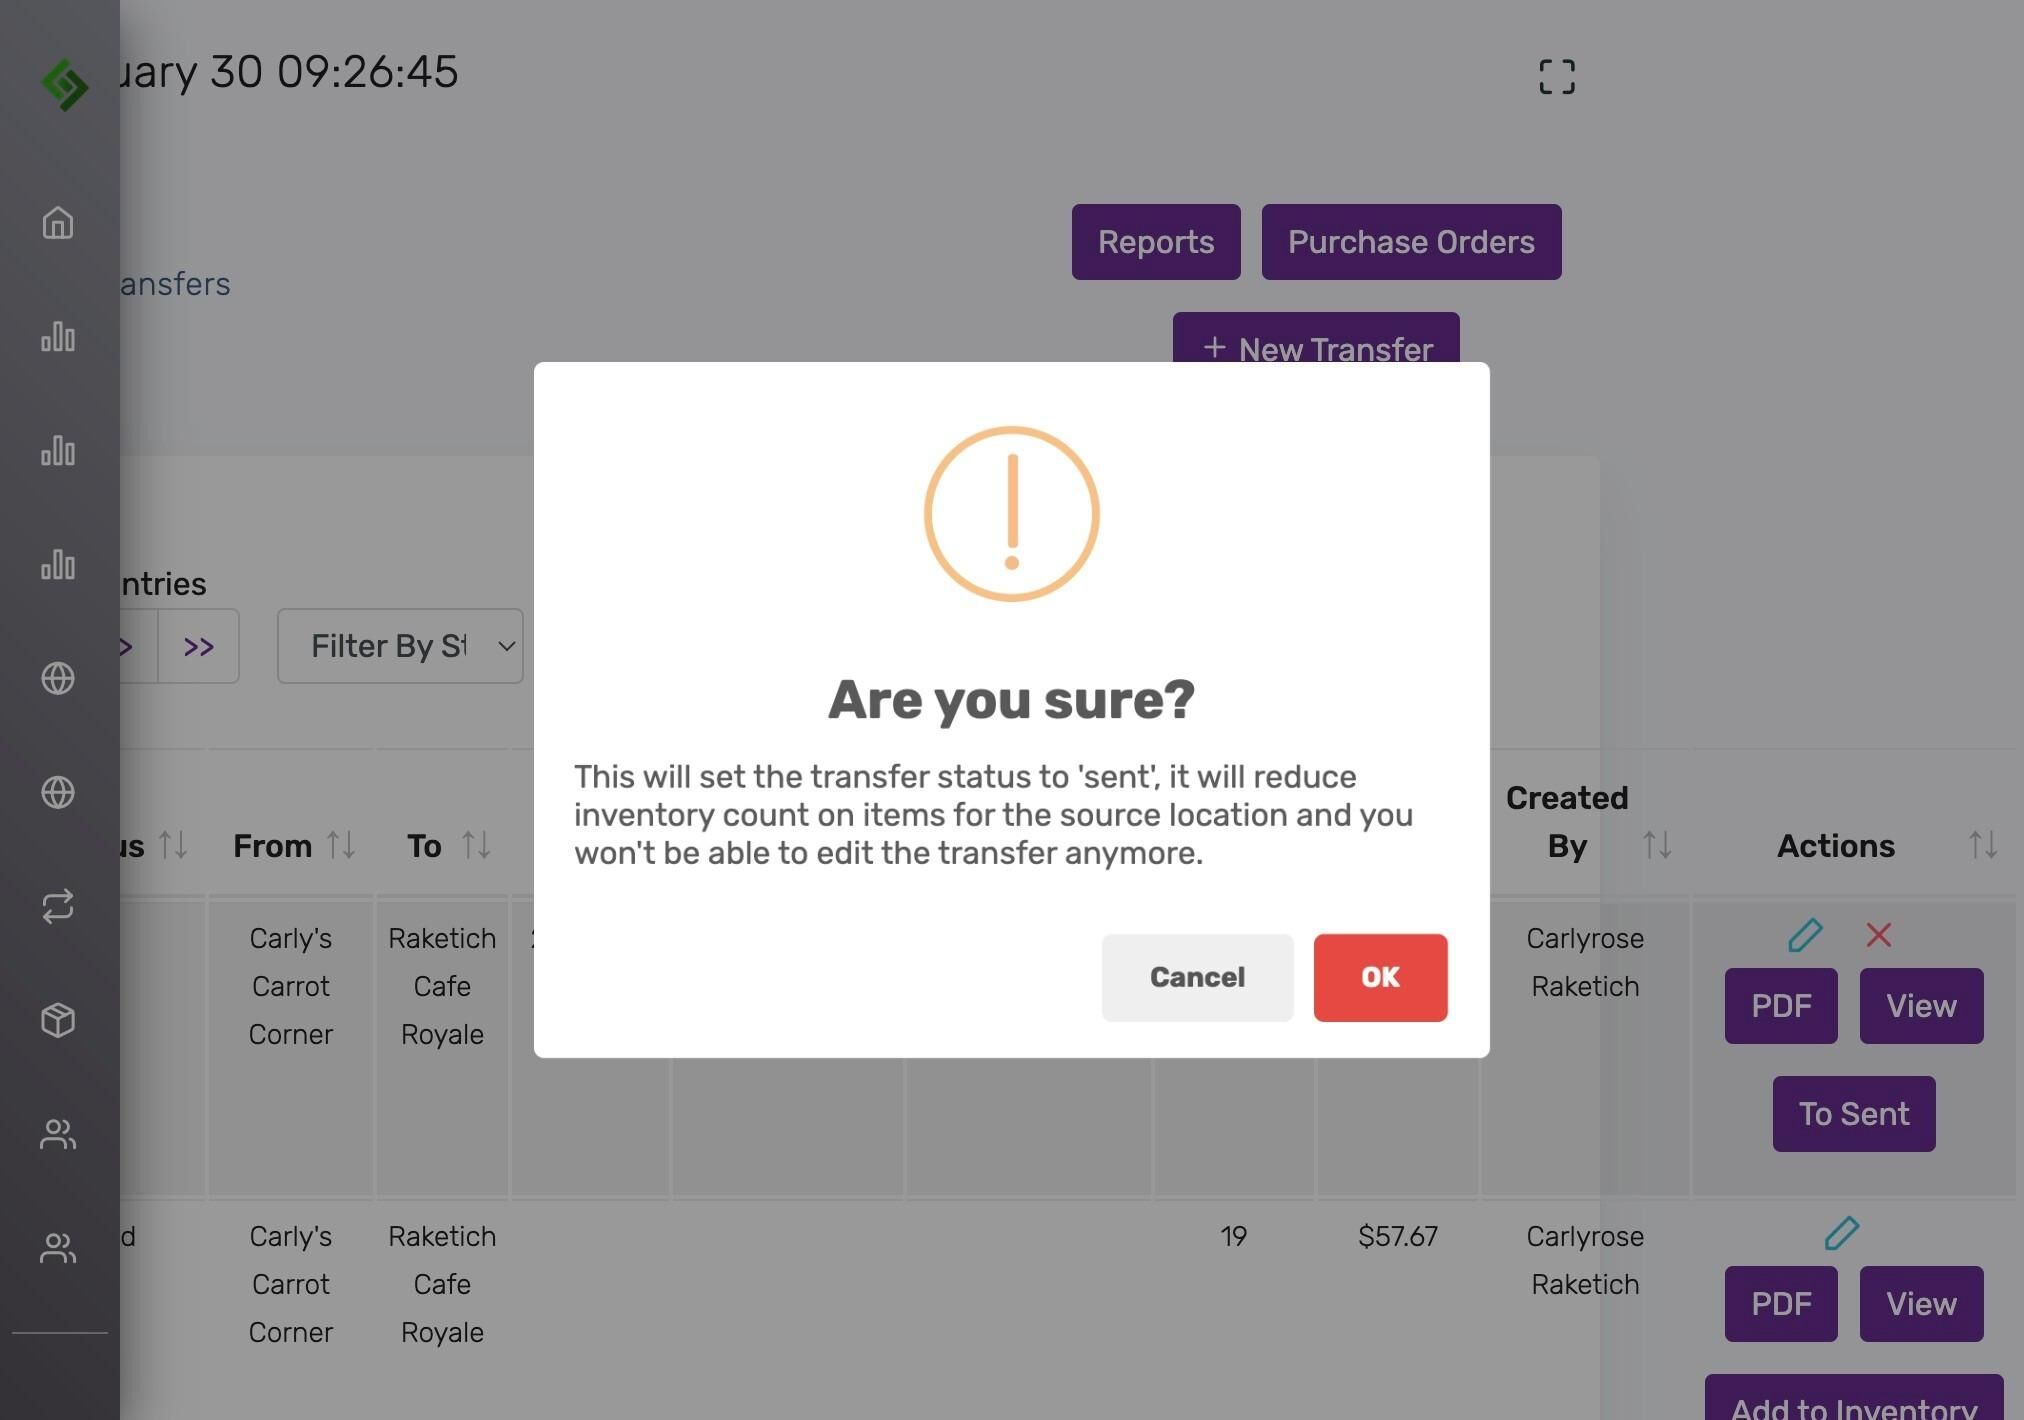
Click “To Sent” #
Read and confirm warnings #
Setting status to ‘Sent’ reduces inventory at the source and makes it non-editable. Click OK.
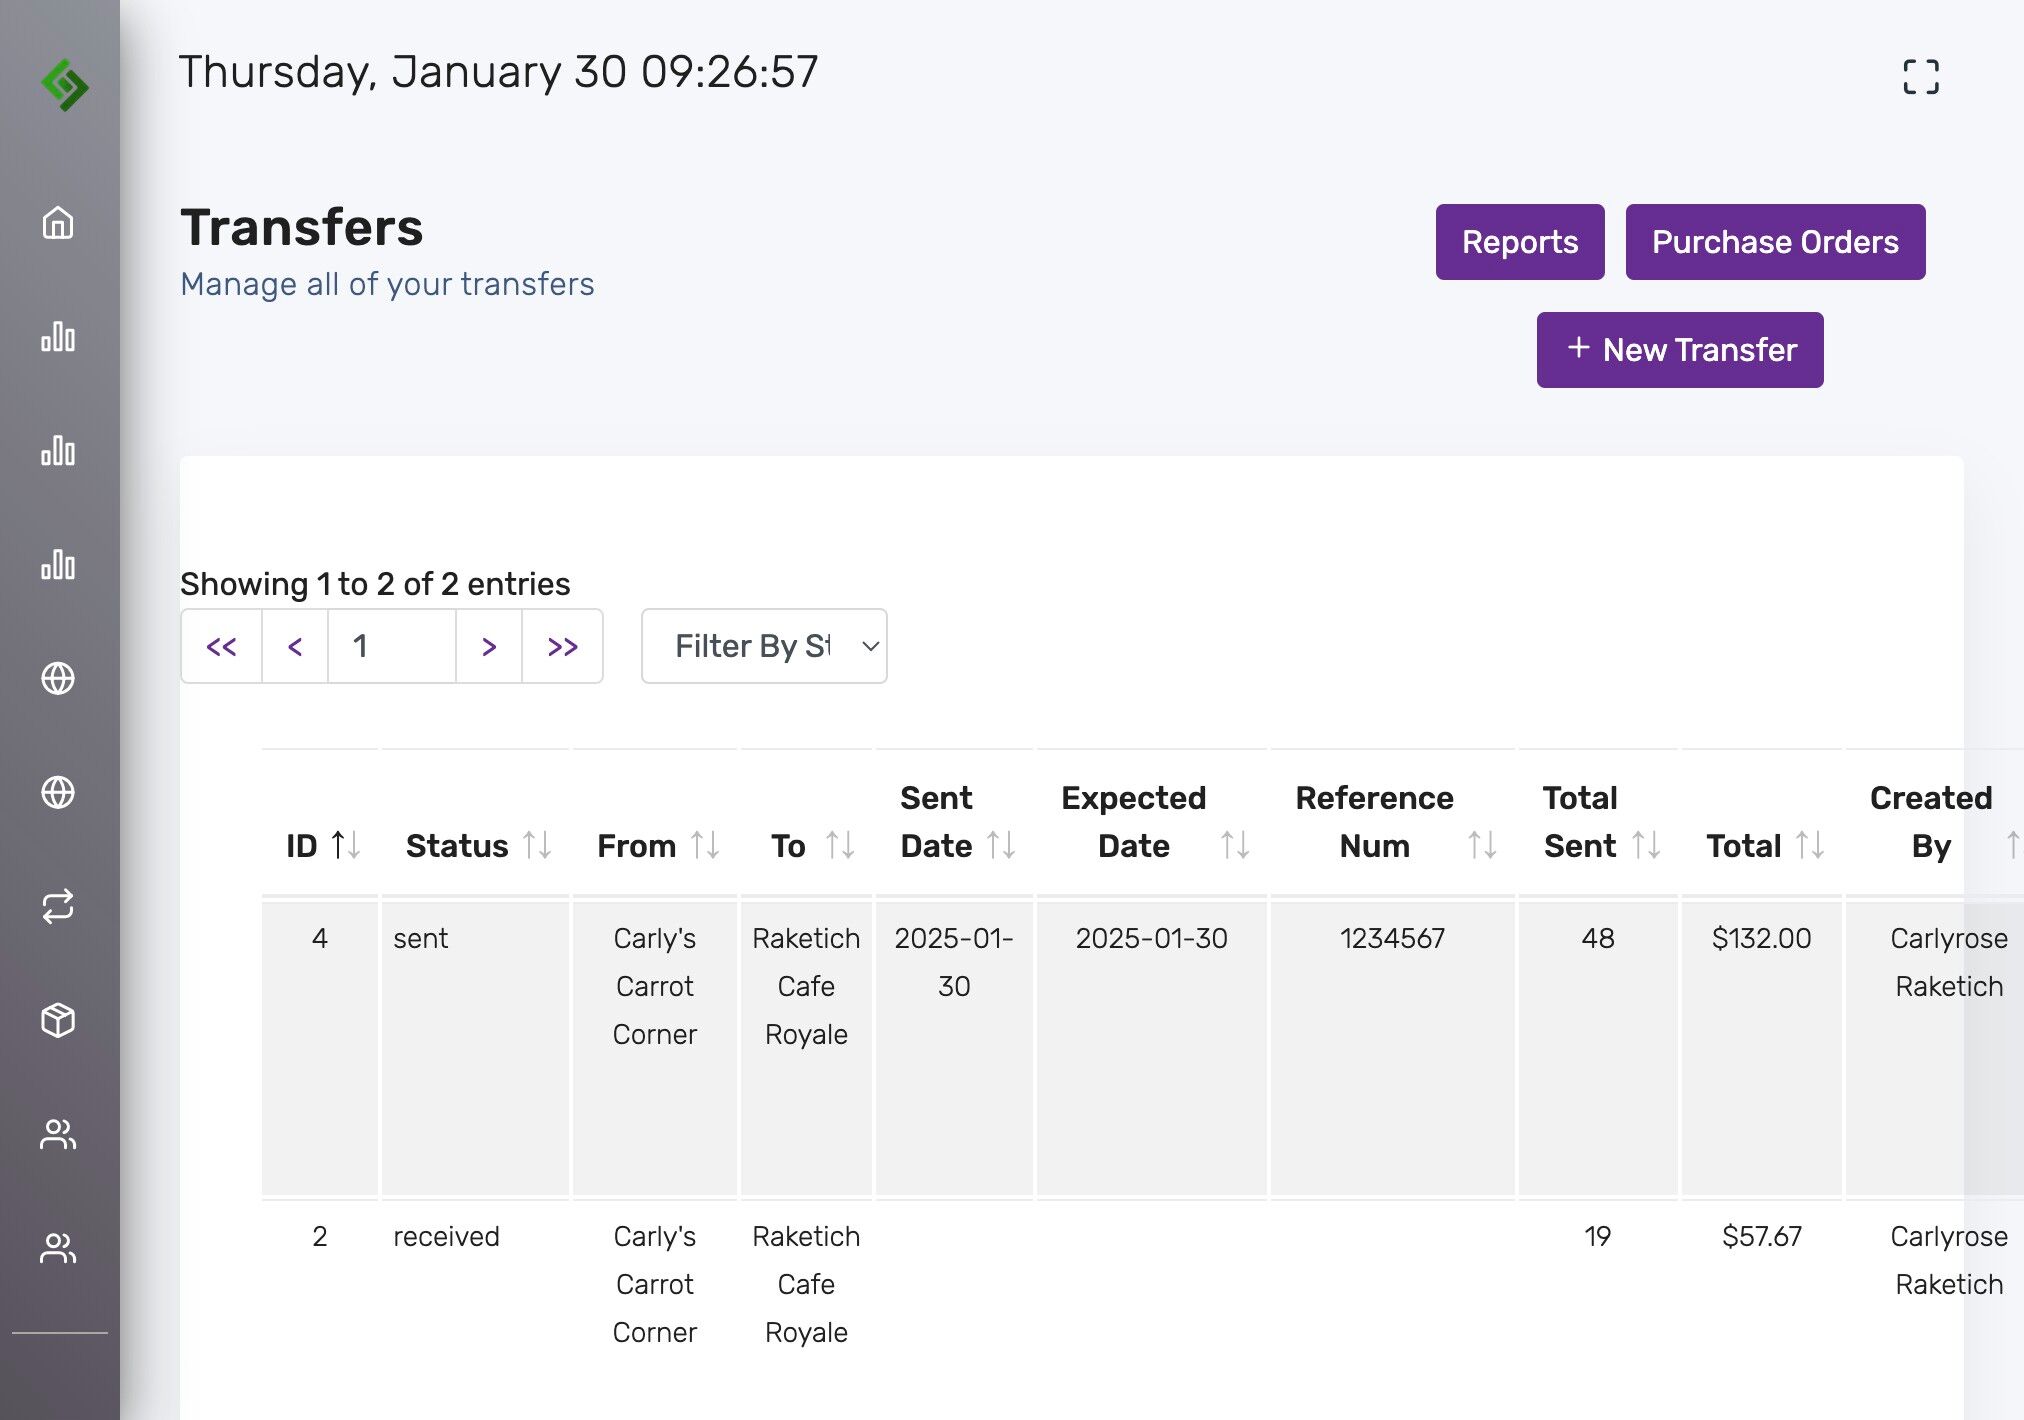
Status will now say “Sent” #
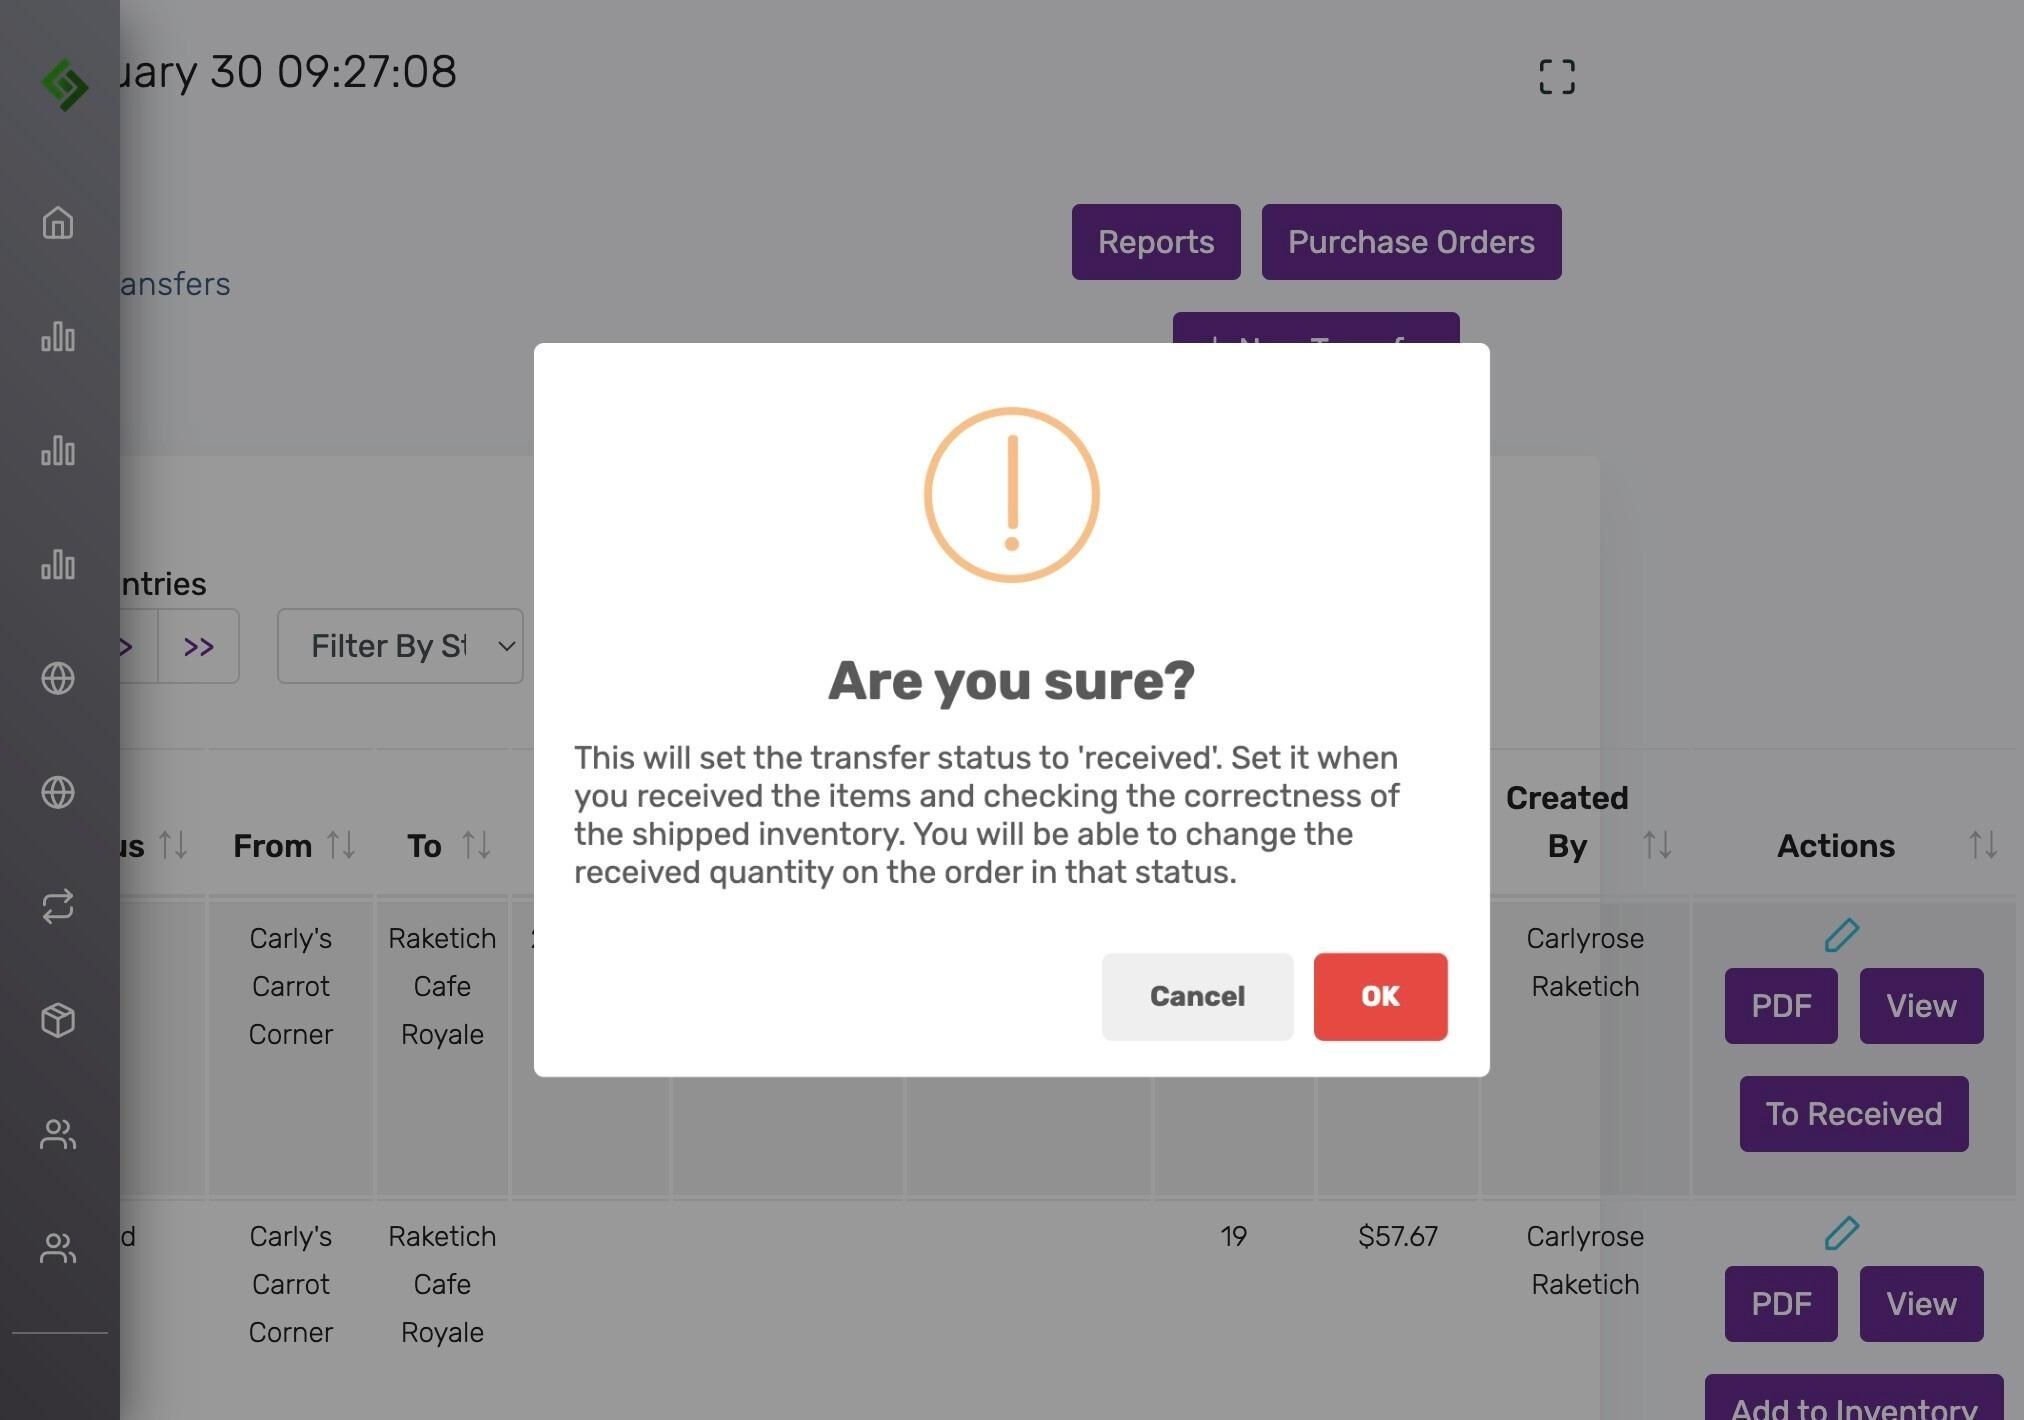
Click “To Received” when the shipment arrives #

Read and confirm warnings again #
Only mark as ‘Received’ after verification. Adjust quantities if needed. Click OK.
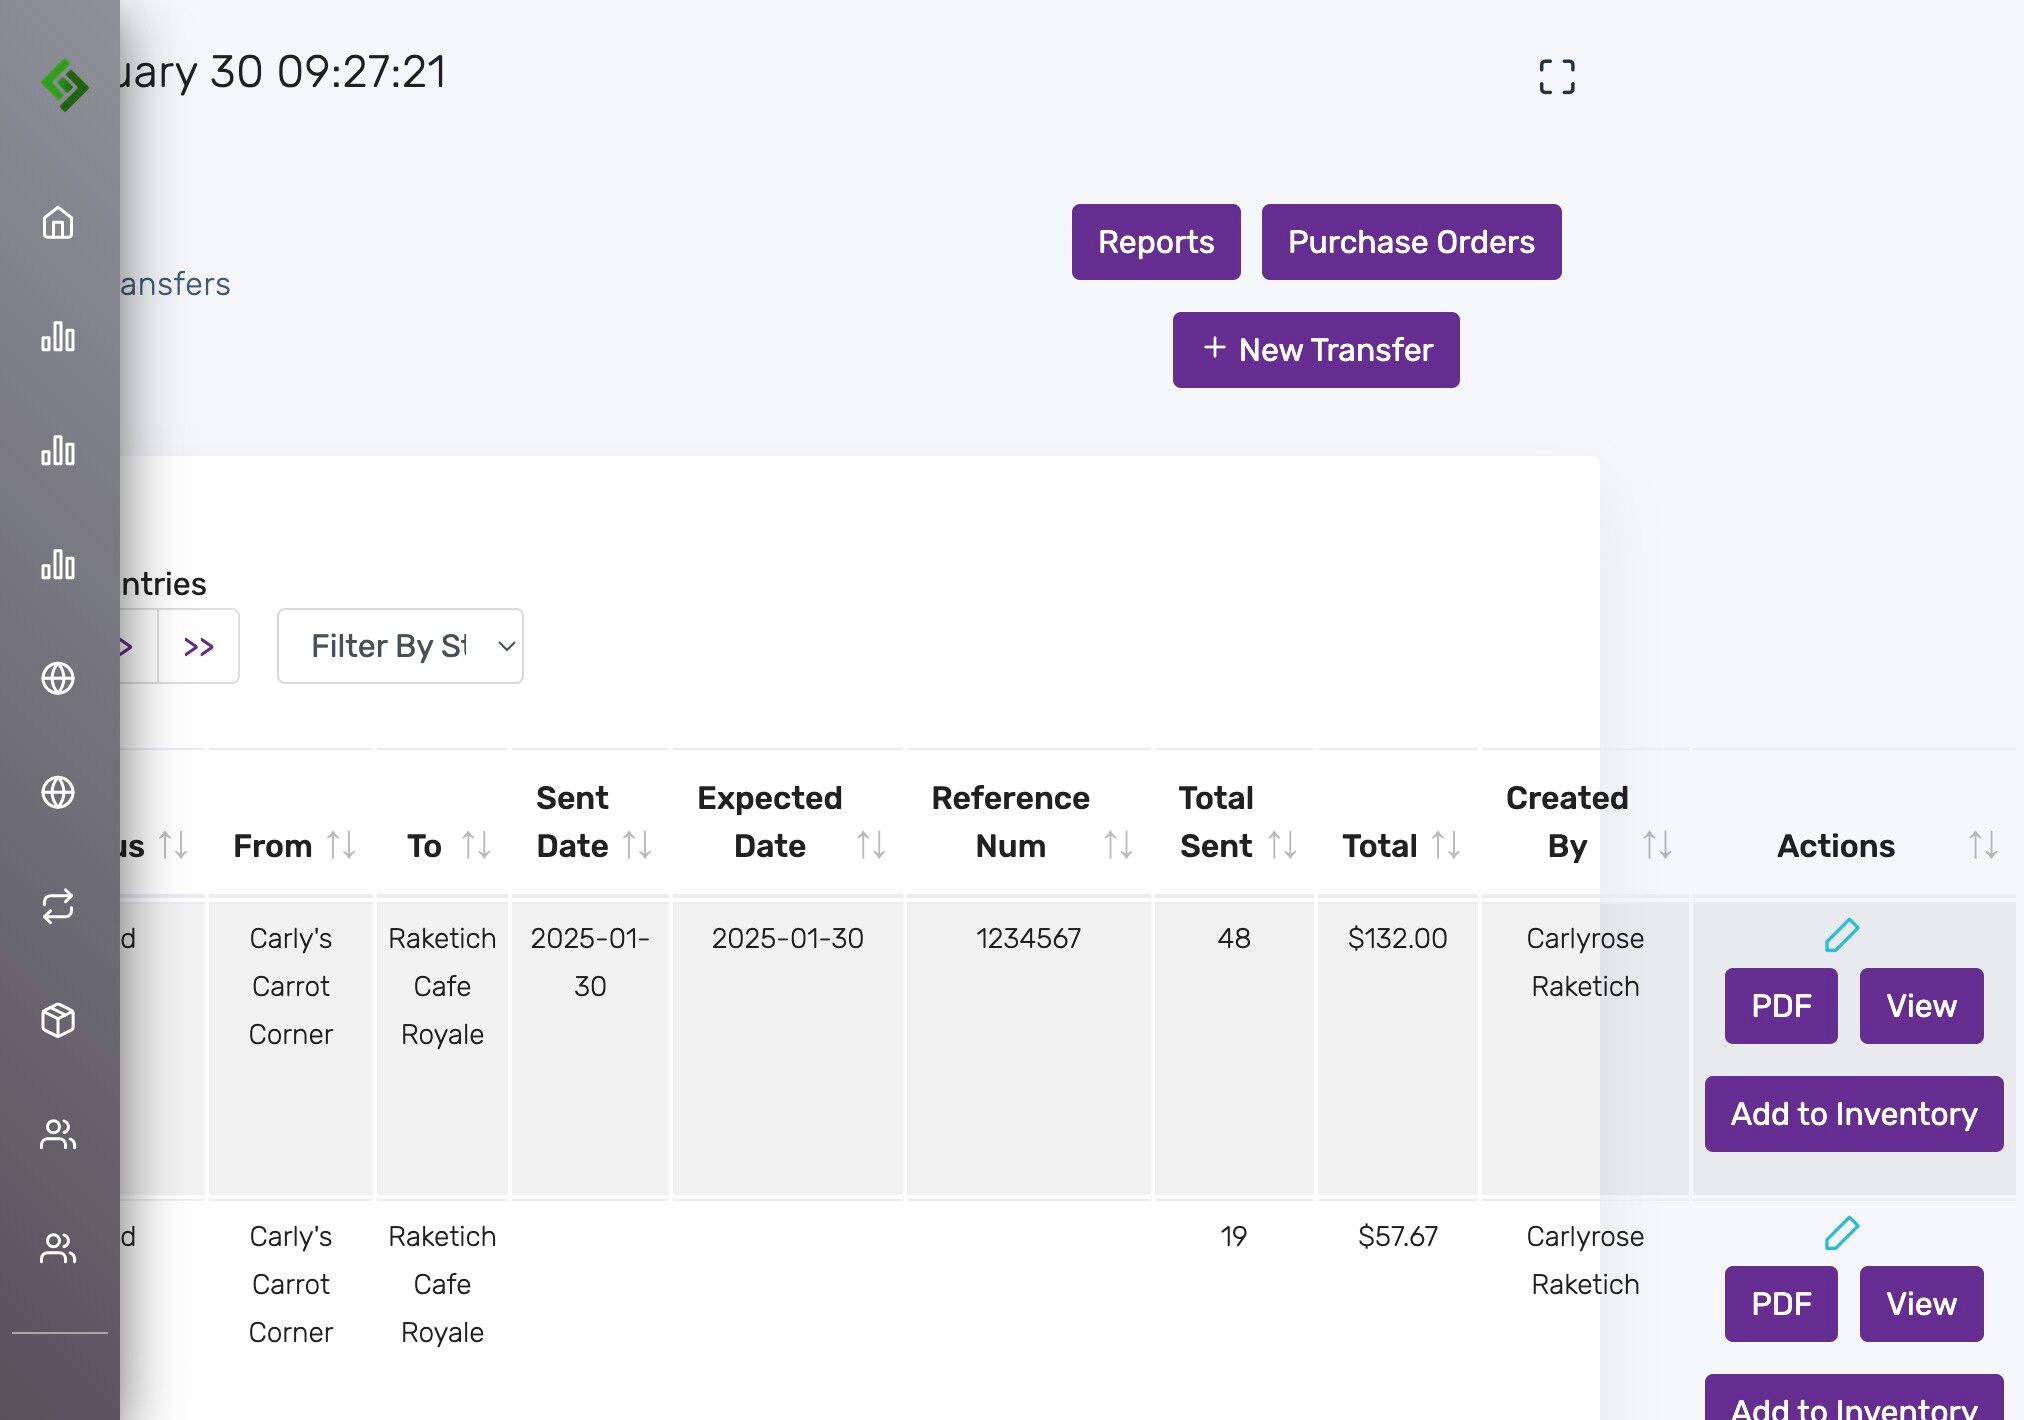
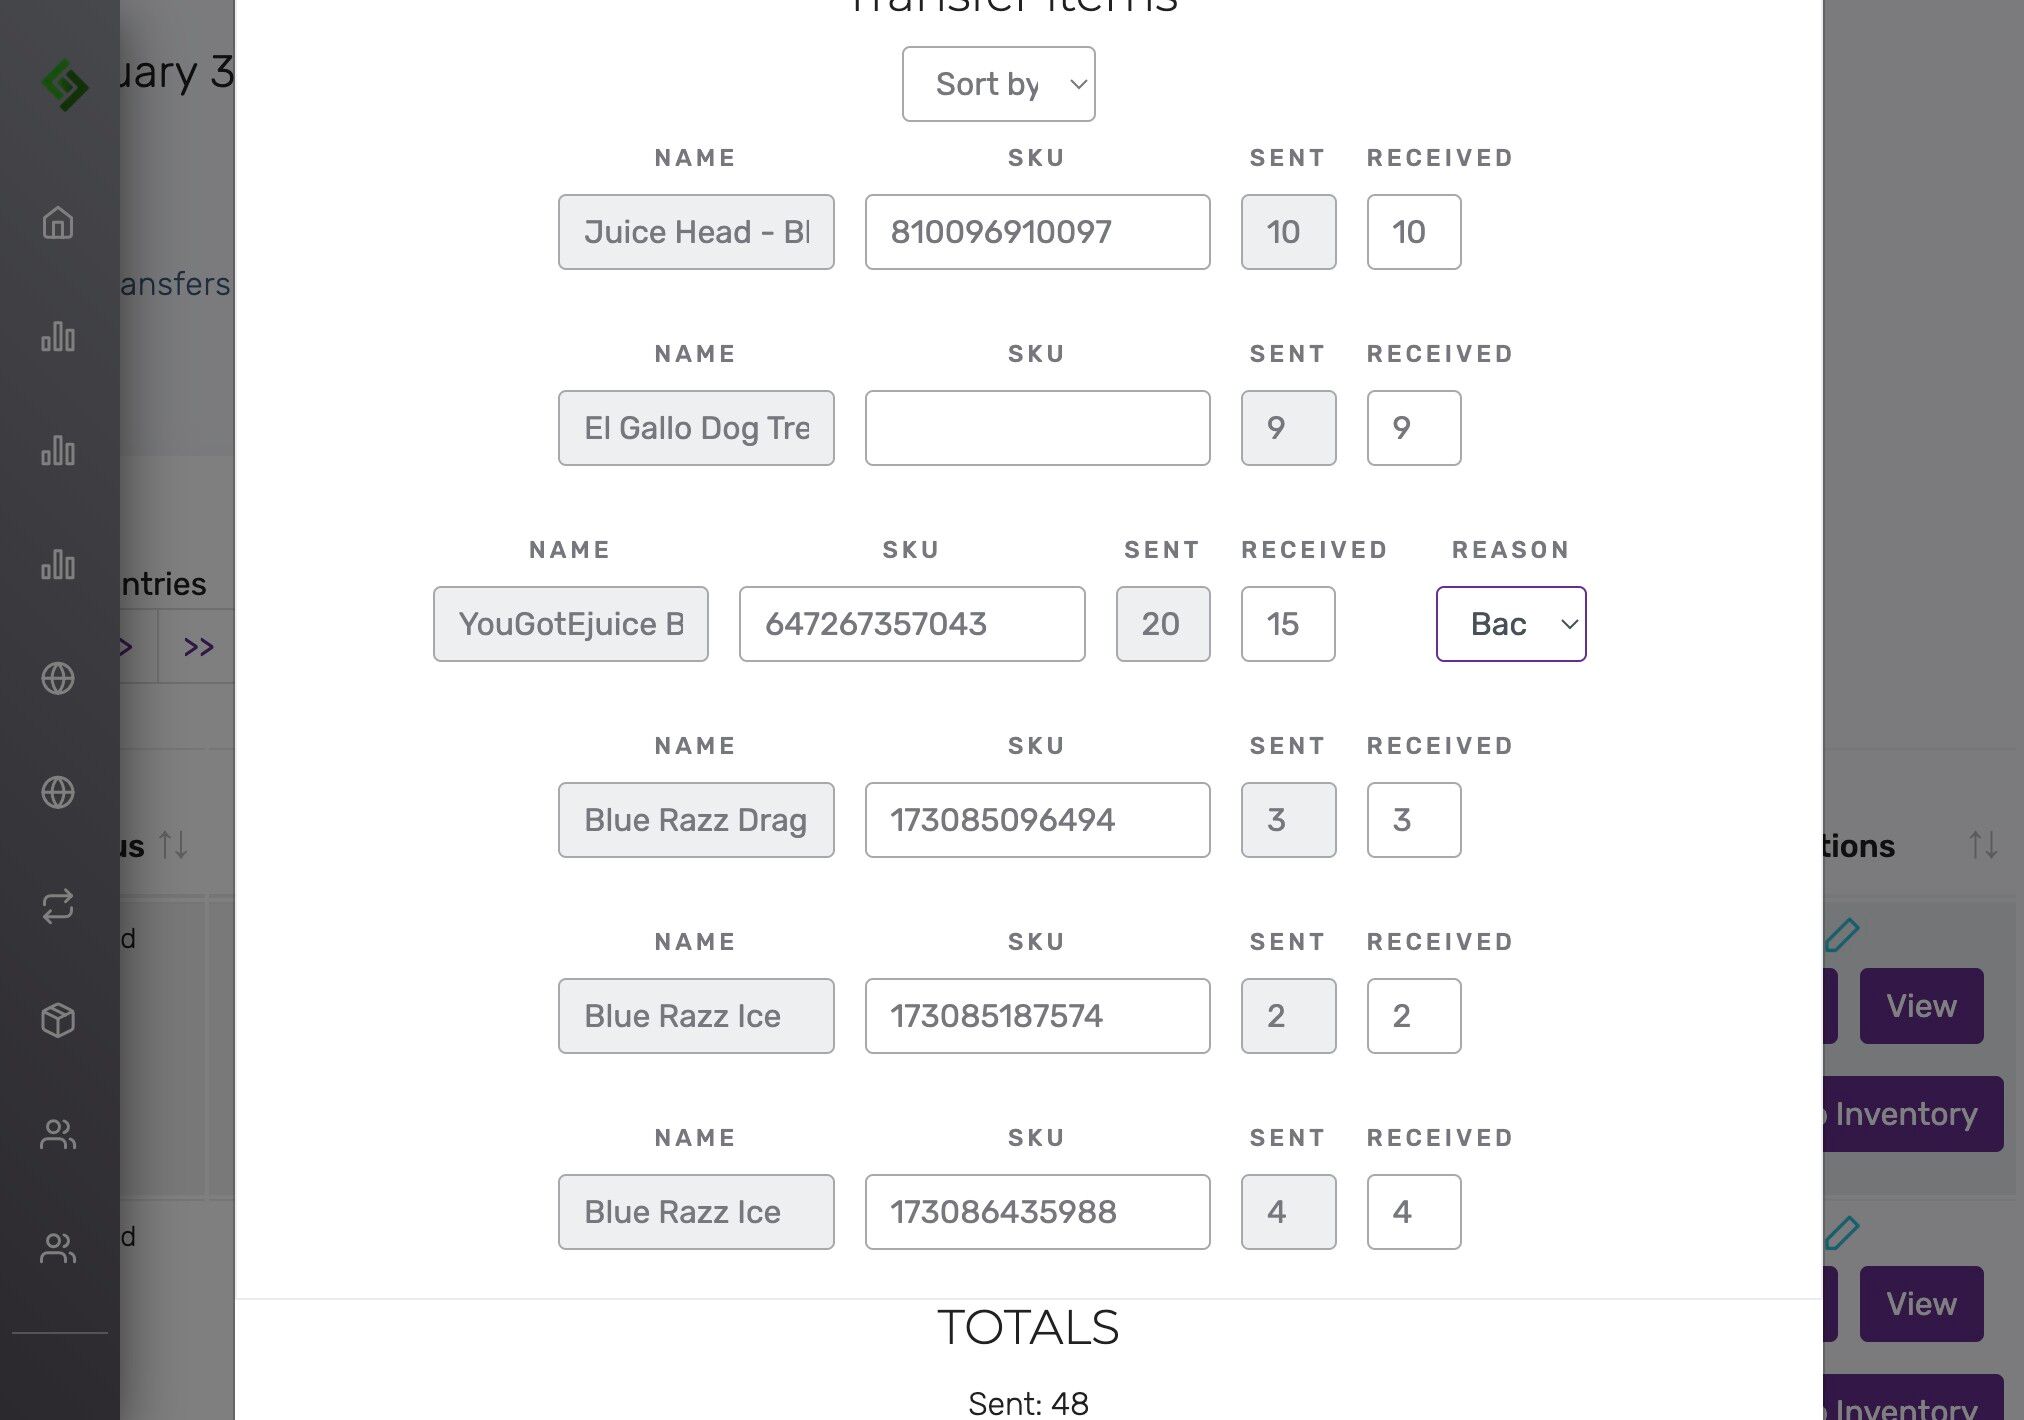
Edit to double-check quantities #
Click the blue edit pencil to verify that sent quantity matches received quantity.
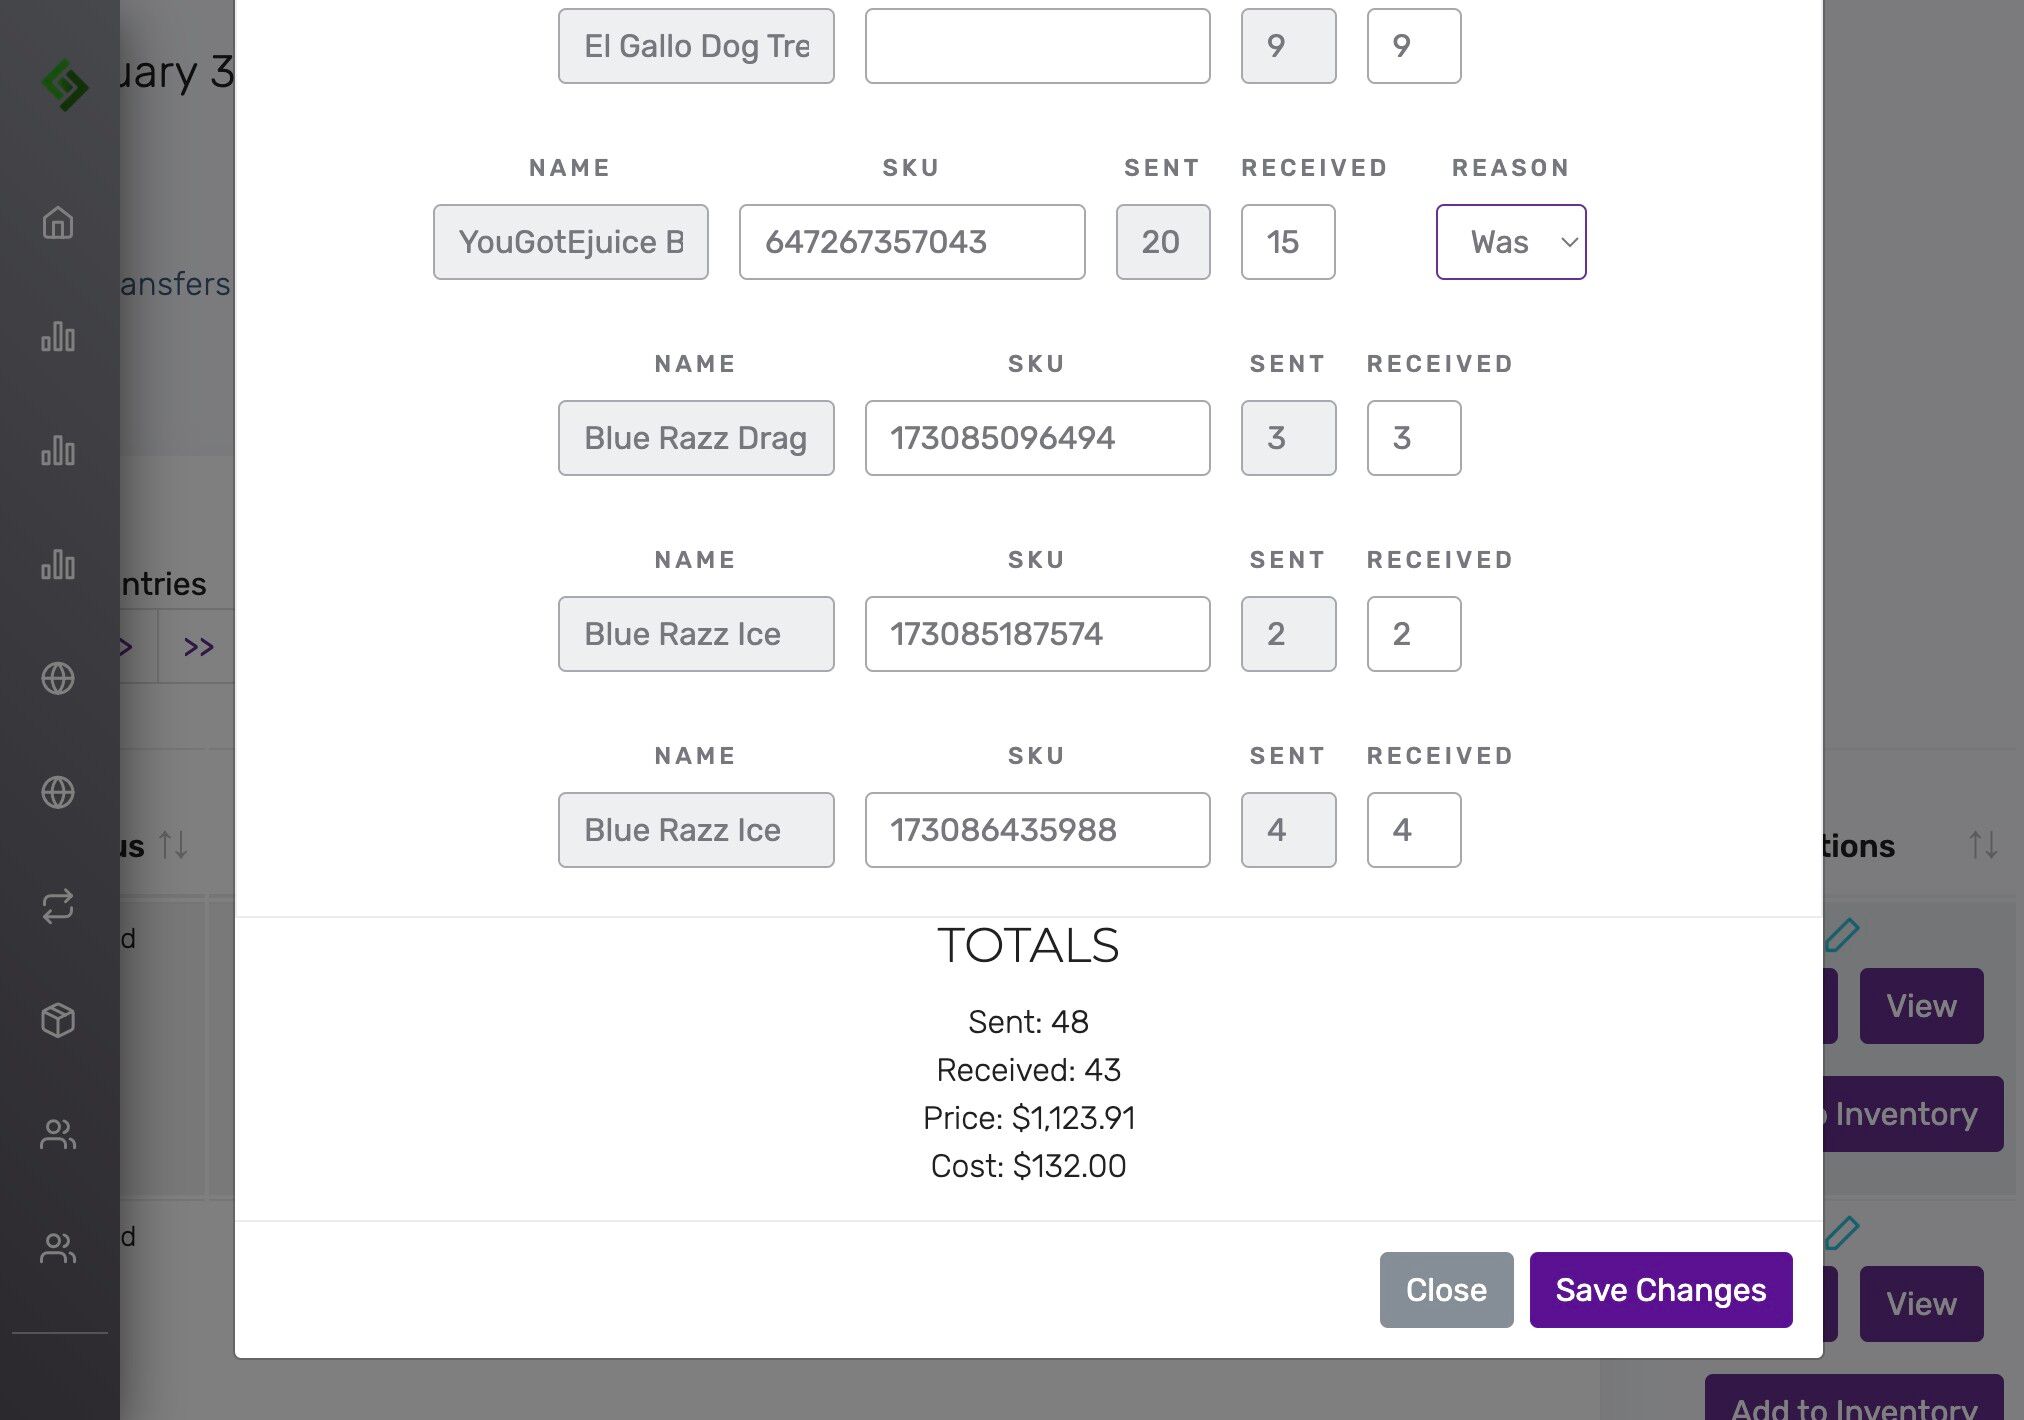
Update received quantity and reason if there’s a discrepancy #
Examples of reasons: Wasted, Source Location, Another Location
Click “Save Changes” #
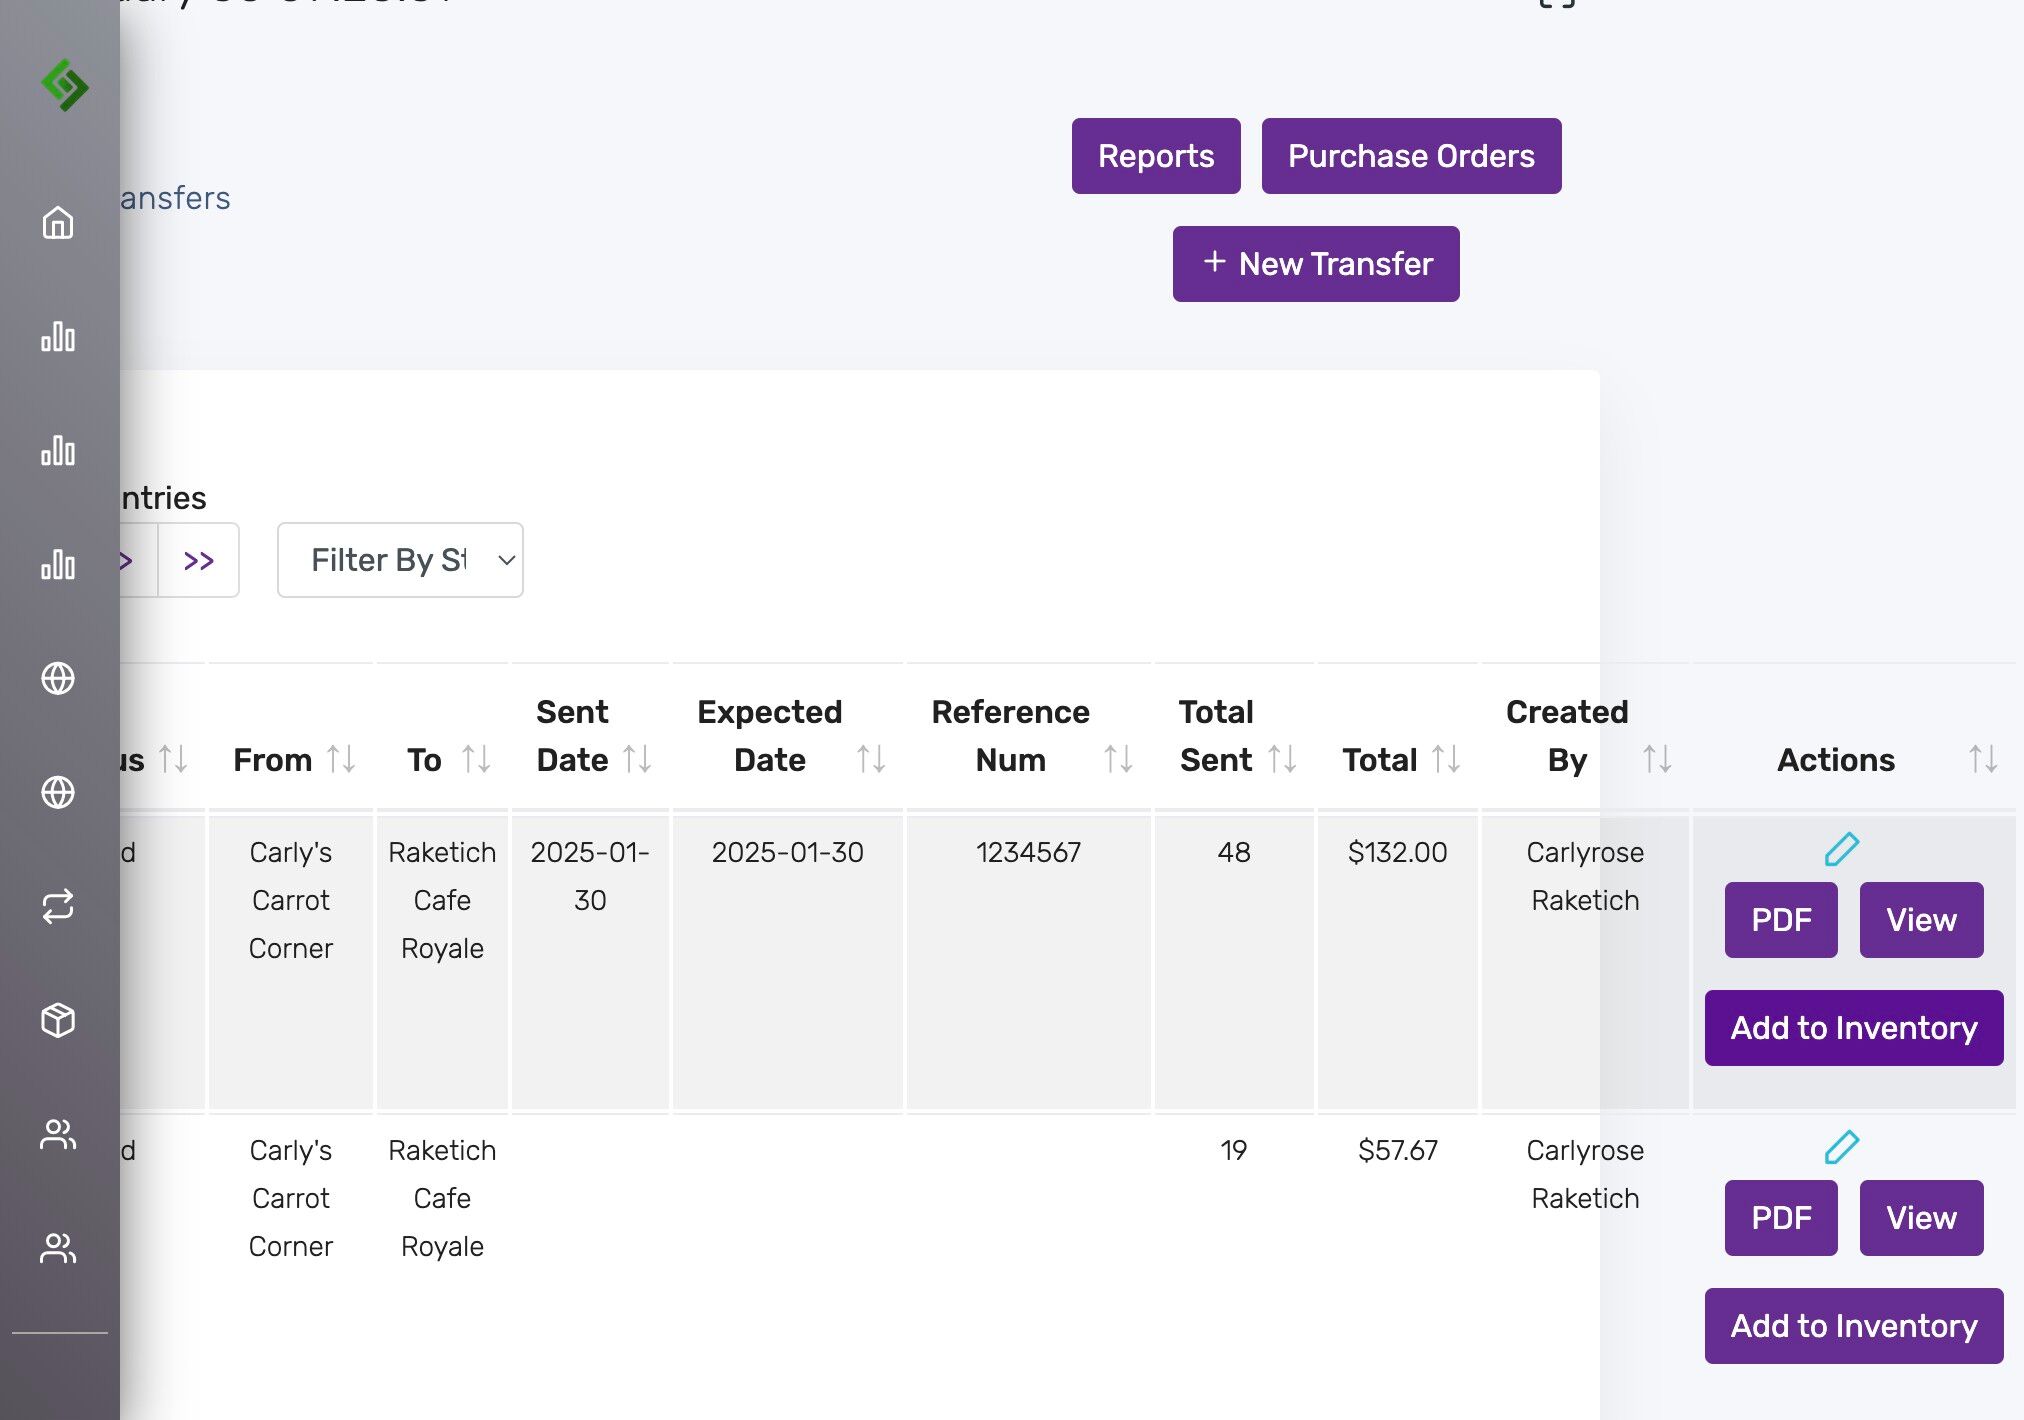
Click “Add to Inventory” #
Confirm final warning #
This will finish the transfer, increment inventory, and archive the record.
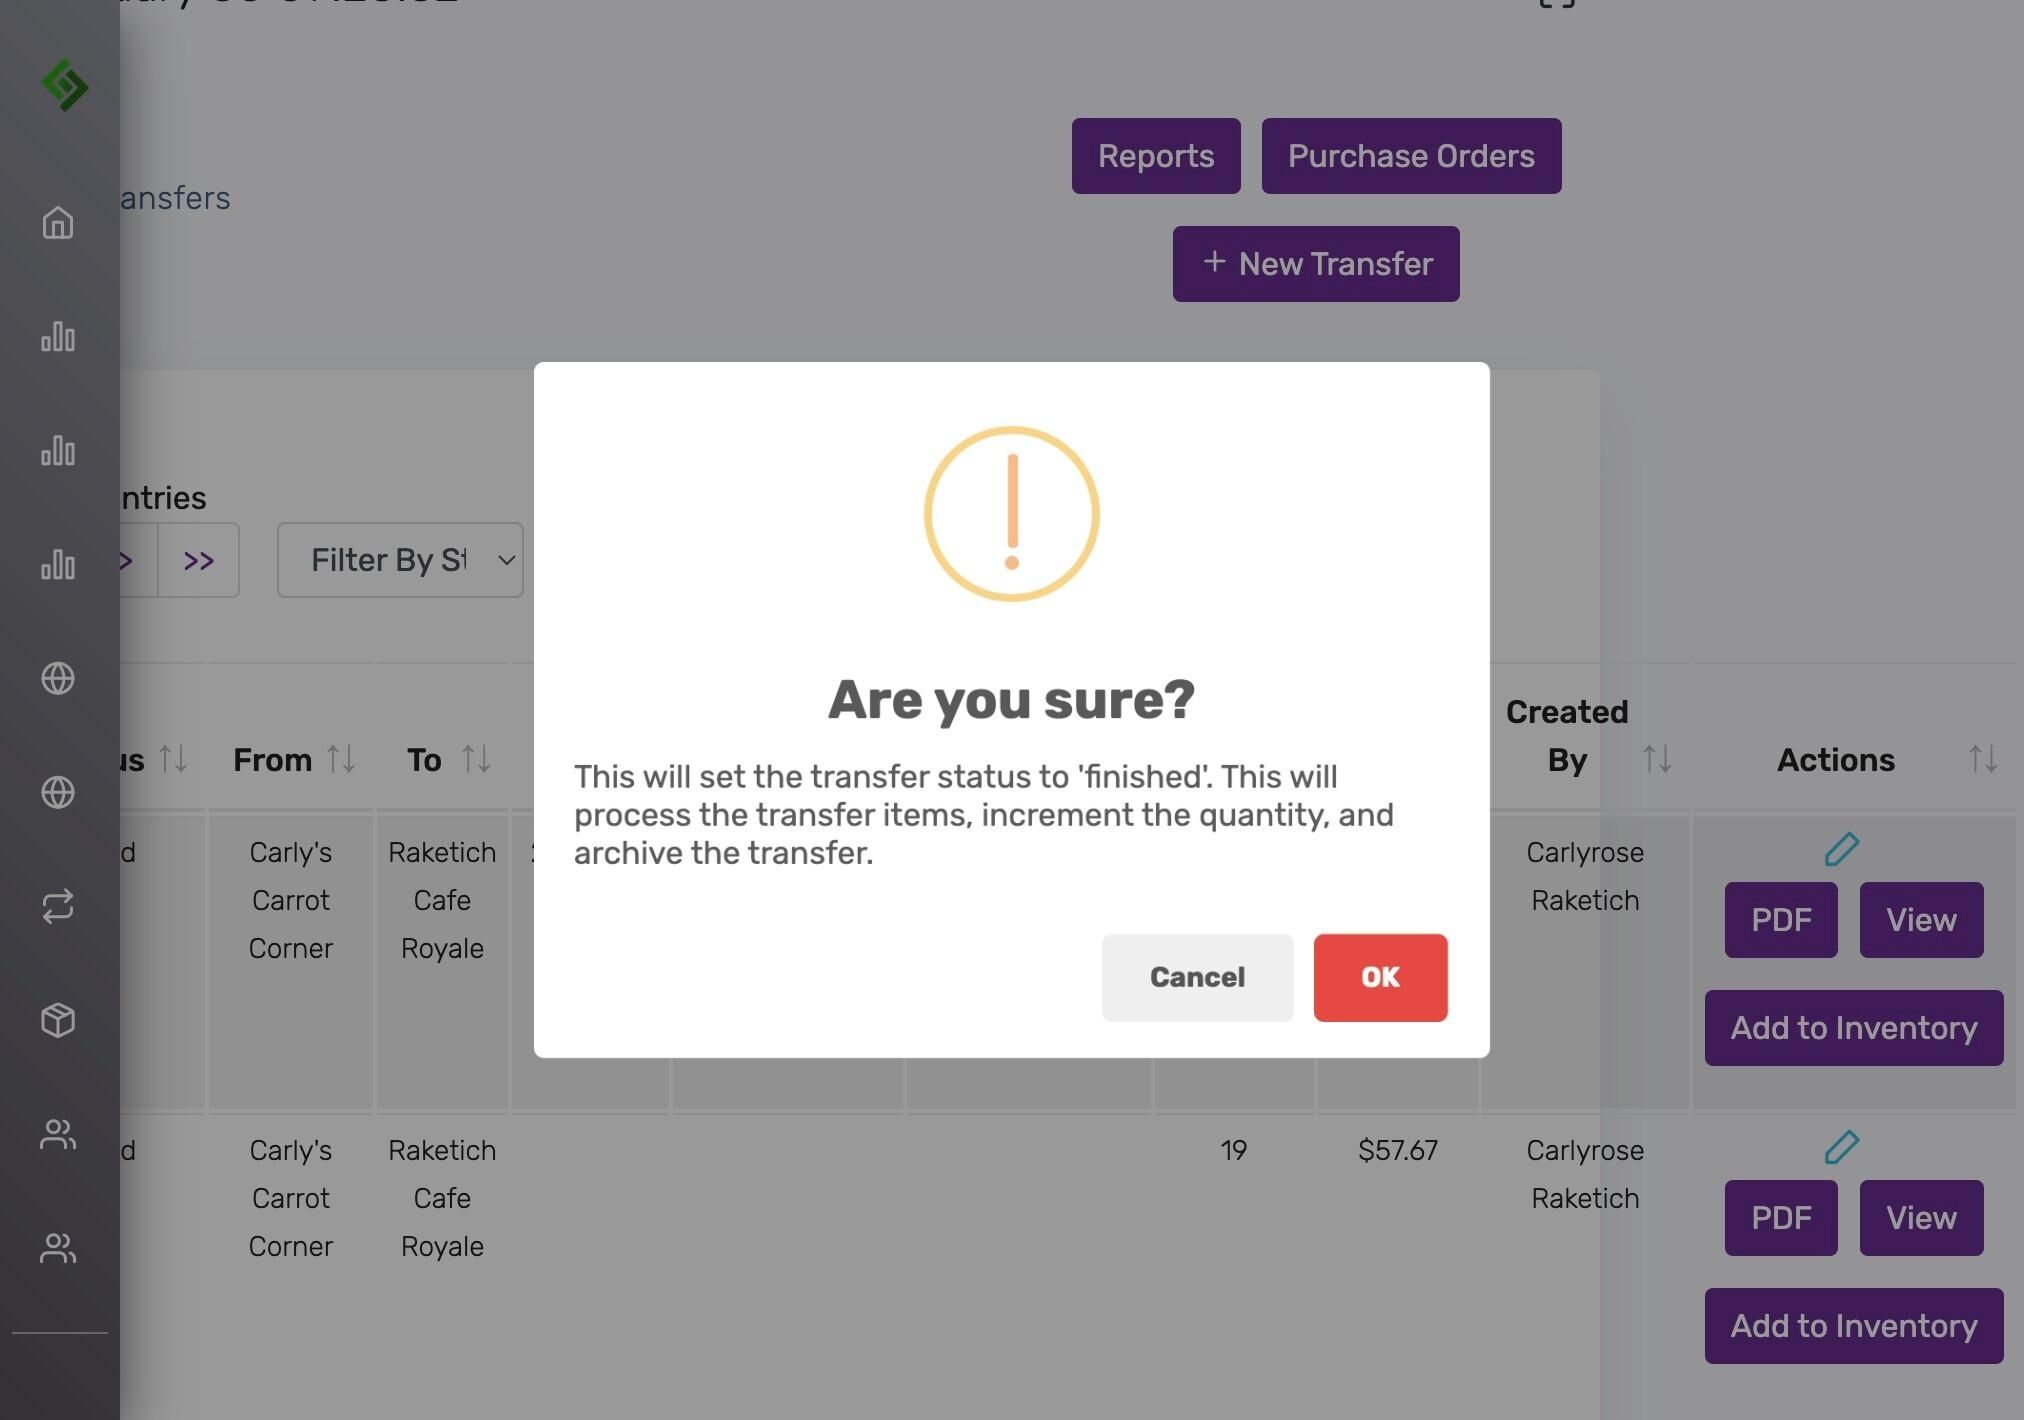
Status will change to “Finished” #


