Inventory: Transfer Items / Products Between Locations #
Made by Lifelong Support with Scribe
Let’s learn how to transfer items/products between locations #
Follow the step-by-step instructions below.
Navigate to the Lifelong POS Login Page #
Visit https://login.lifelongpos.com/ on any web browser.
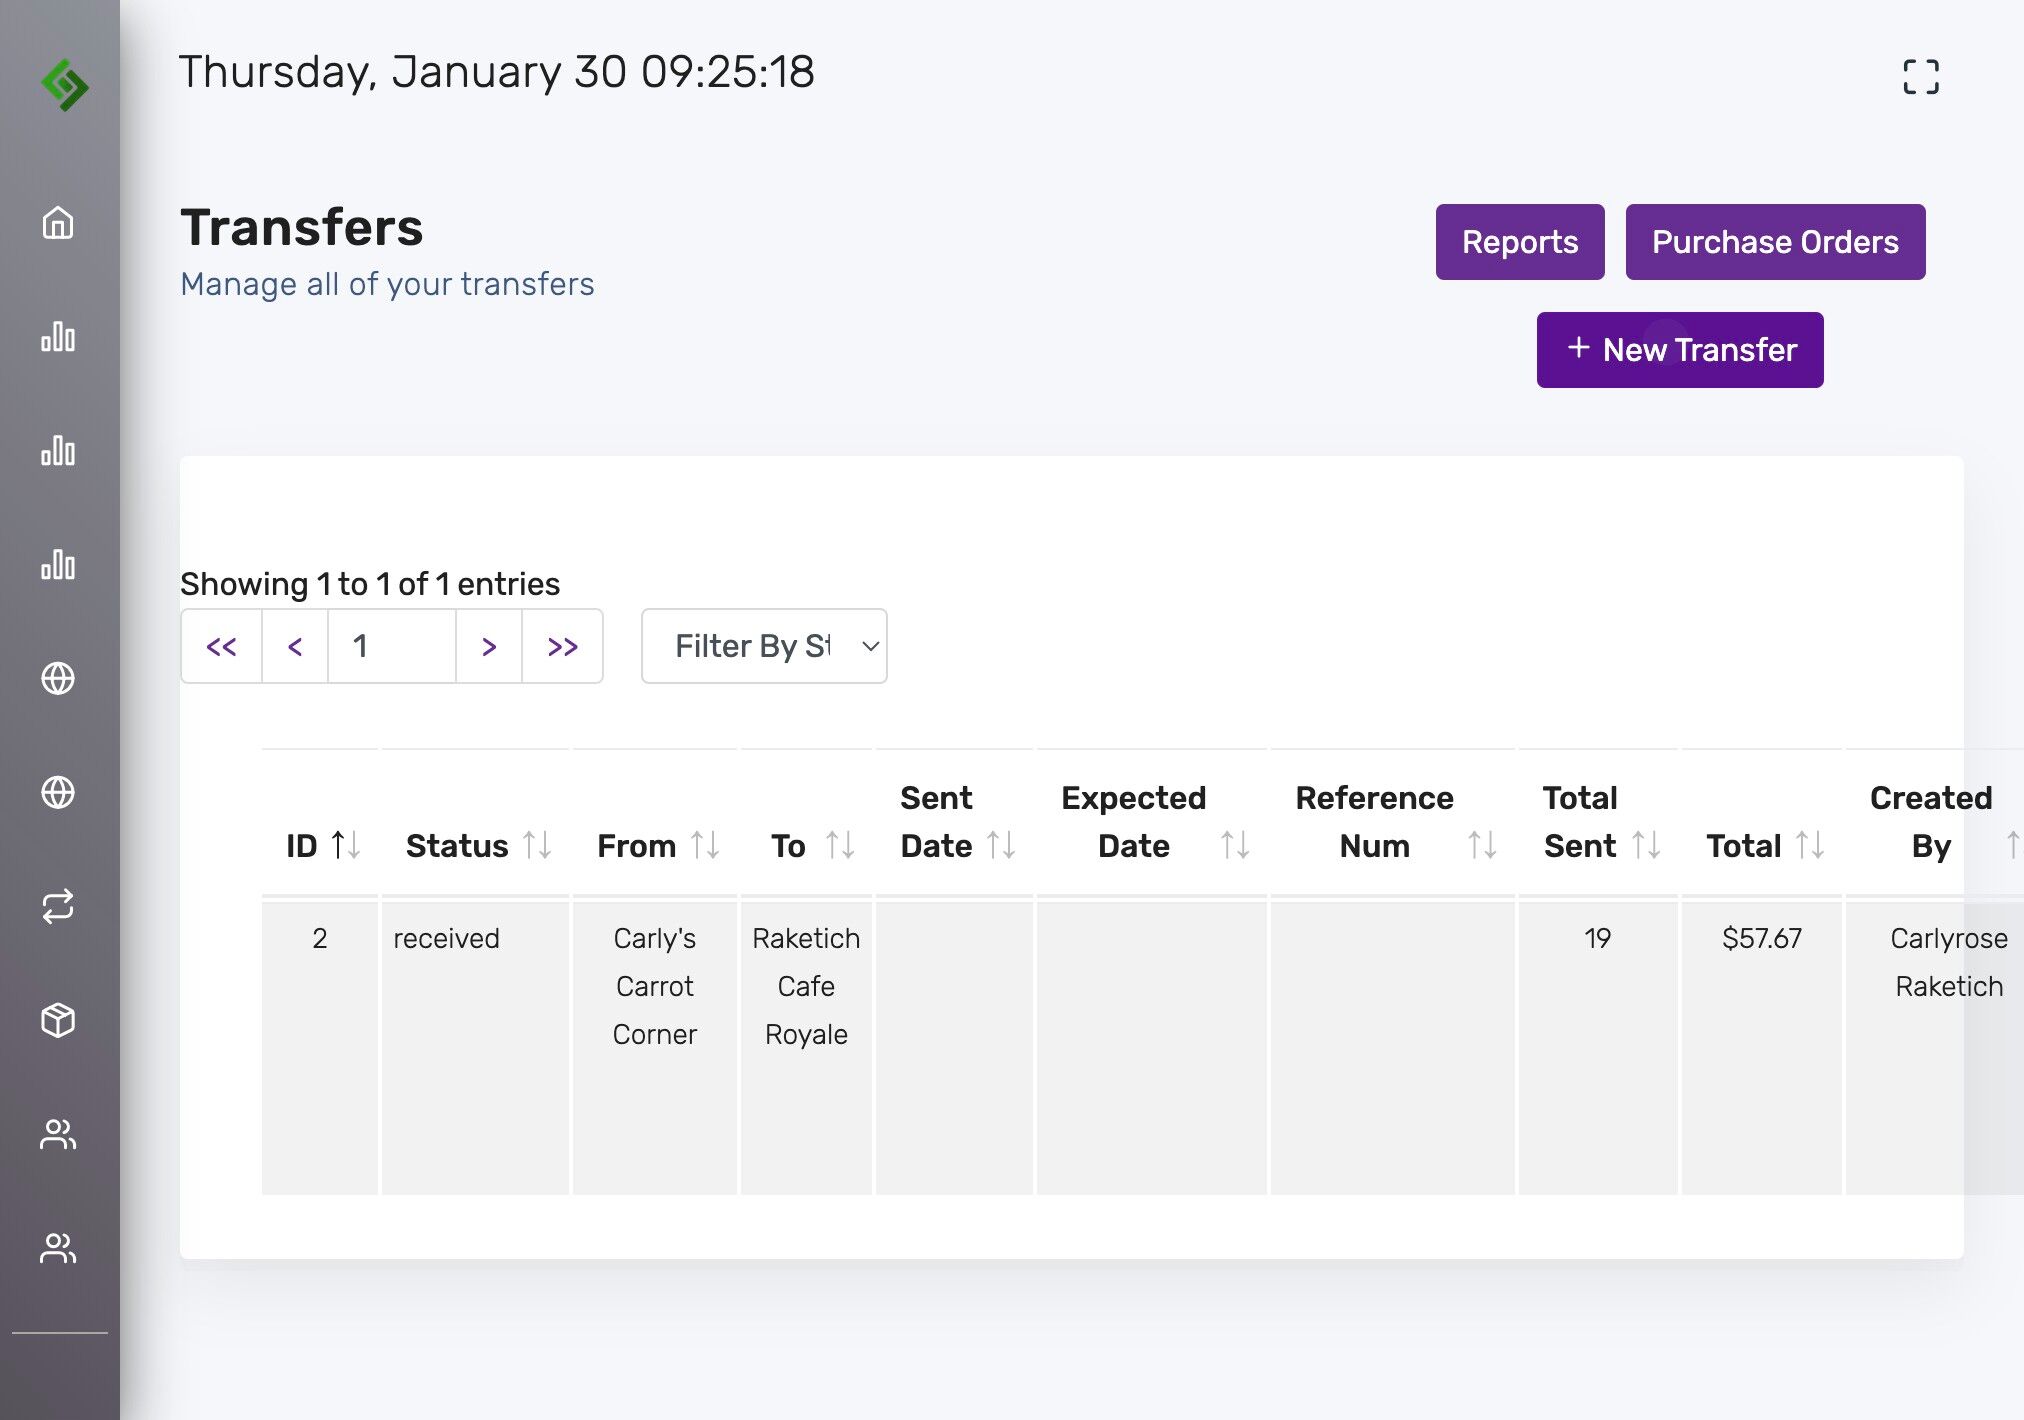
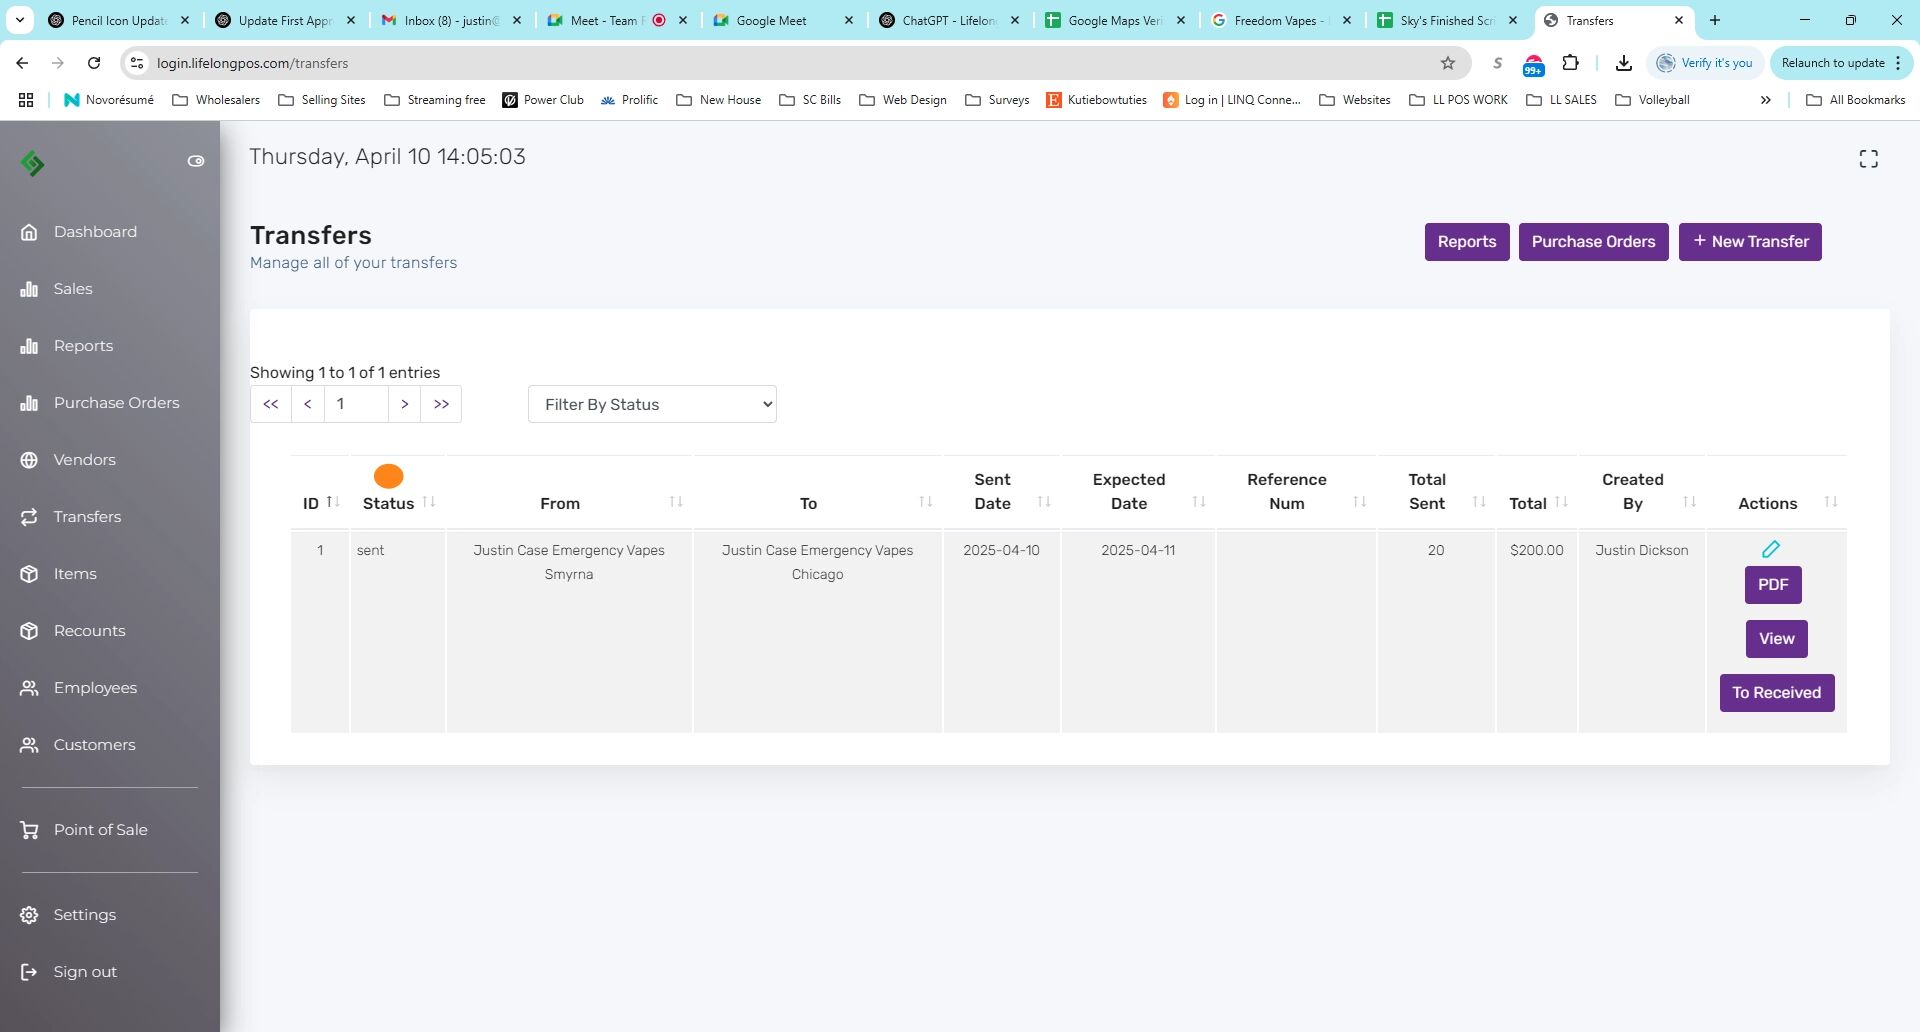
Click the “Transfers” Tab on the Left #
Click the “New Transfer” Button #
Select the Source Location #
Example: This is where the item is being transferred from.
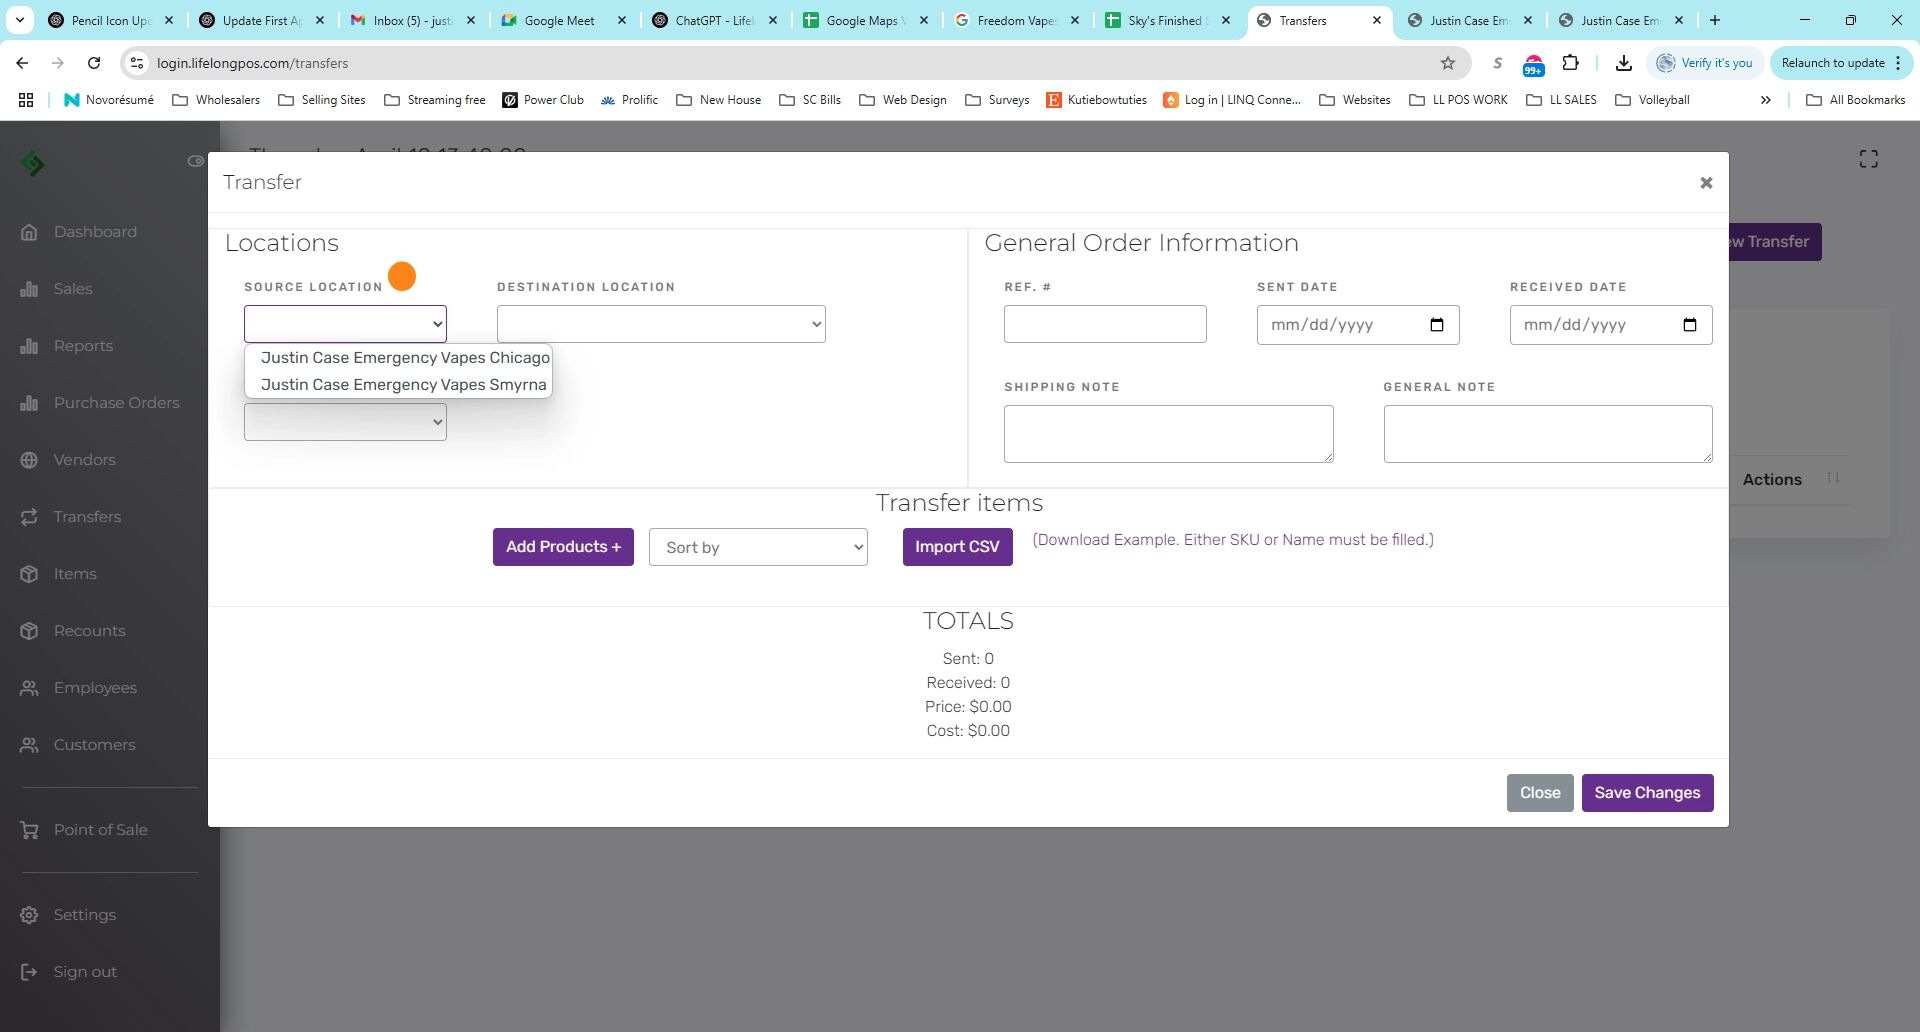
Select the Destination Location #
Example: This is where the item is being transferred to.

(Optional) Add a Reference Number #
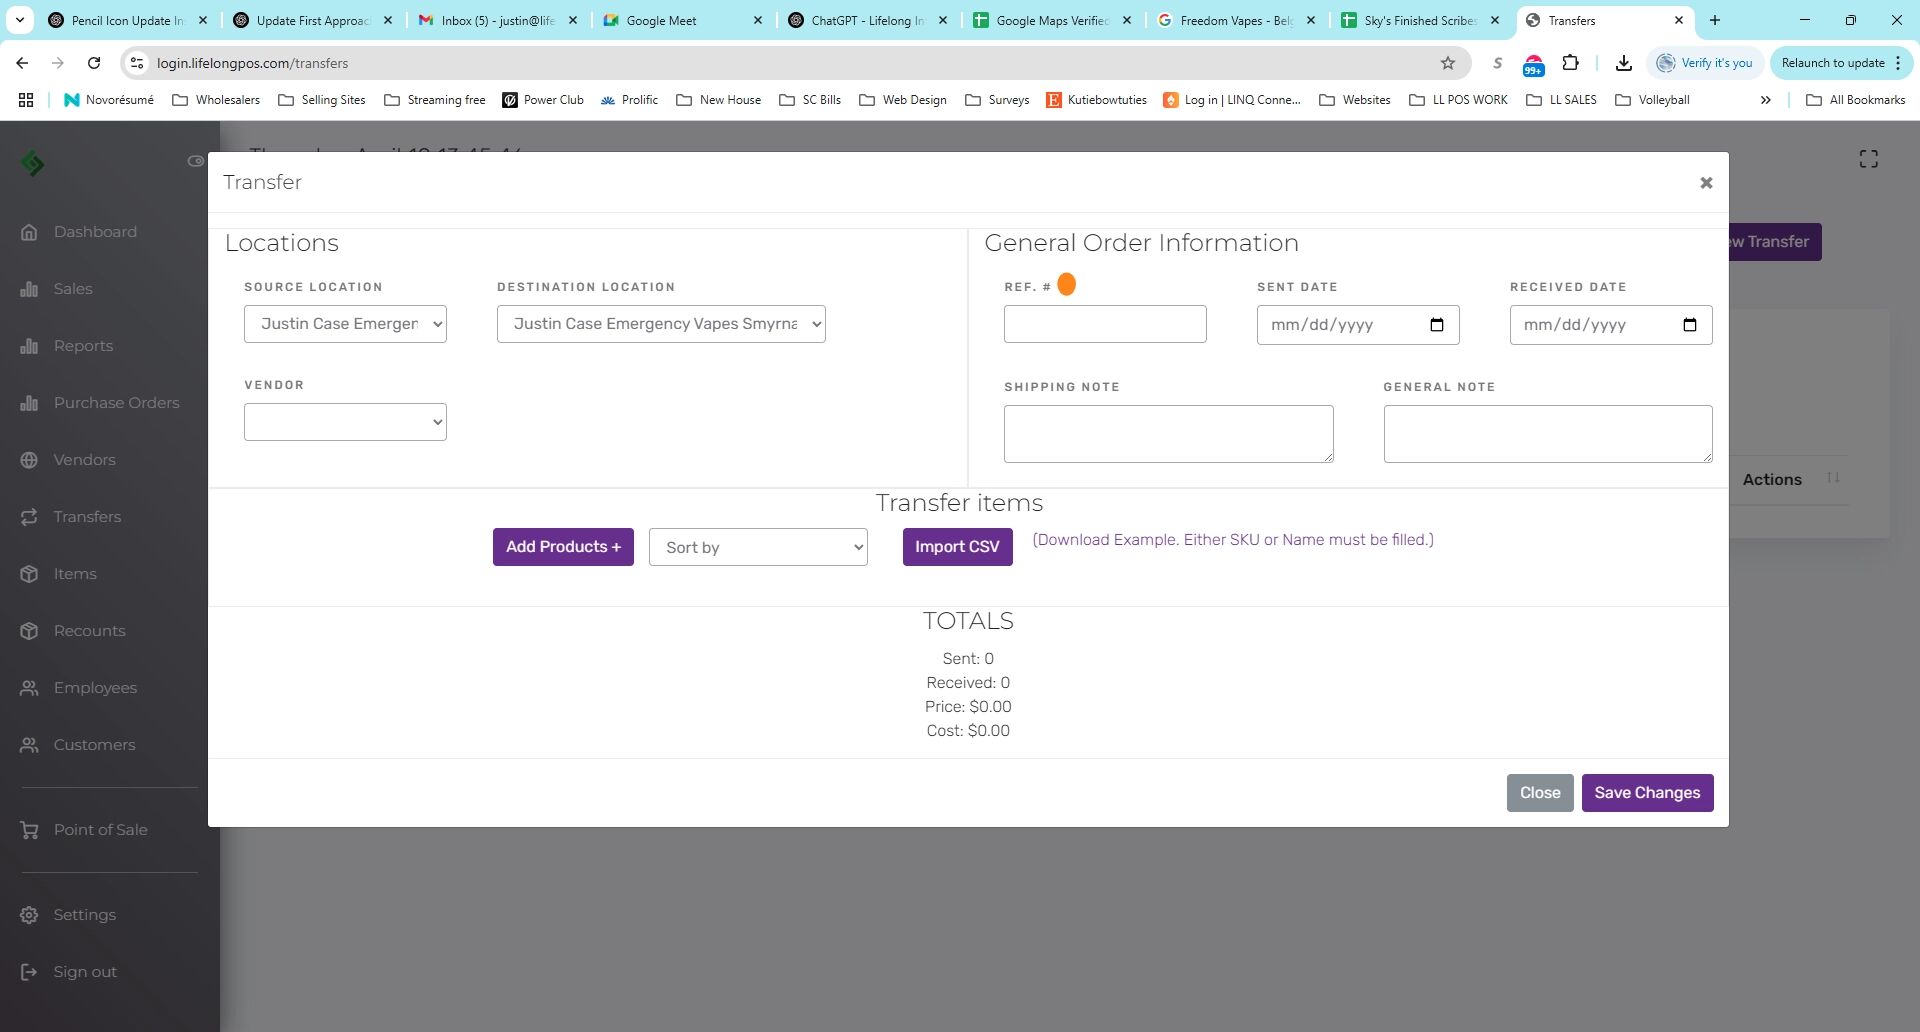
Select Sent Date and Received Date #

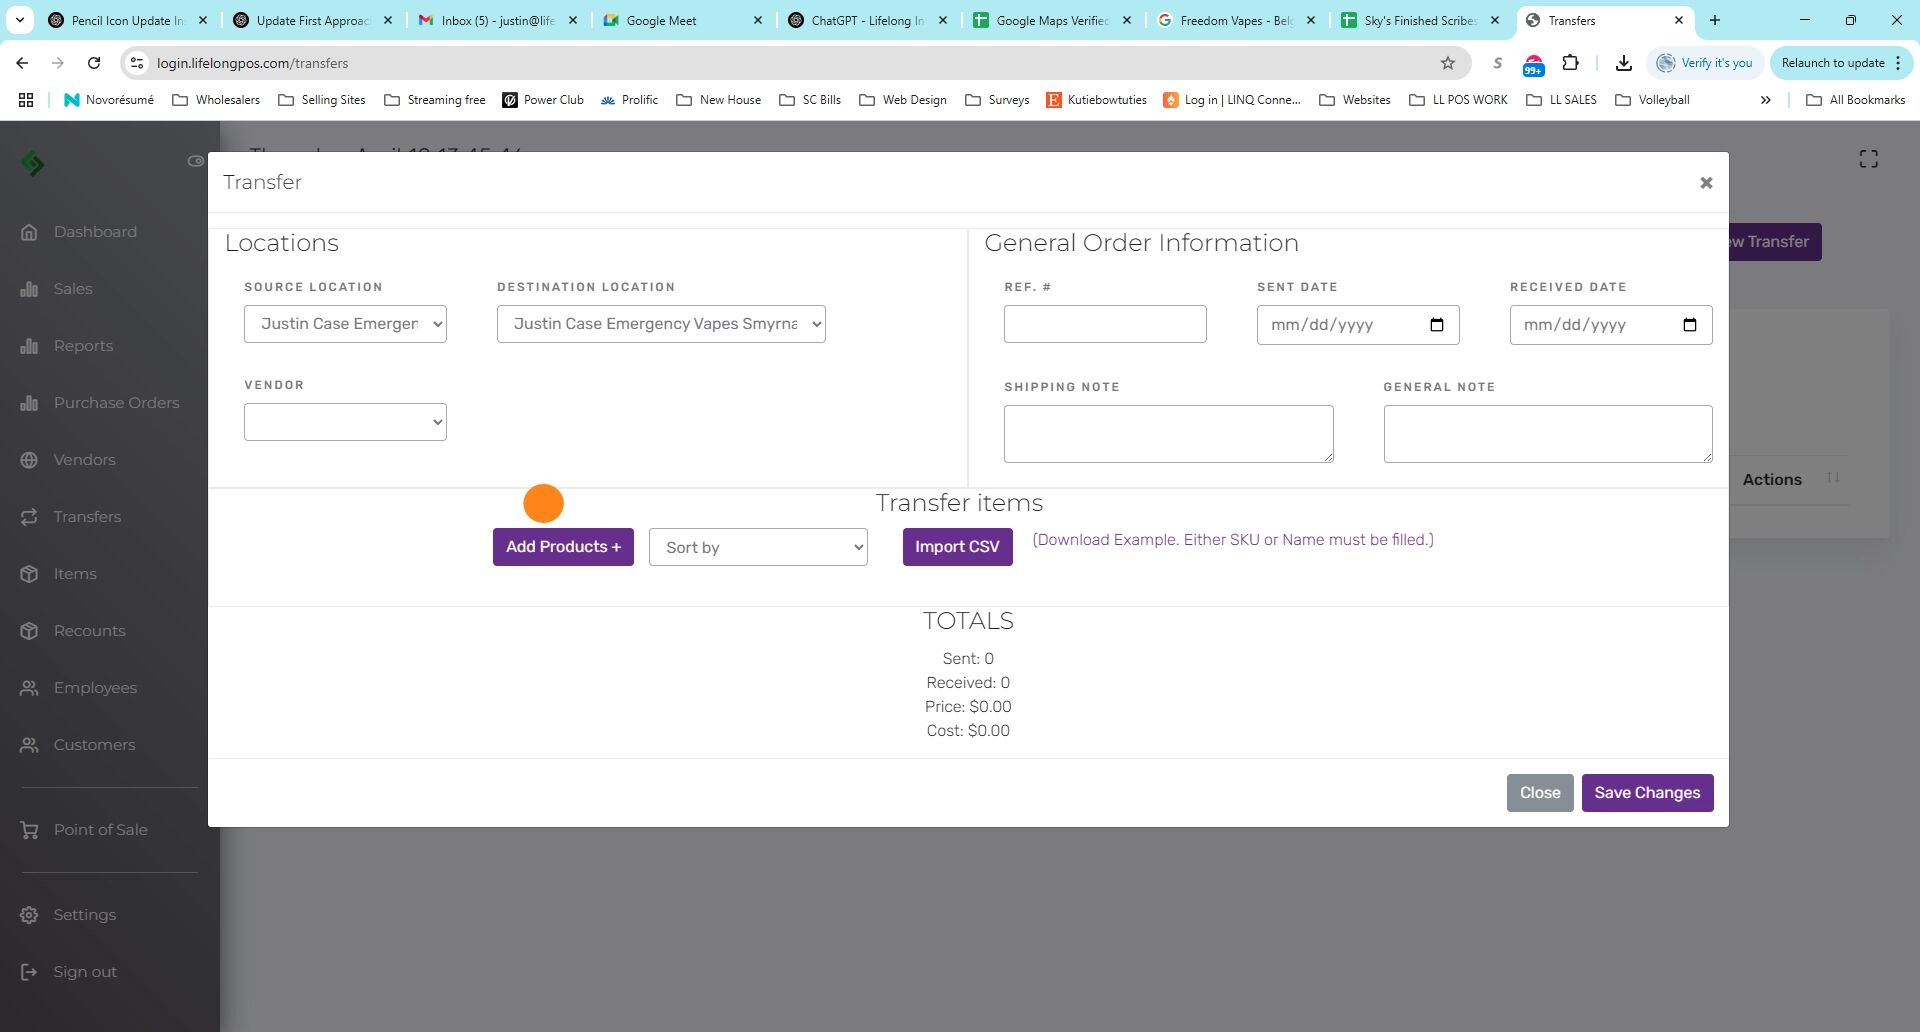
Click the “Add Products +” Button #
Click “Type to search” #
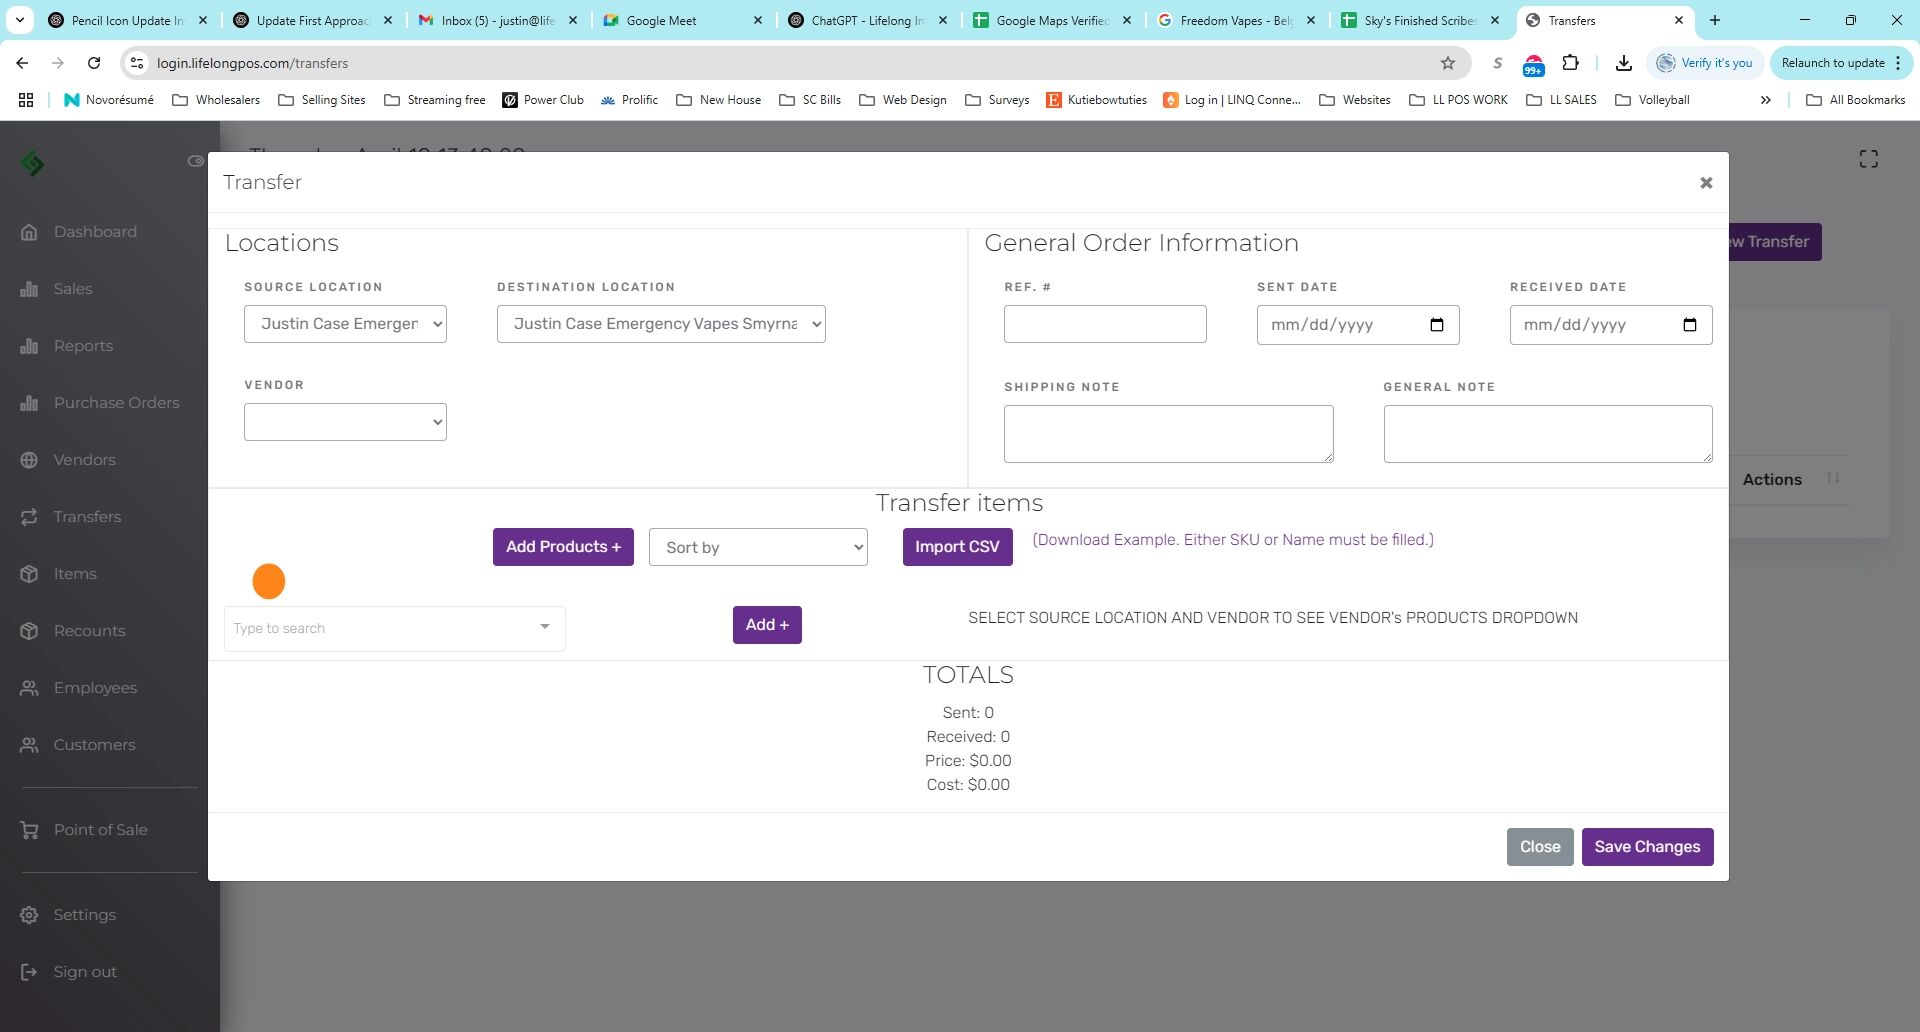
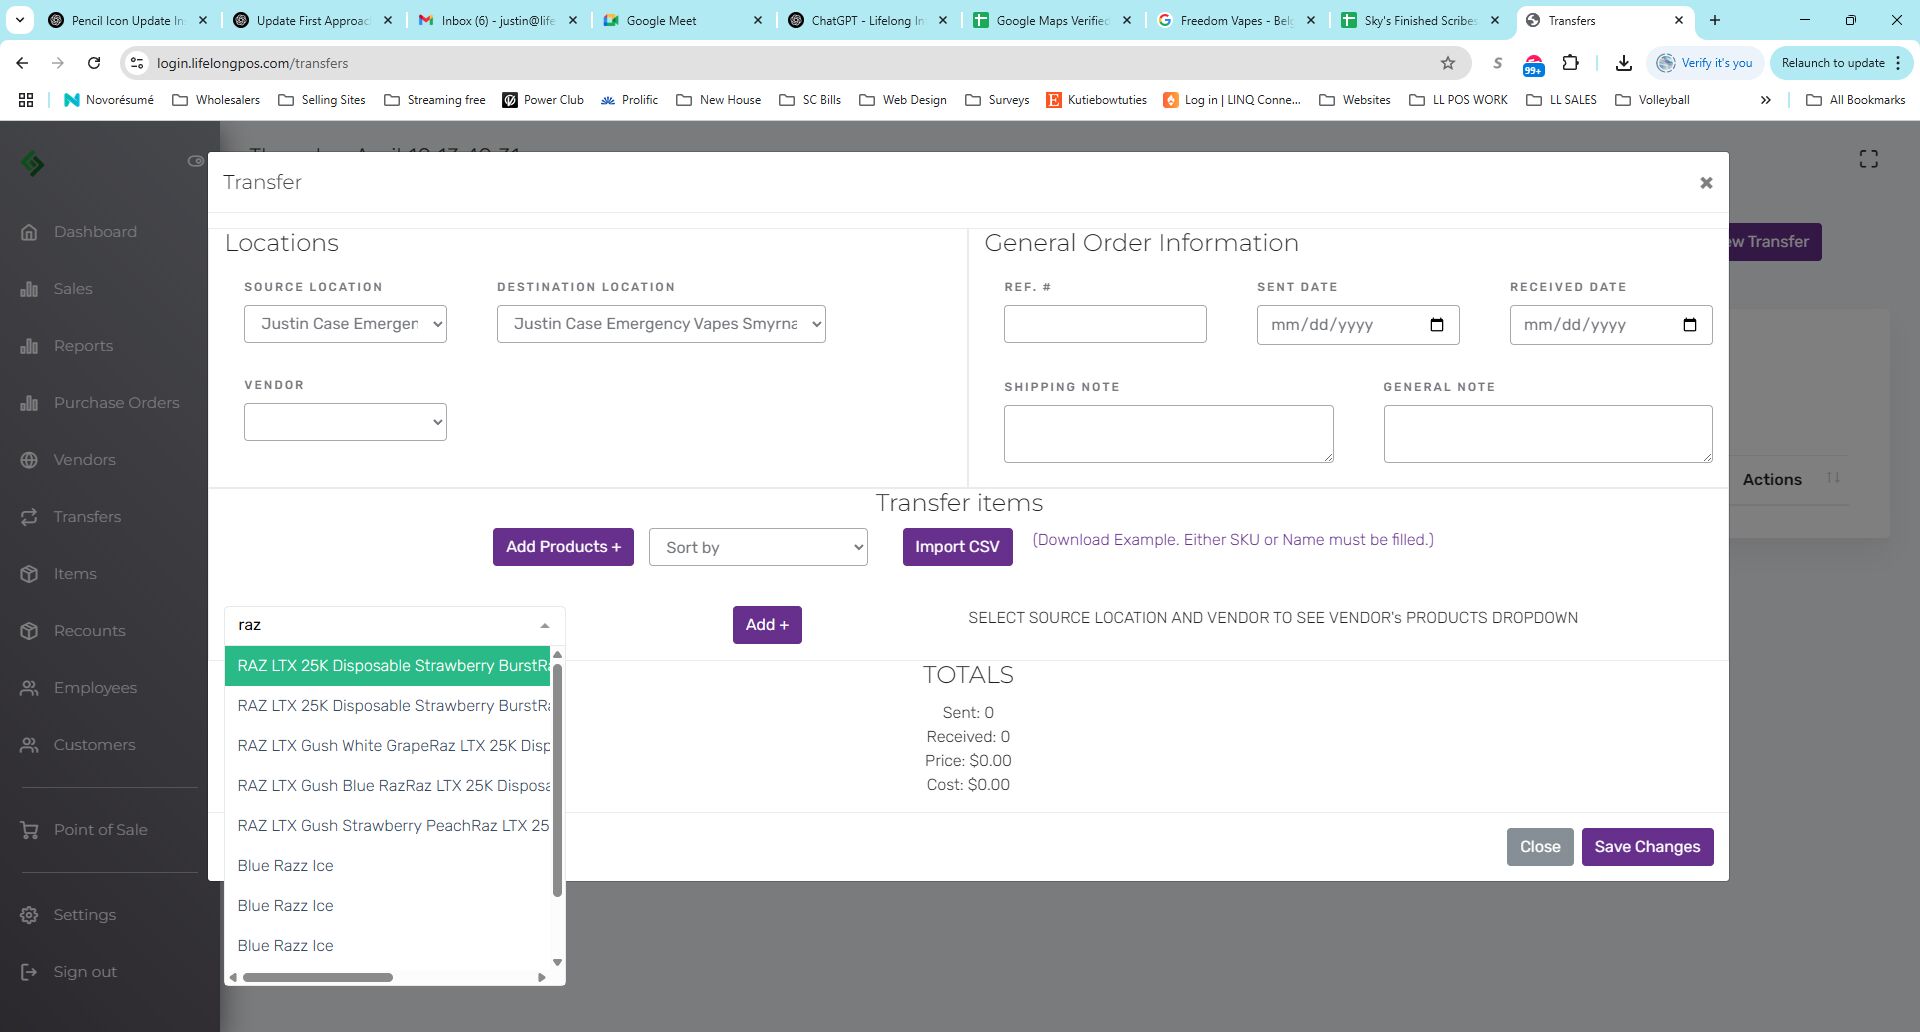
Enter the Product Name #
You can add as many items as you’d like.
Click the “Add +” Button #

Enter ‘Sent QTY’ for Each Product #
*Note: This is not a purchase order. Ensure the quantities match what is actually sent.
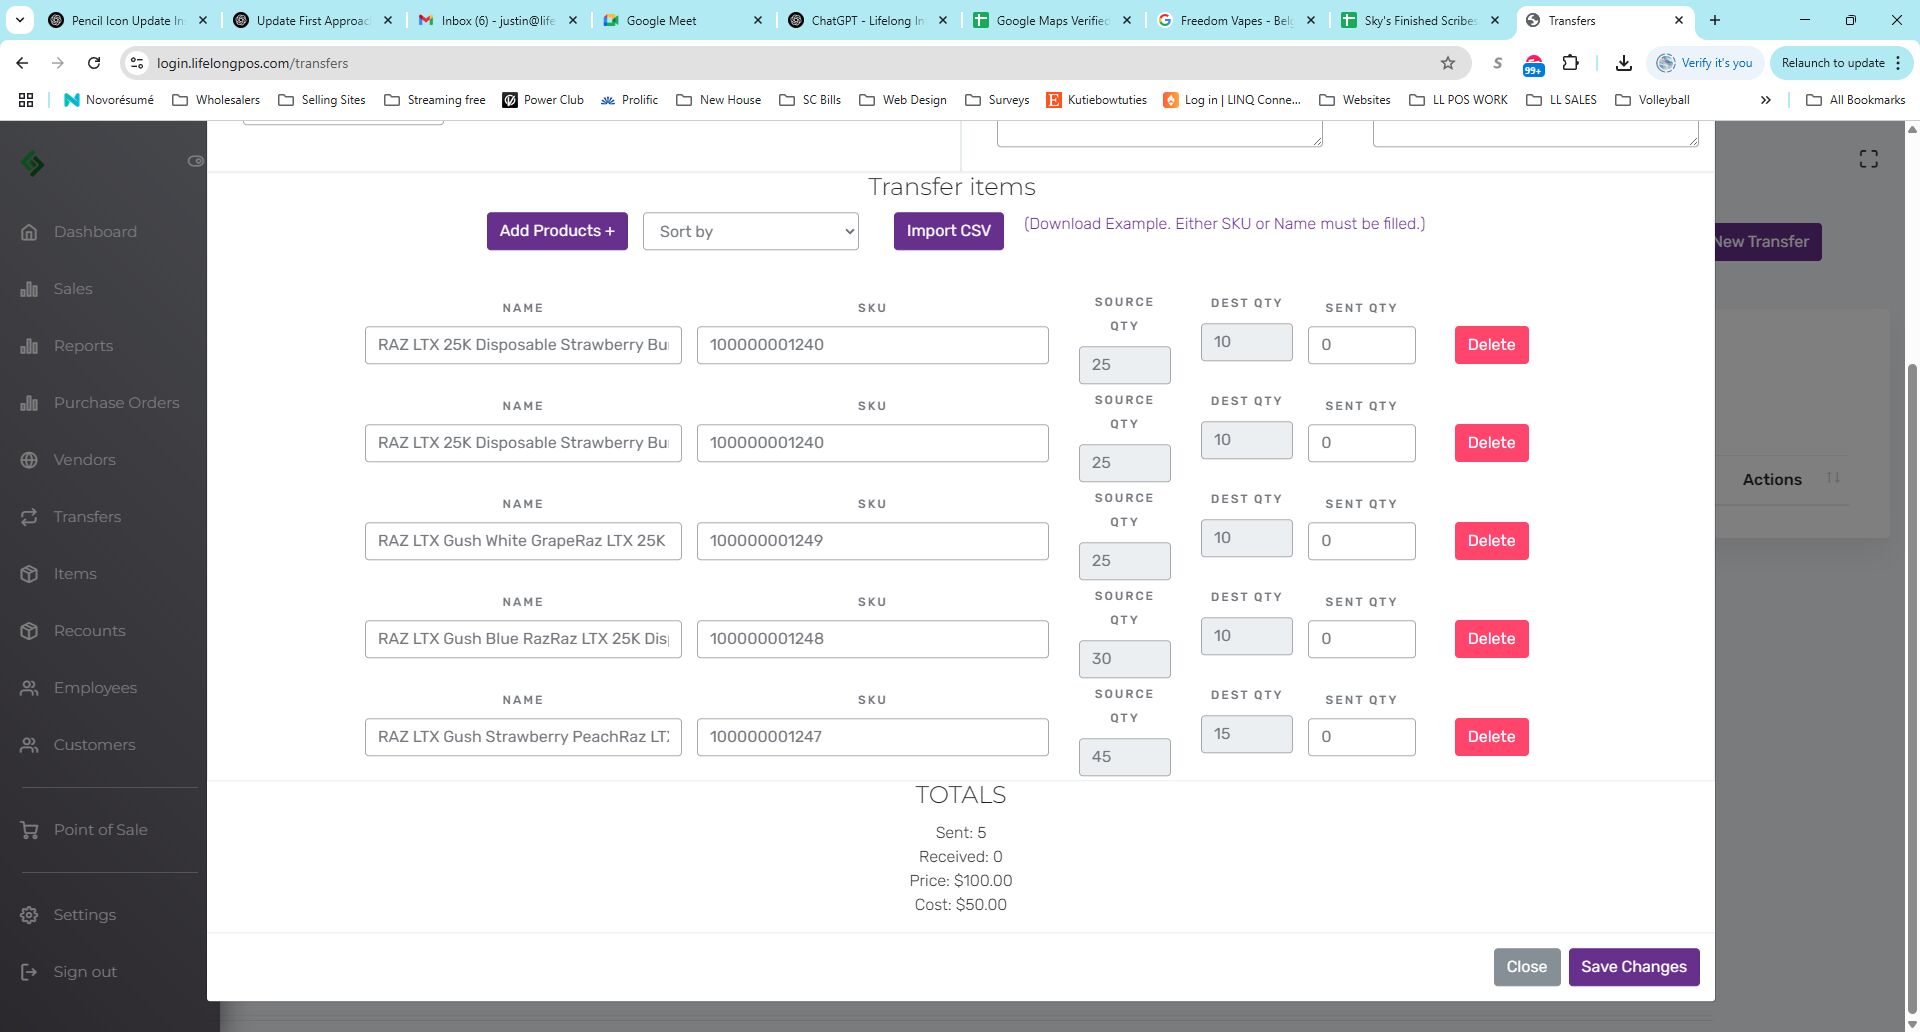
Click “Save Changes” #
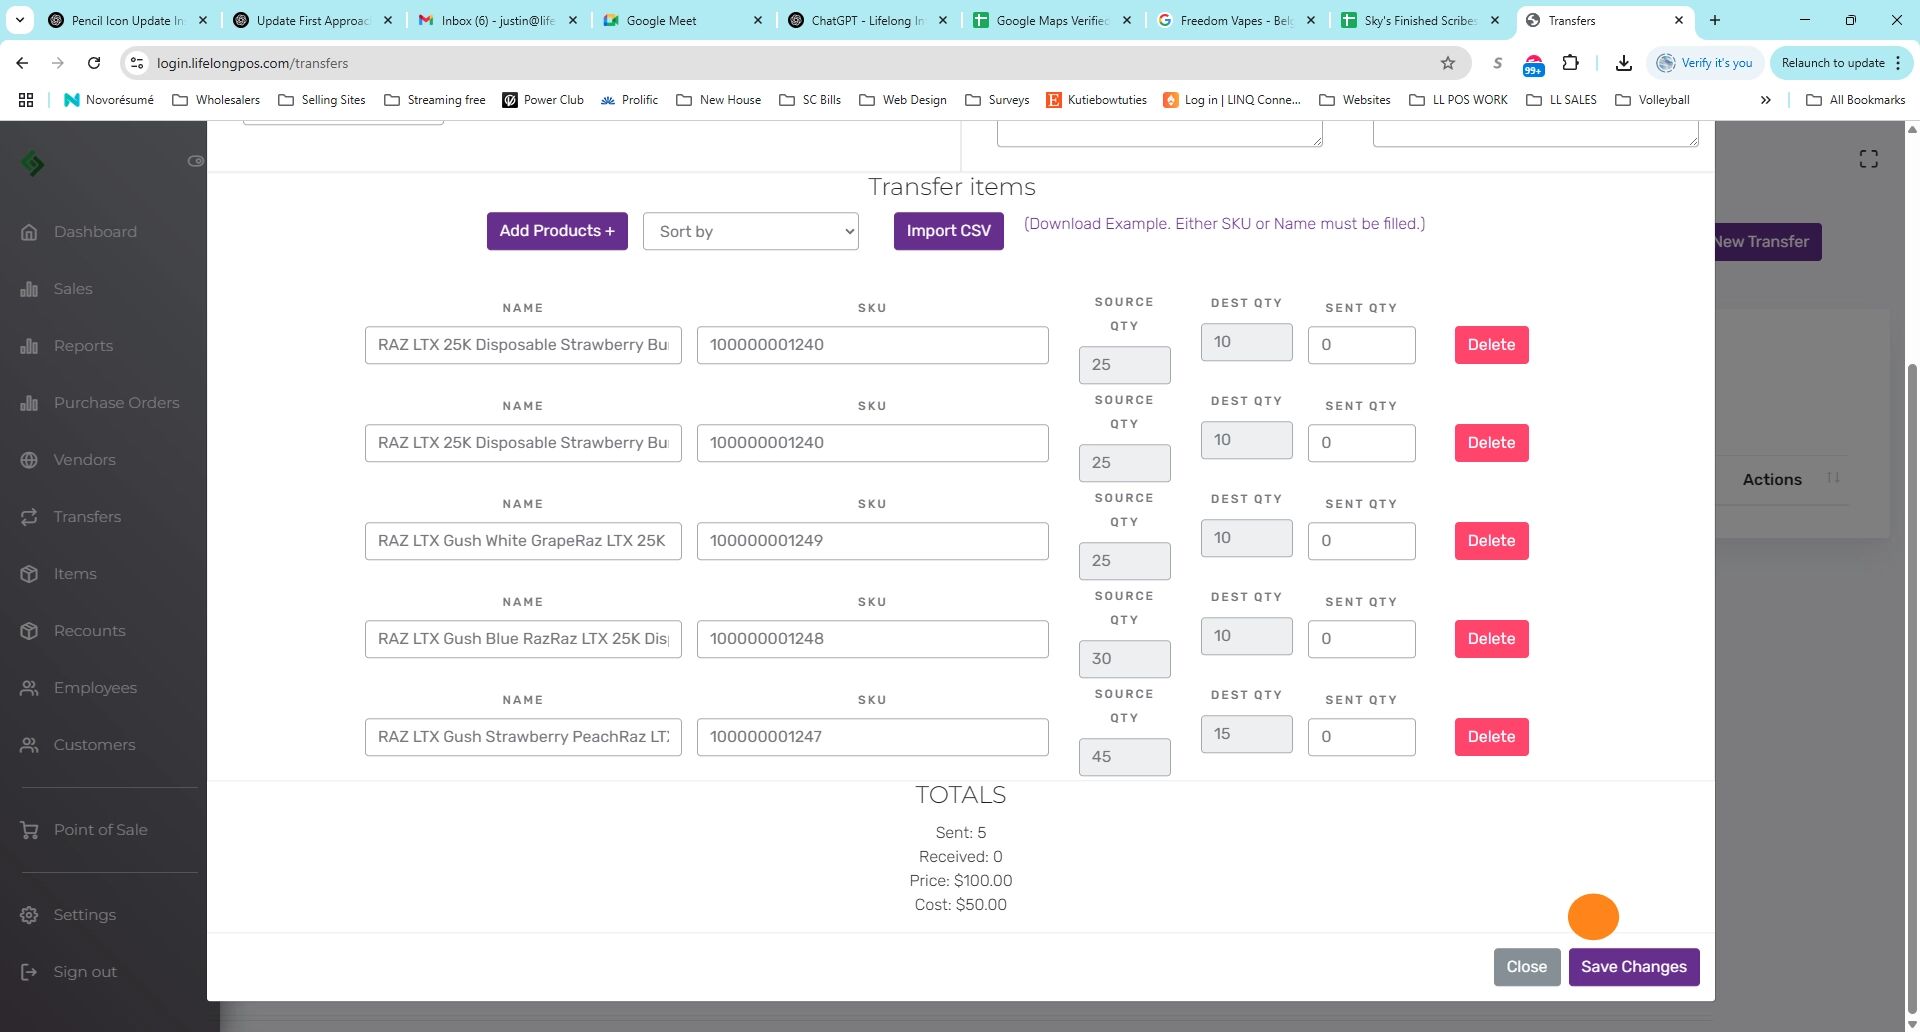
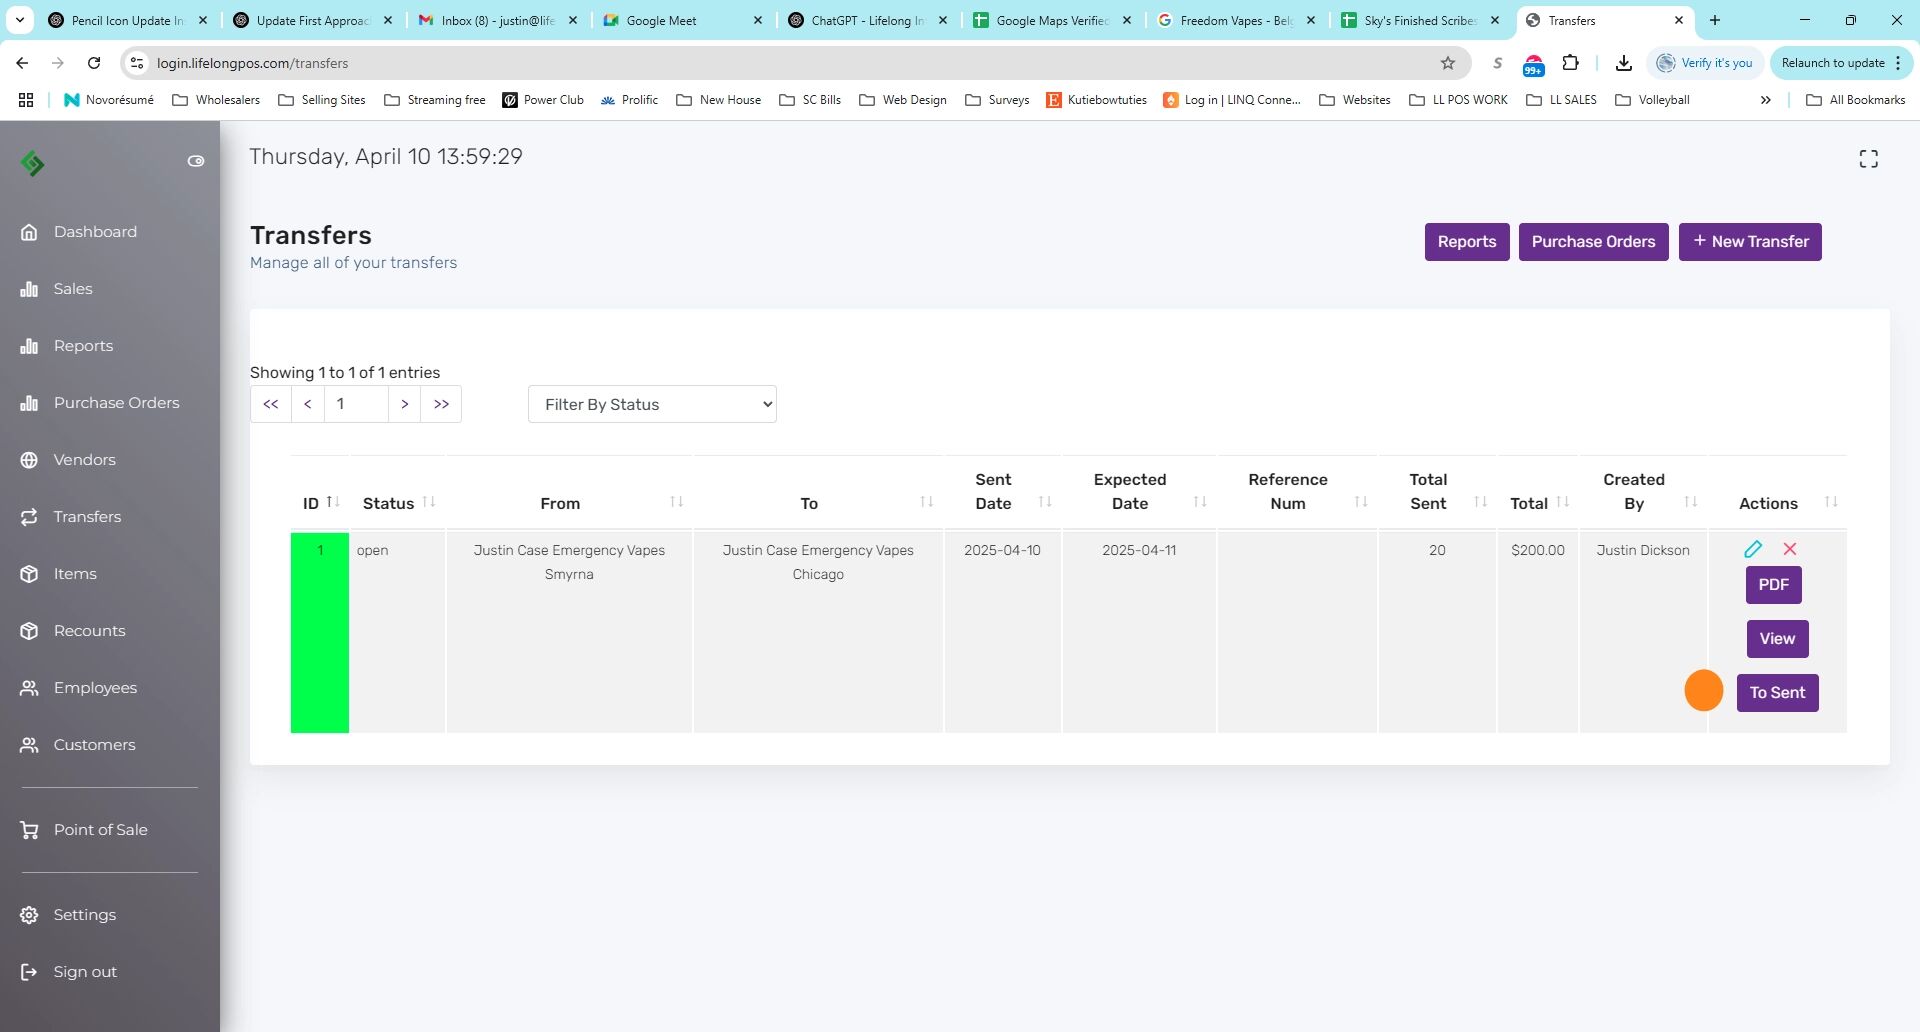
Status Will Now Say “Open” #

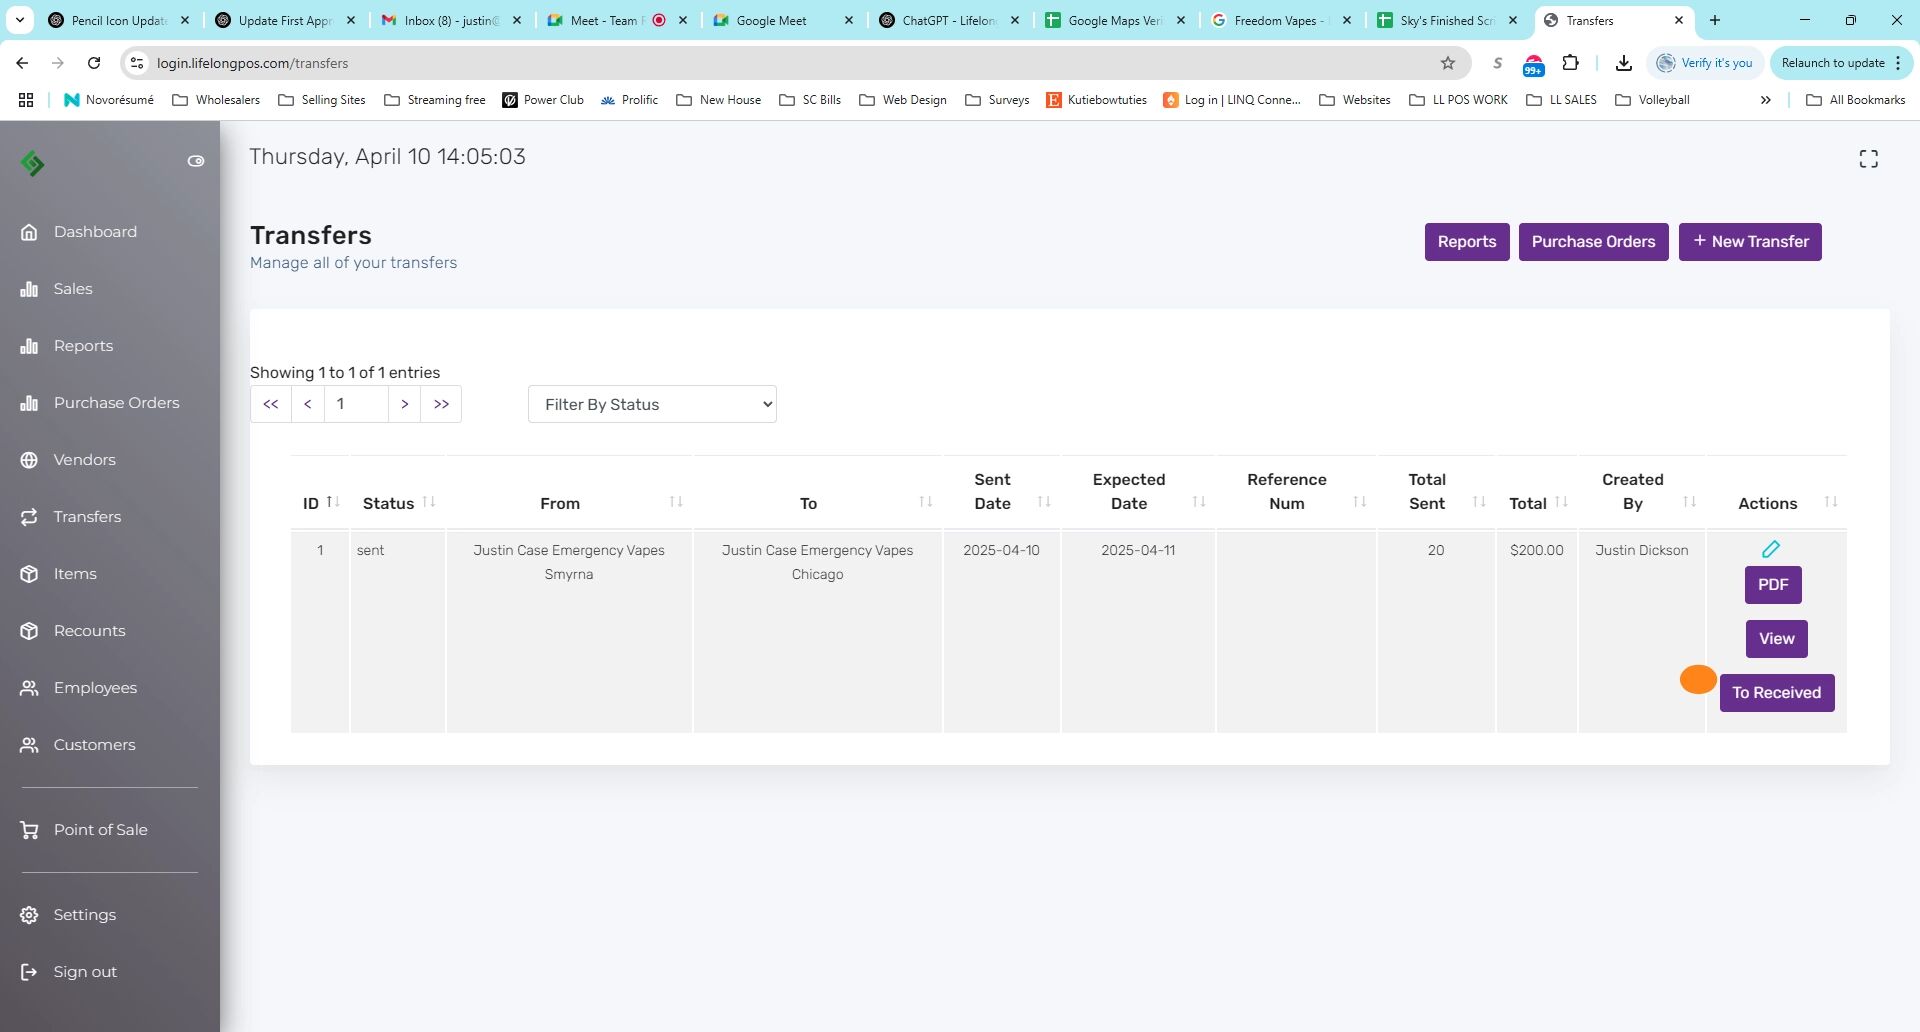
Click the “To Sent” Button #
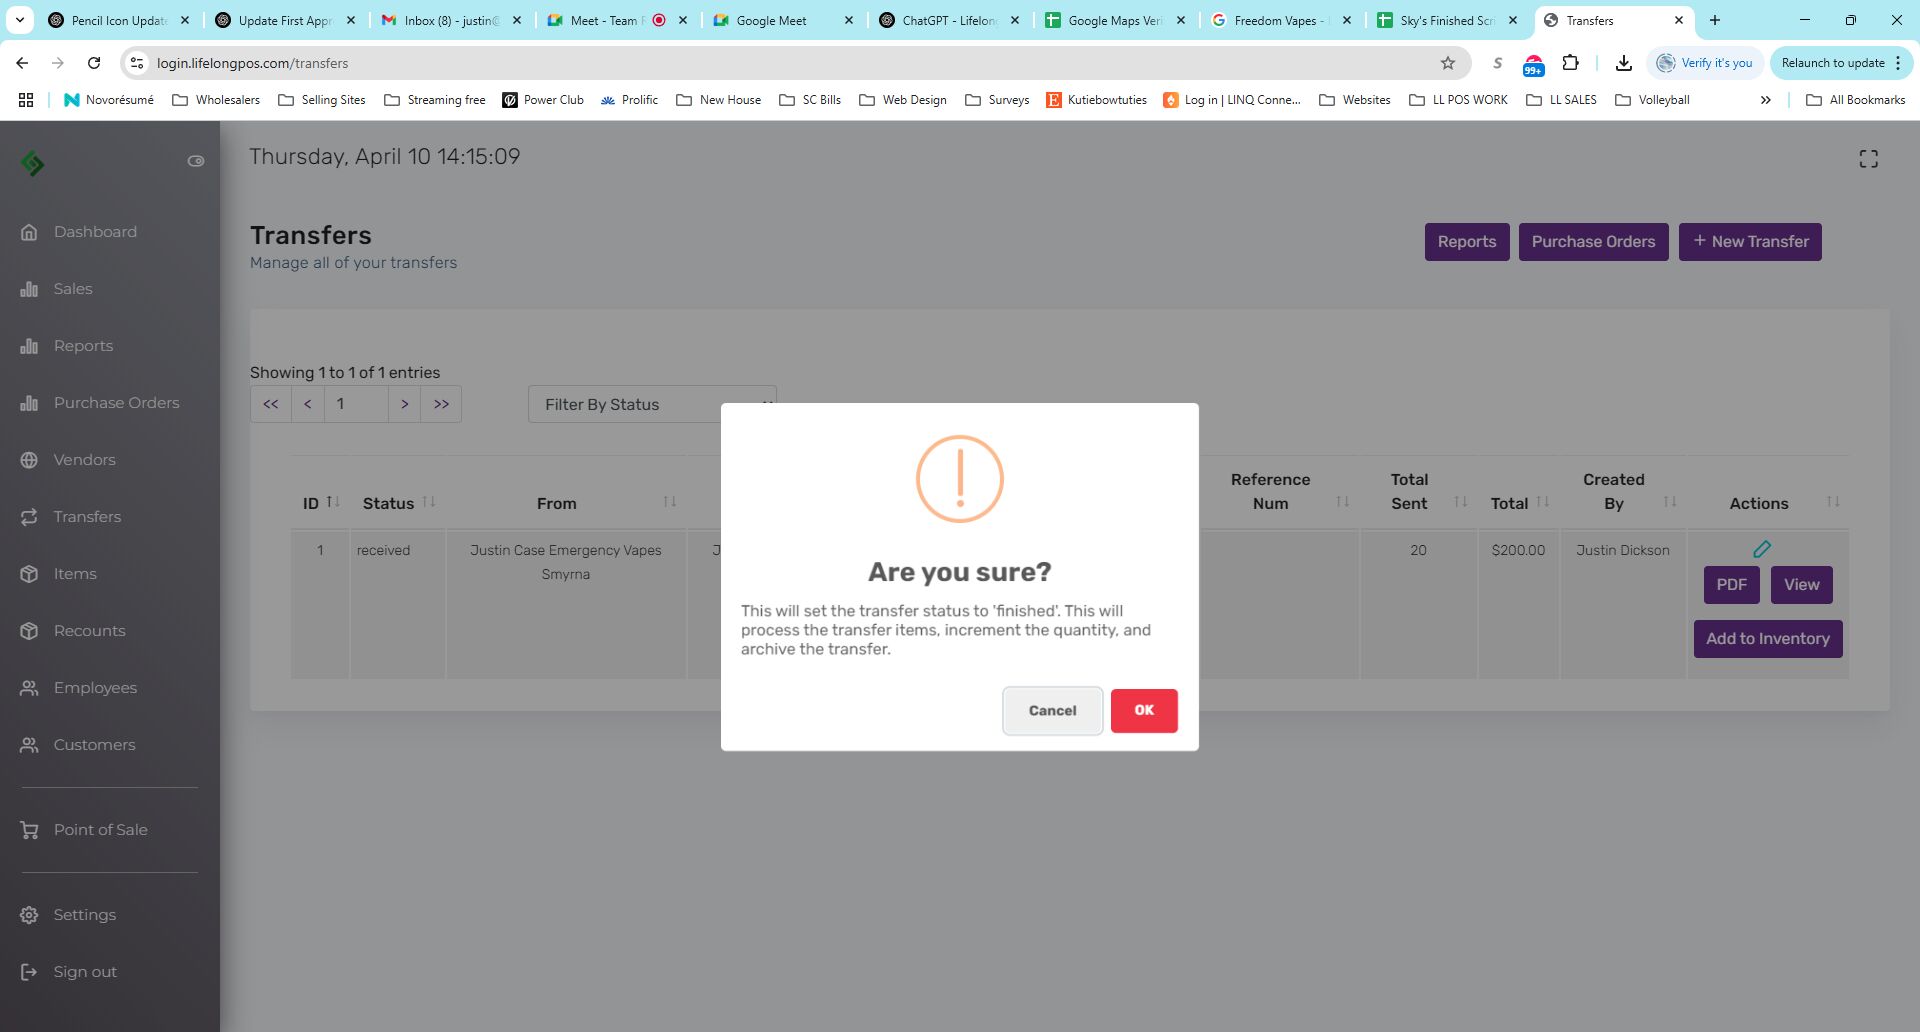
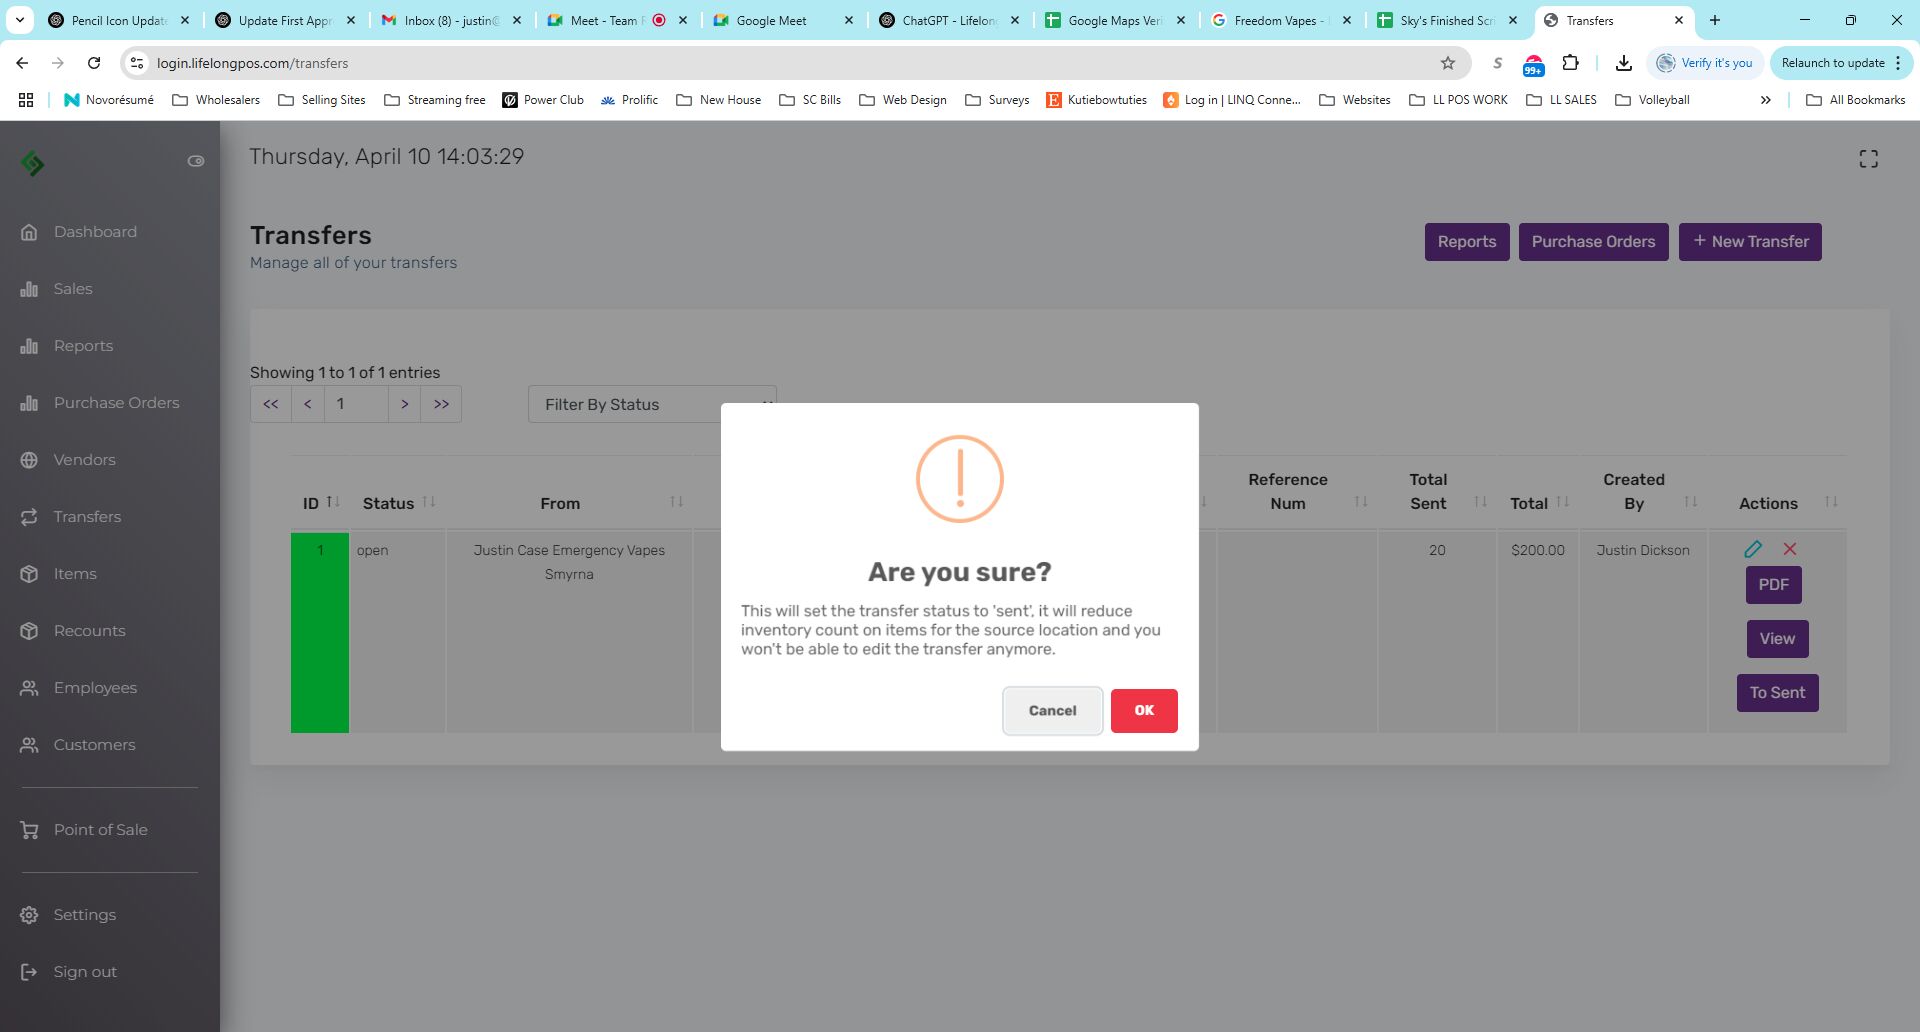
Review the Warning Before Marking as Sent #
Click “OK” to proceed. This will reduce inventory at the source and lock the transfer.
Status Will Now Say “Sent” #
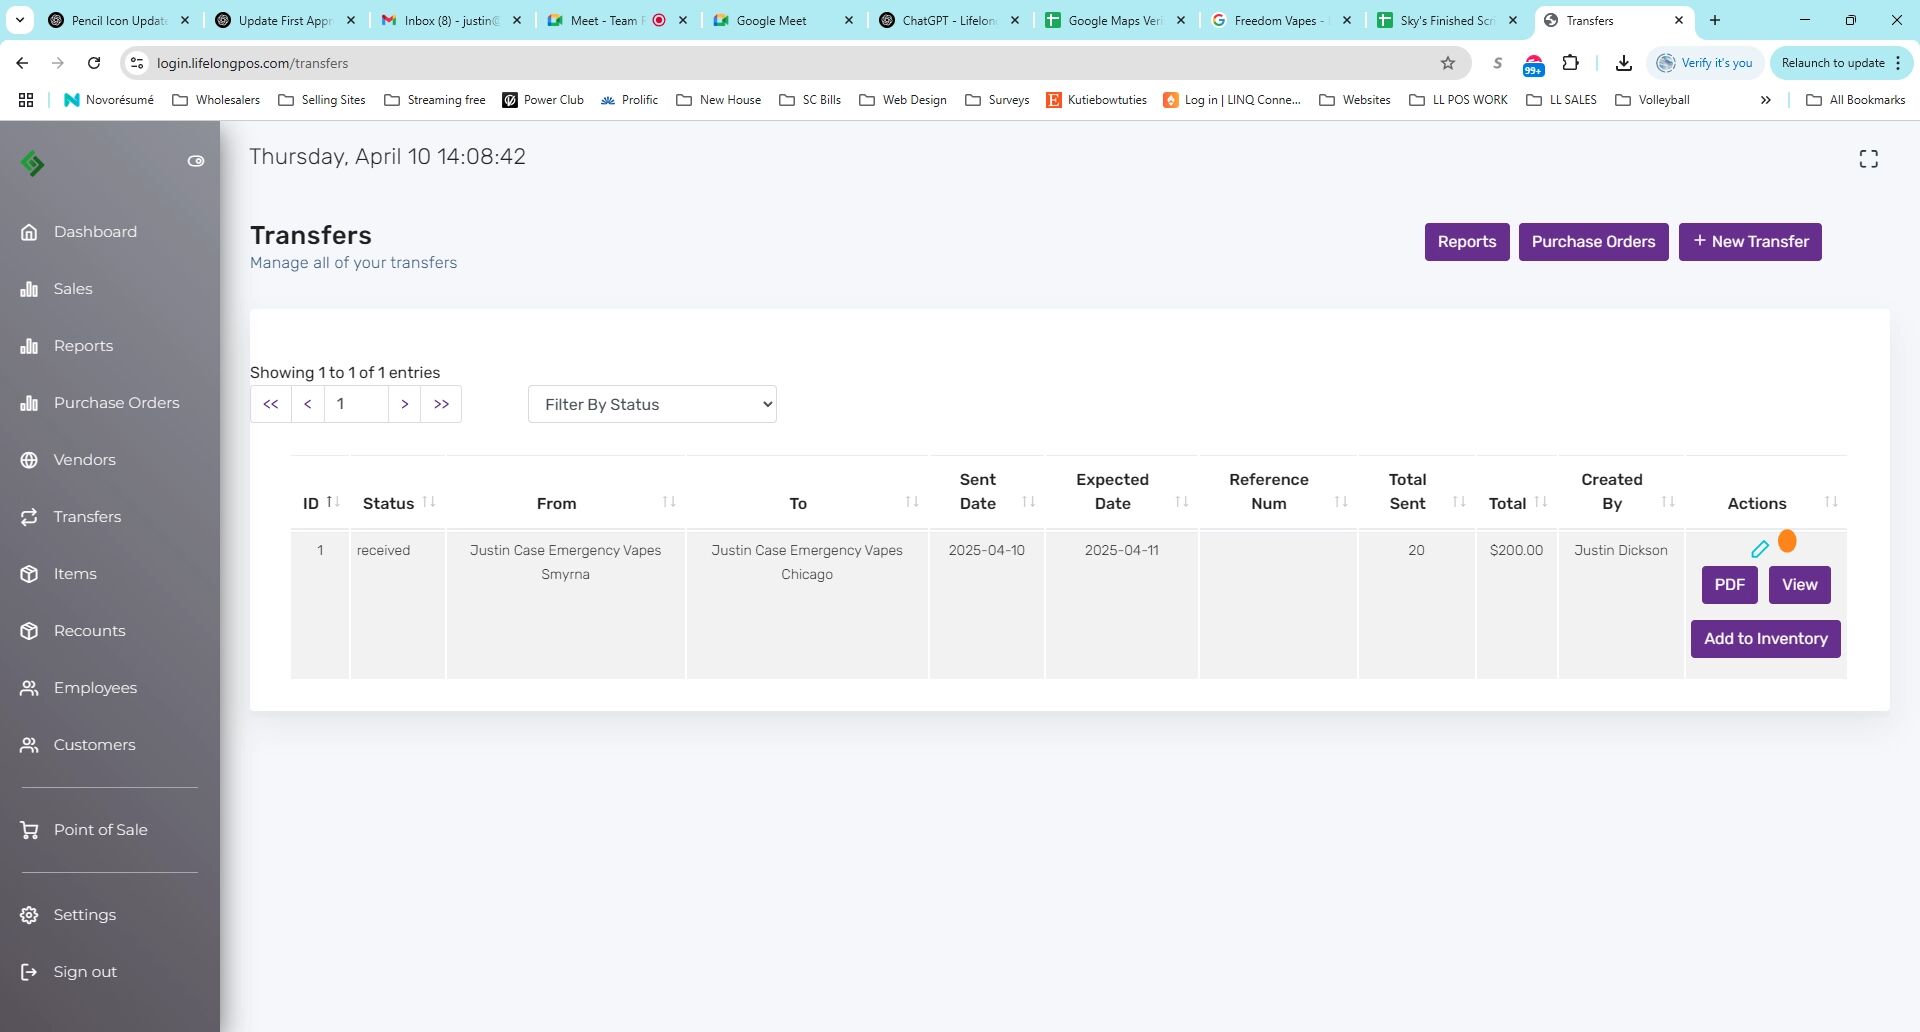
Click “To Received” When Items Arrive #
Review Warning Before Marking as Received #
You can still edit received quantities. Click “OK” if everything looks correct.

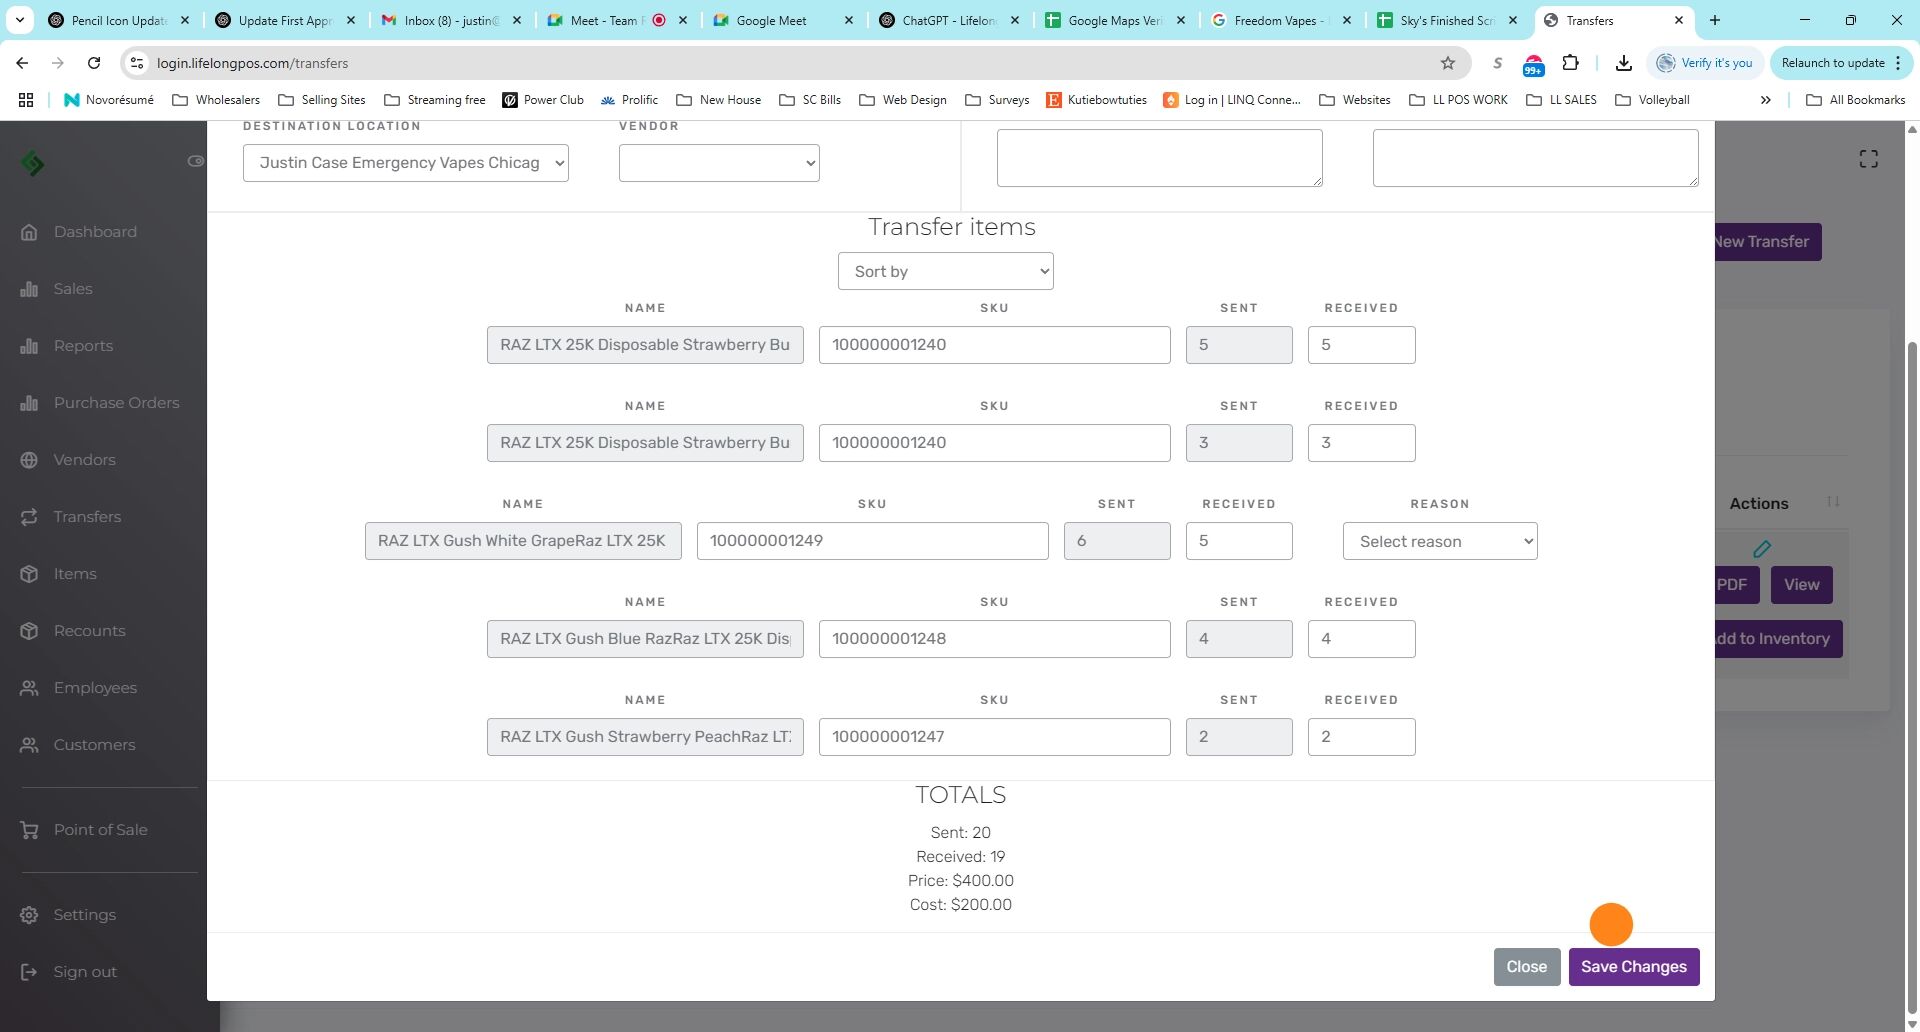
Double-Check Quantities Using the Edit Icon #
If Received Quantity is Less, Choose a Reason #
- Wasted: Item is lost, damaged, or unsellable.
- Source Location: Item still at the original location.
- Another Location: Item sent elsewhere. You’ll need to specify the new location.
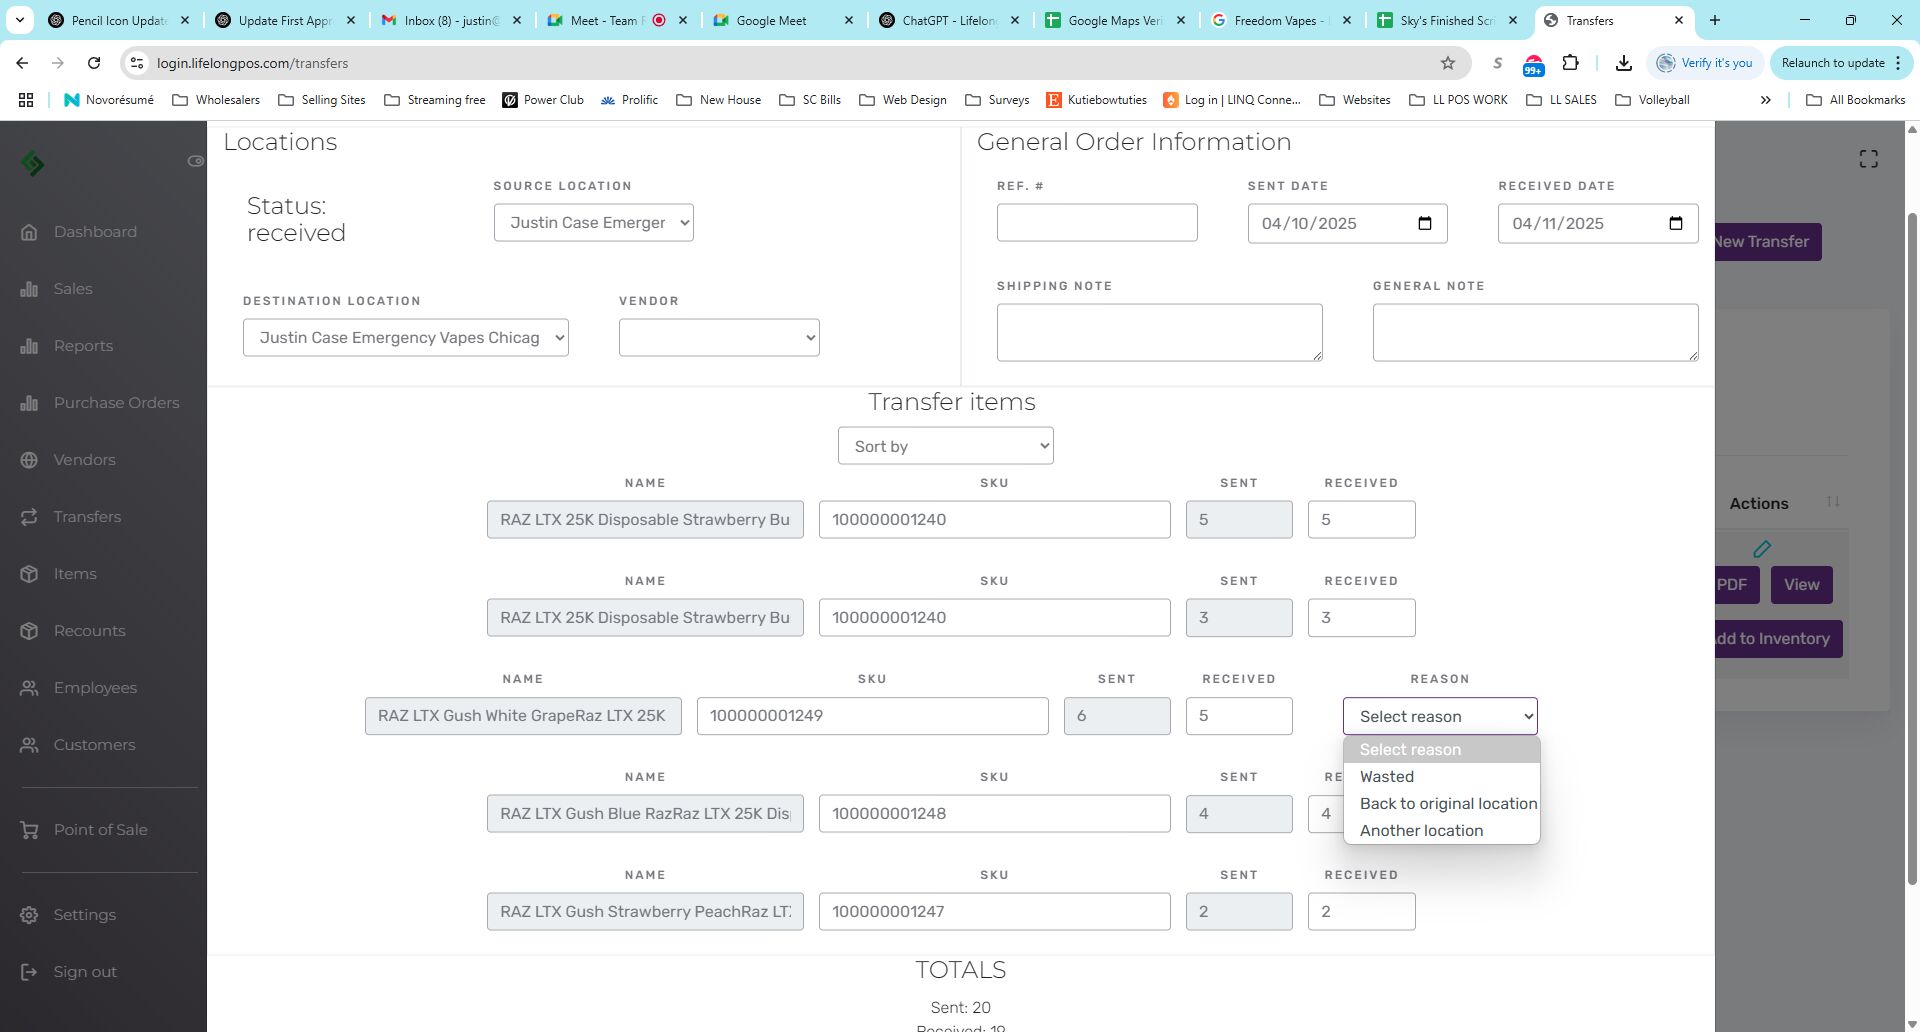
Click “Save Changes” Once Satisfied #
Click the “Add to Inventory” Button #
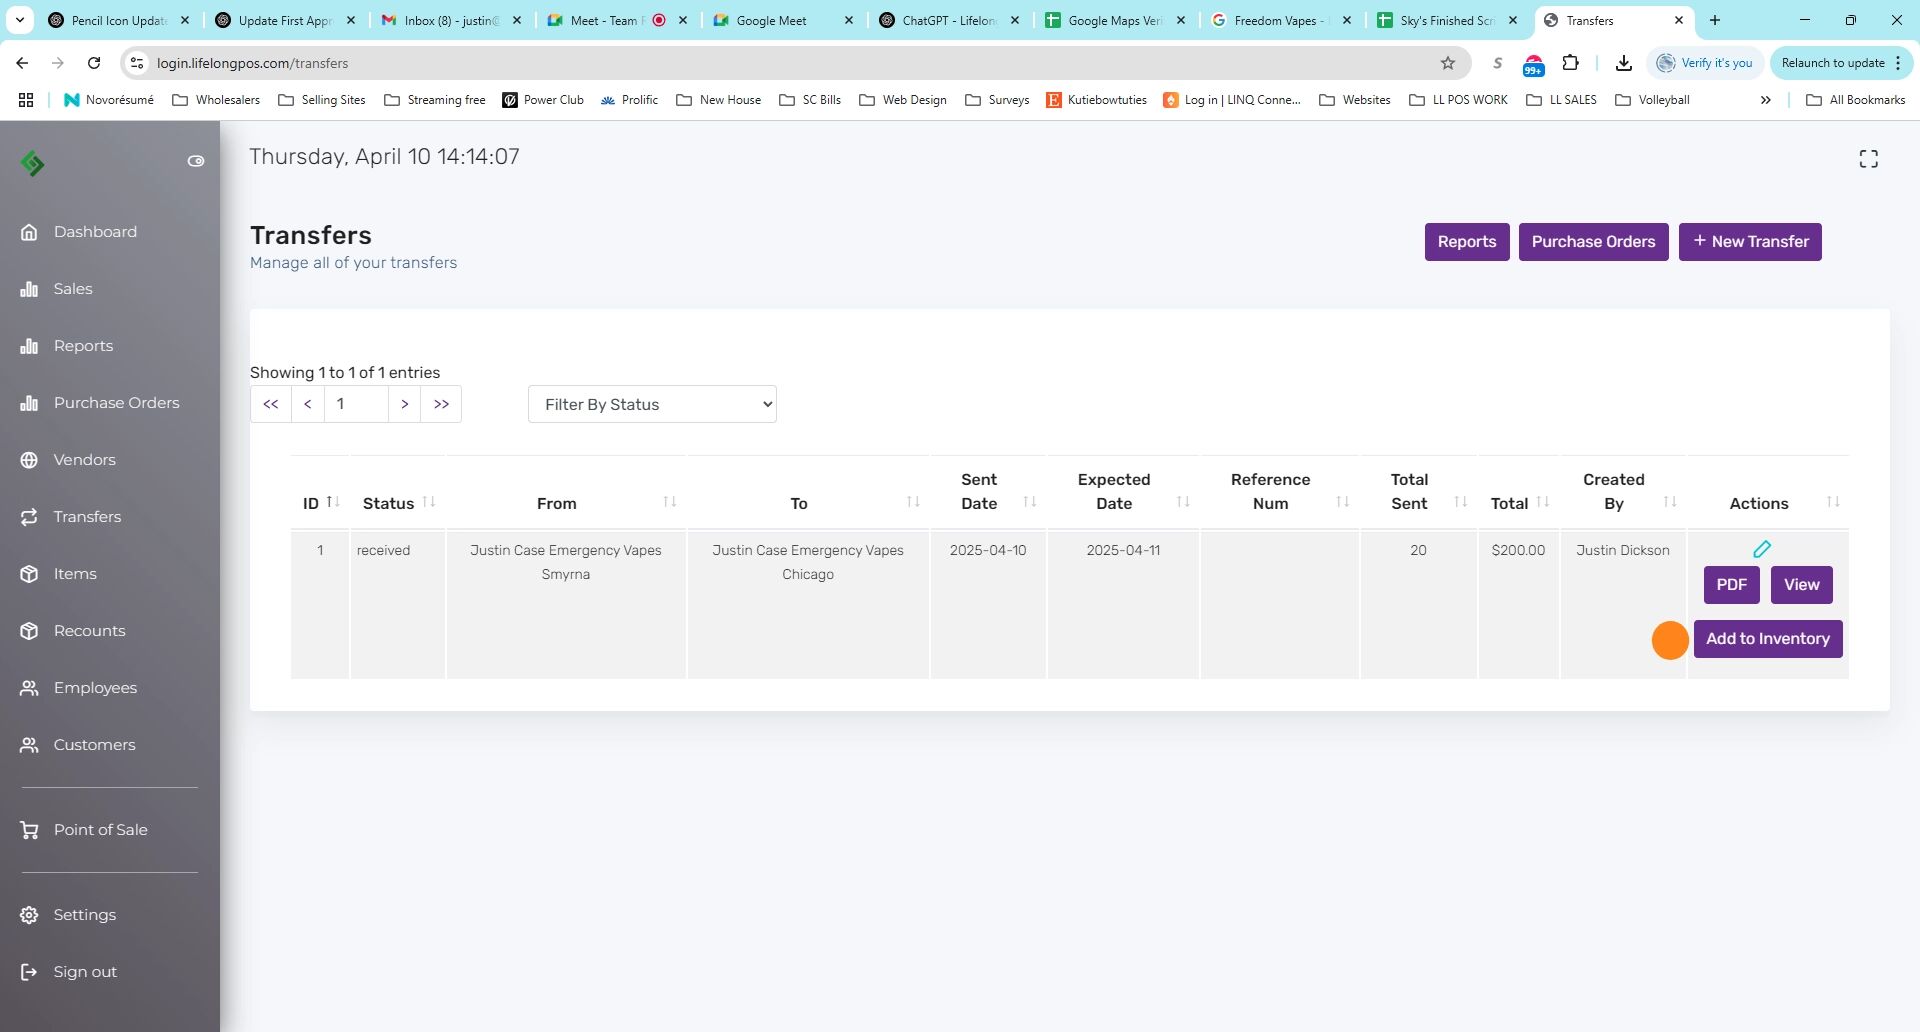
Finish the Transfer Process #
This will add the items to your inventory. Click “OK” to mark as “Finished” and archive the transfer.