(WP) Set Up Quick Discount Buttons, Discount Reasons, and Discount Button Labels #
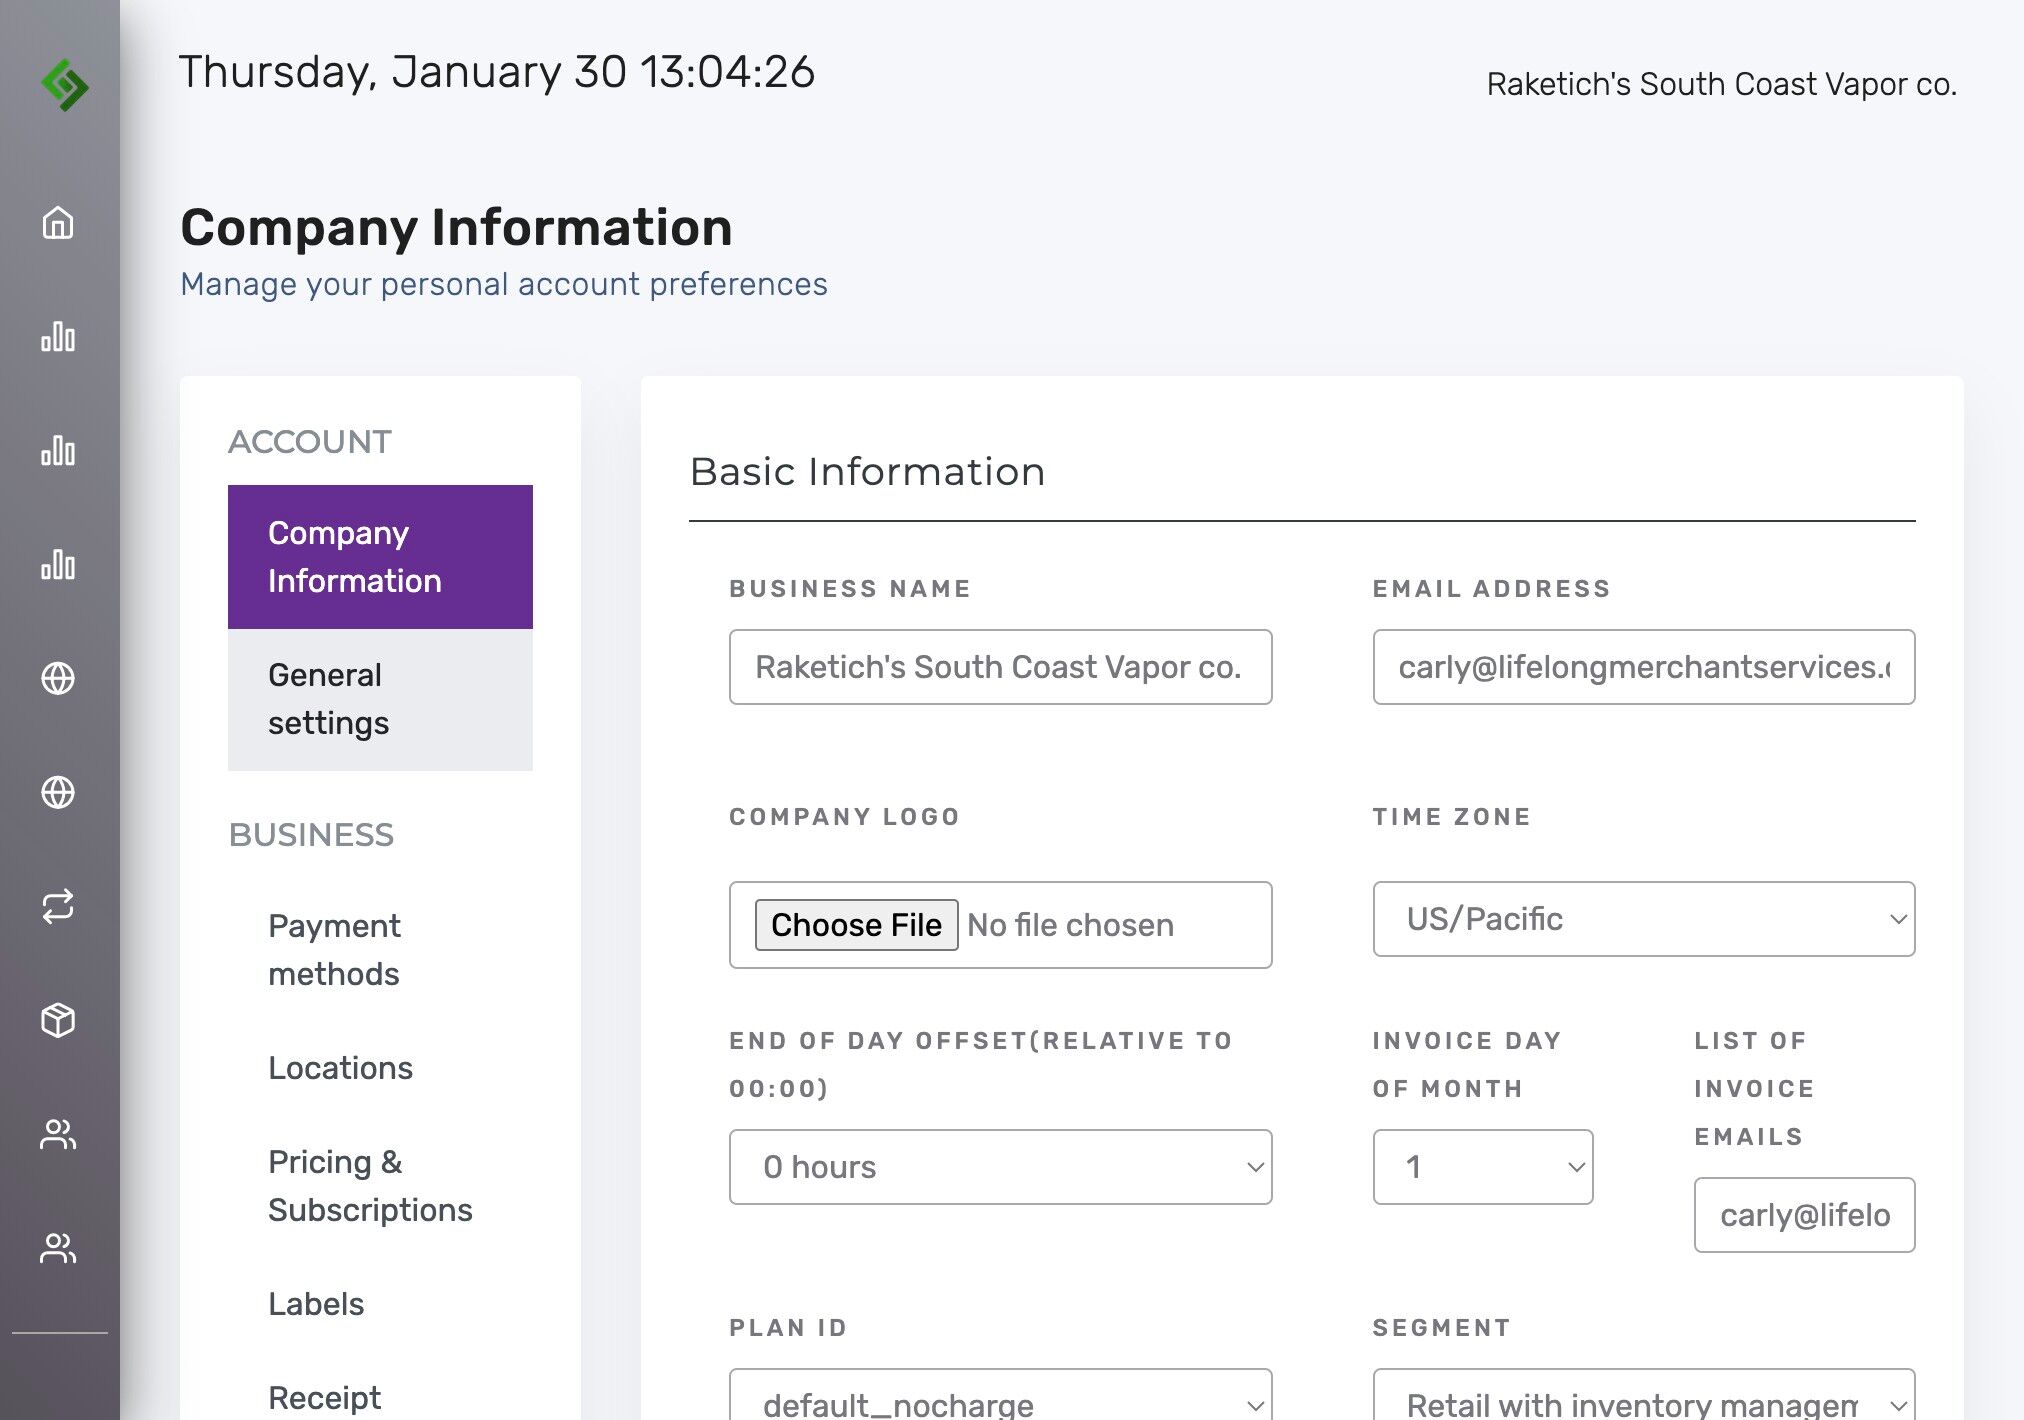
Navigate to Login Page #
Go to https://login.lifelongpos.com/
Access Settings #
Click “Settings”

Open General Settings #
Click “General settings”
Find Discounts Section #
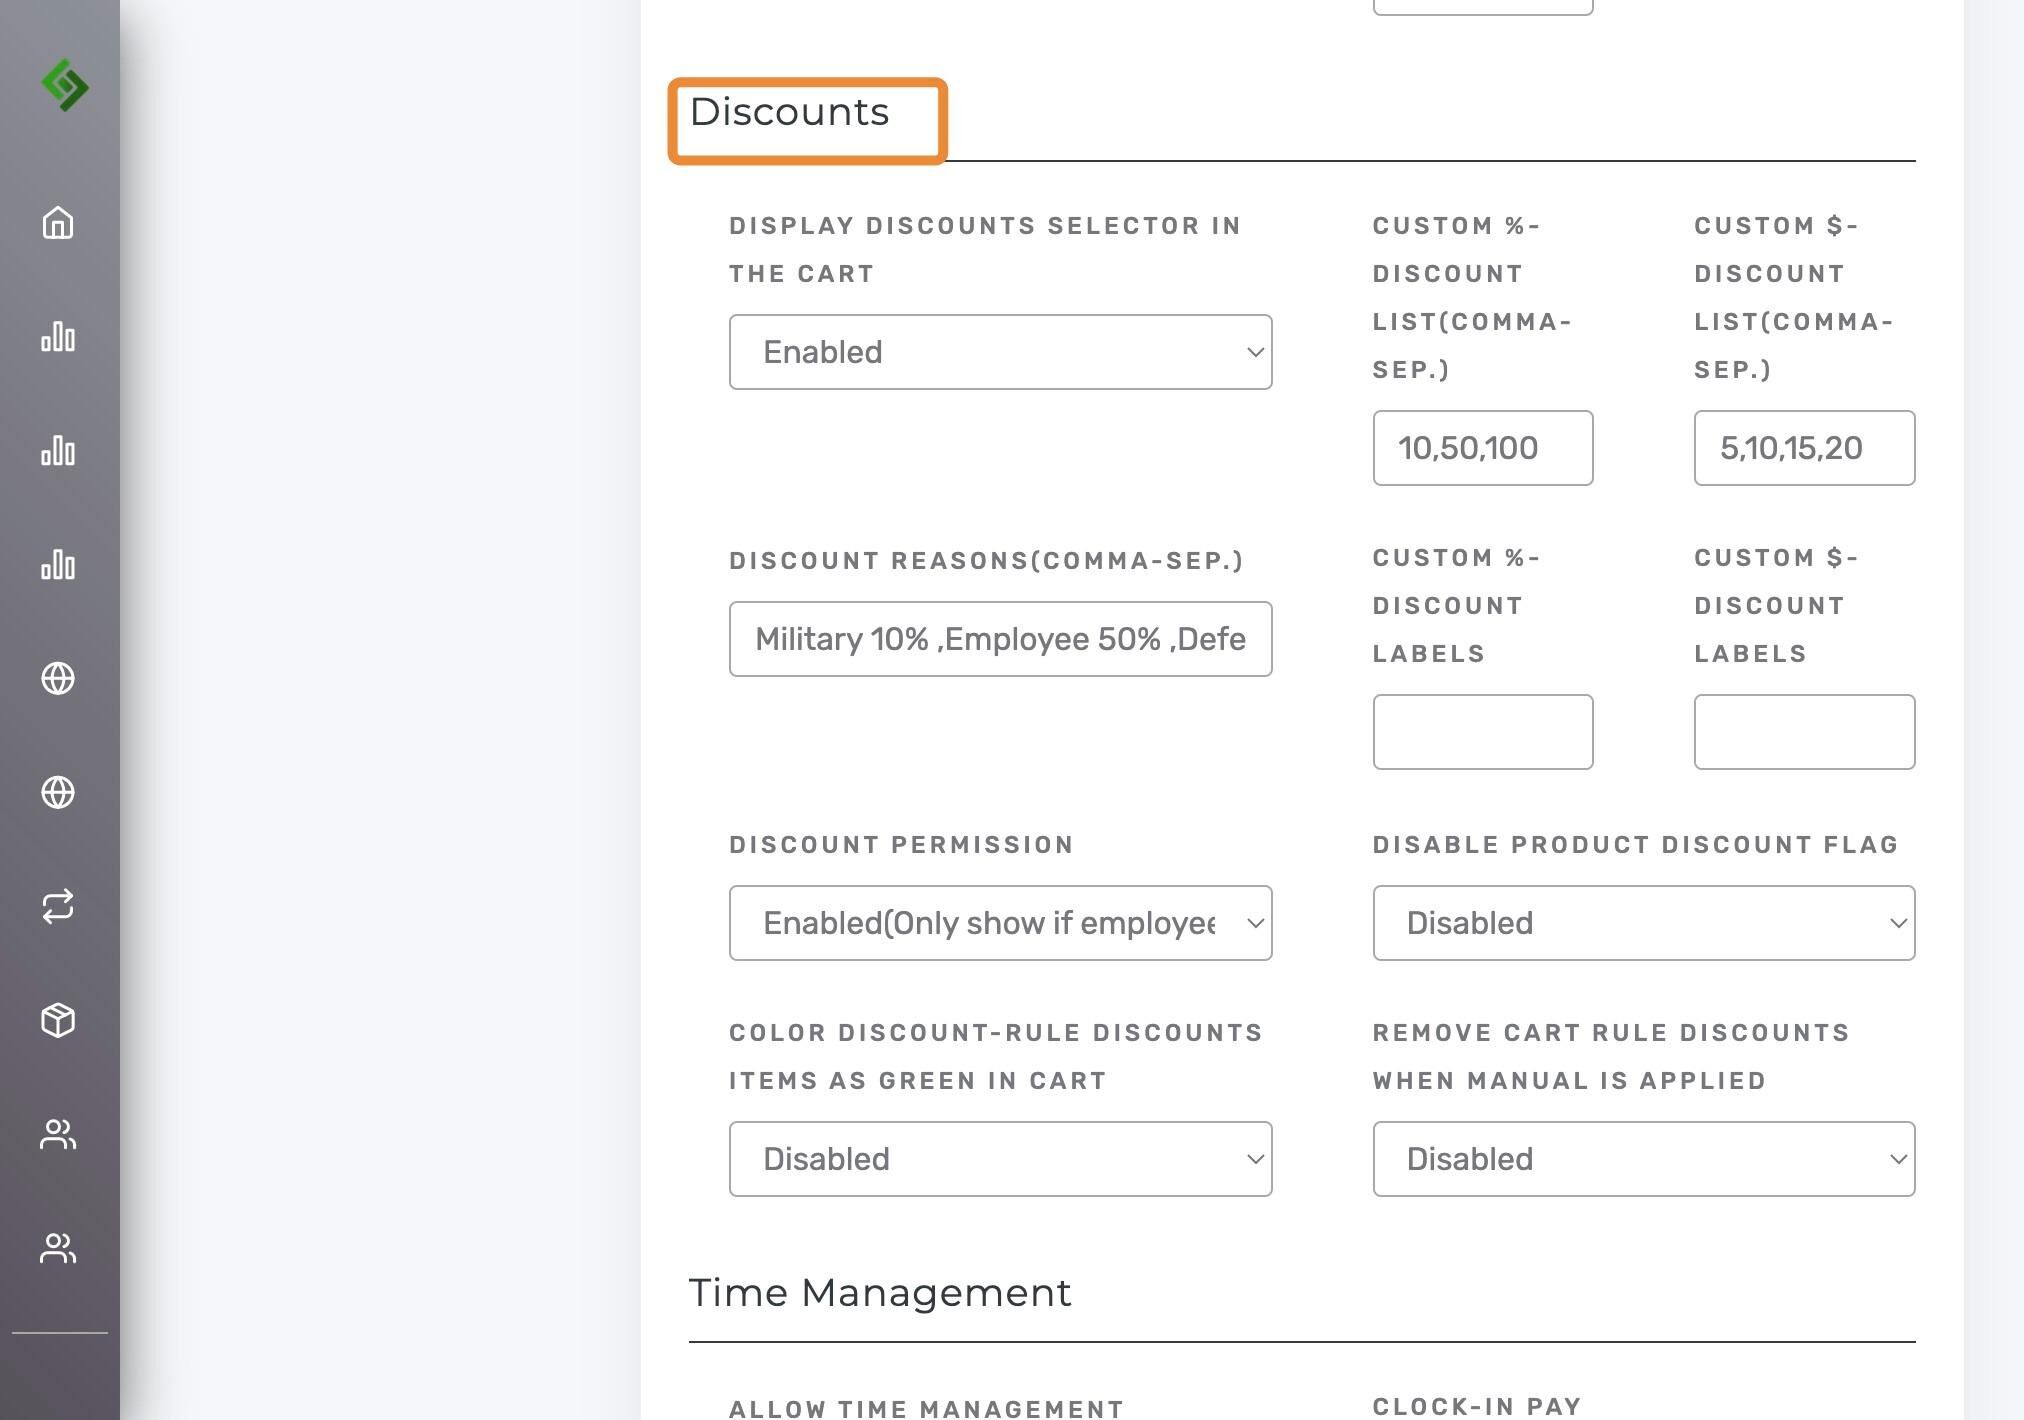
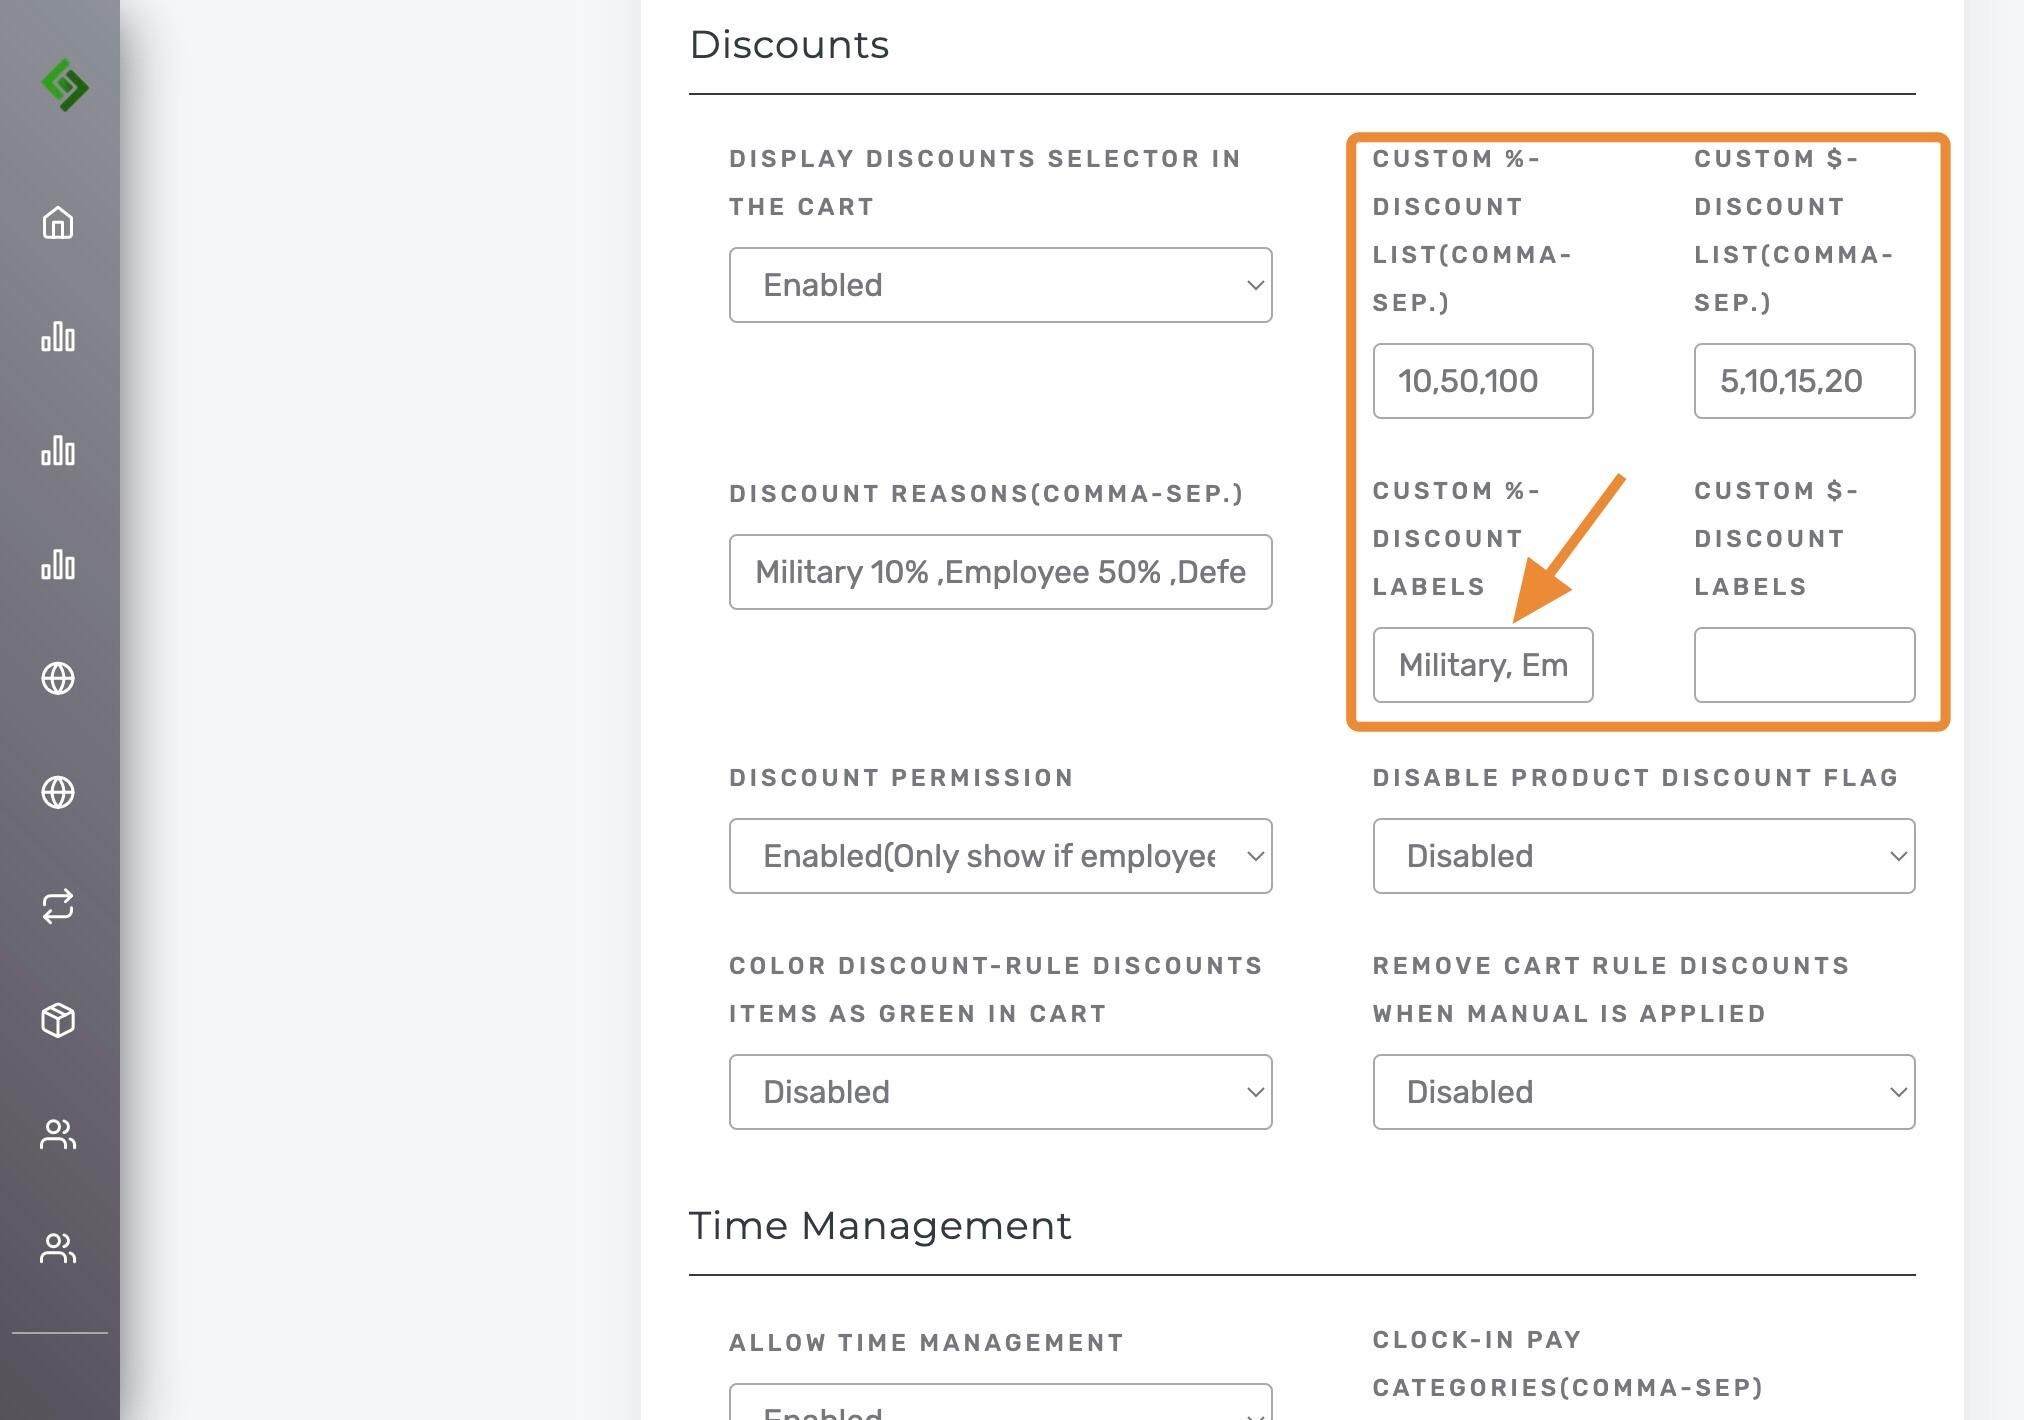
Configure Quick Discount Buttons and Reasons #
Quick Discount buttons: Add custom % discounts separated by commas to create quick discount buttons.
Discount Reasons: (Optional) Require selection of a reason to apply a discount, helping with reporting and receipts.
ALWAYS: Scroll to the bottom of the page and click “SAVE”.
Access Discount Reasons on the POS App #
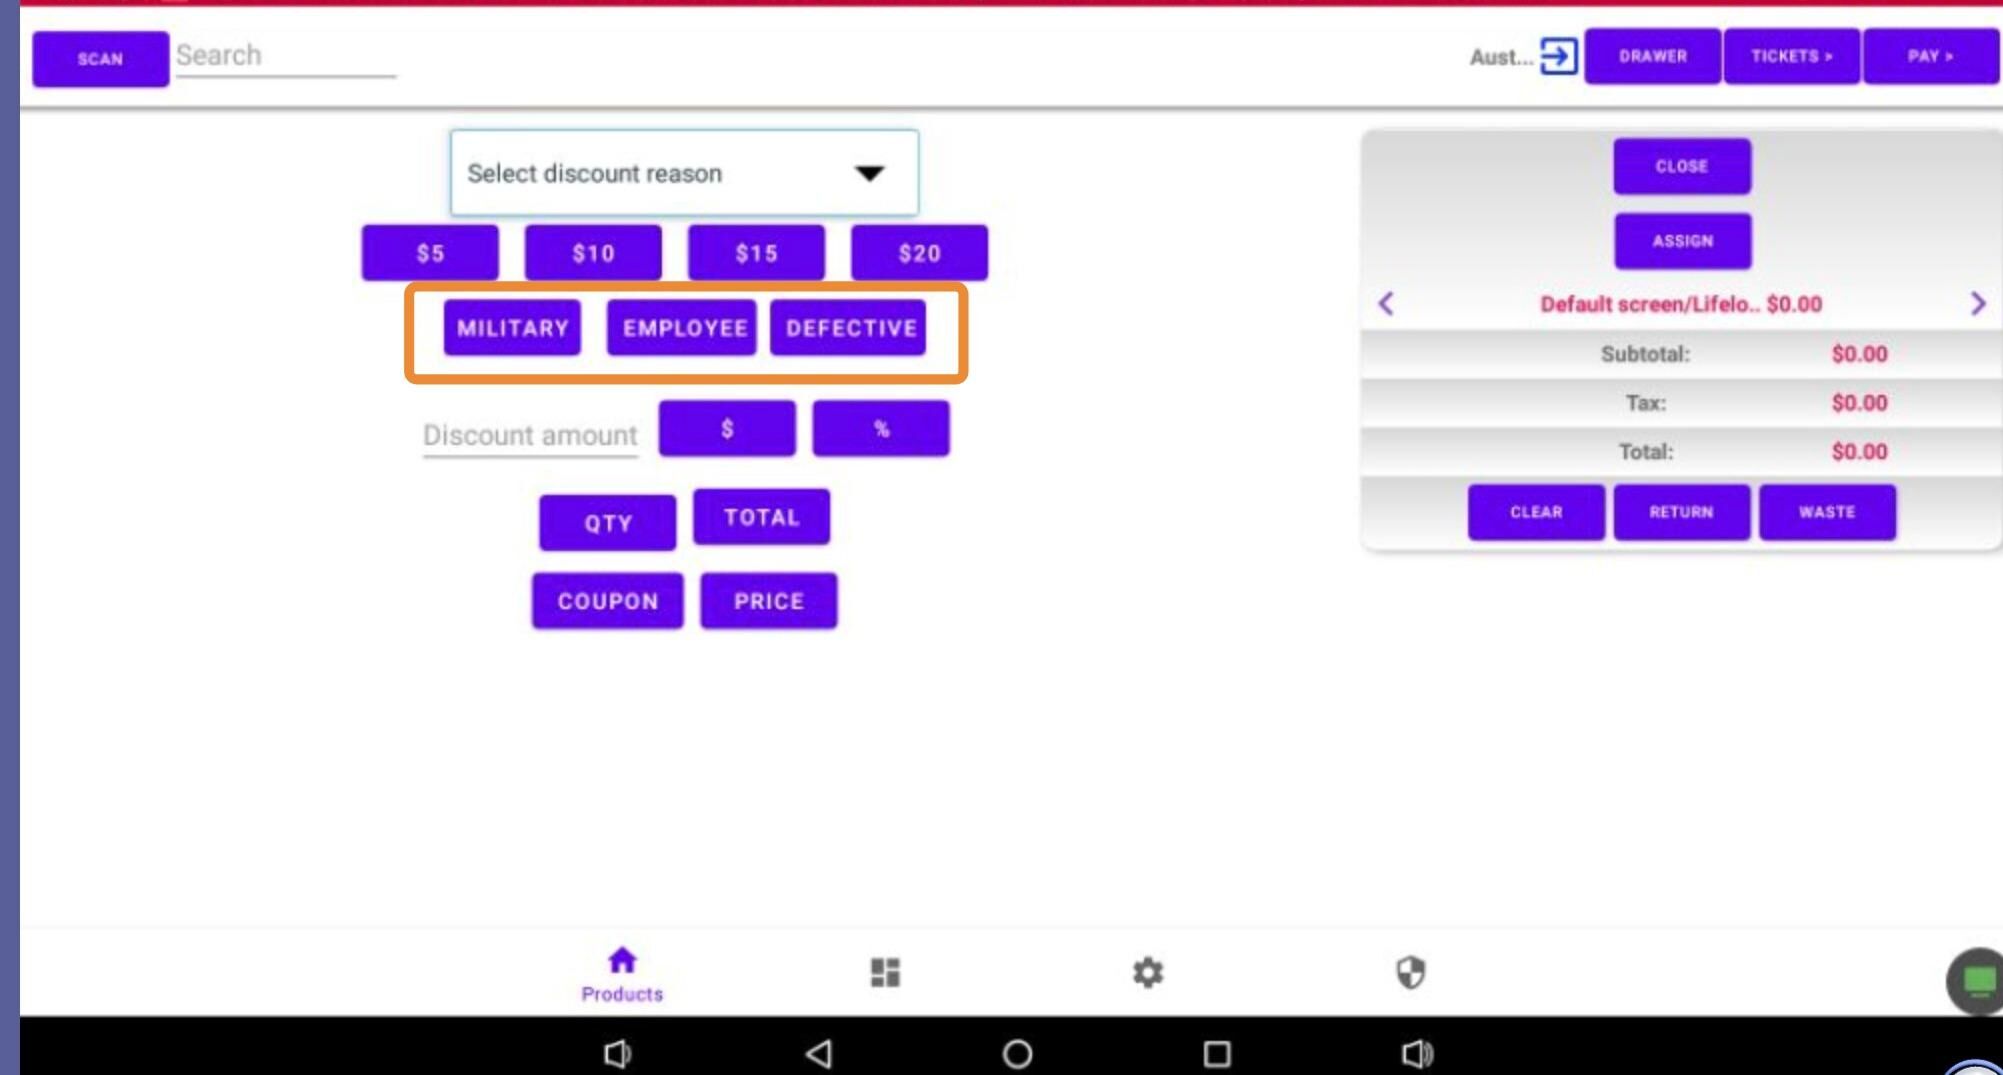
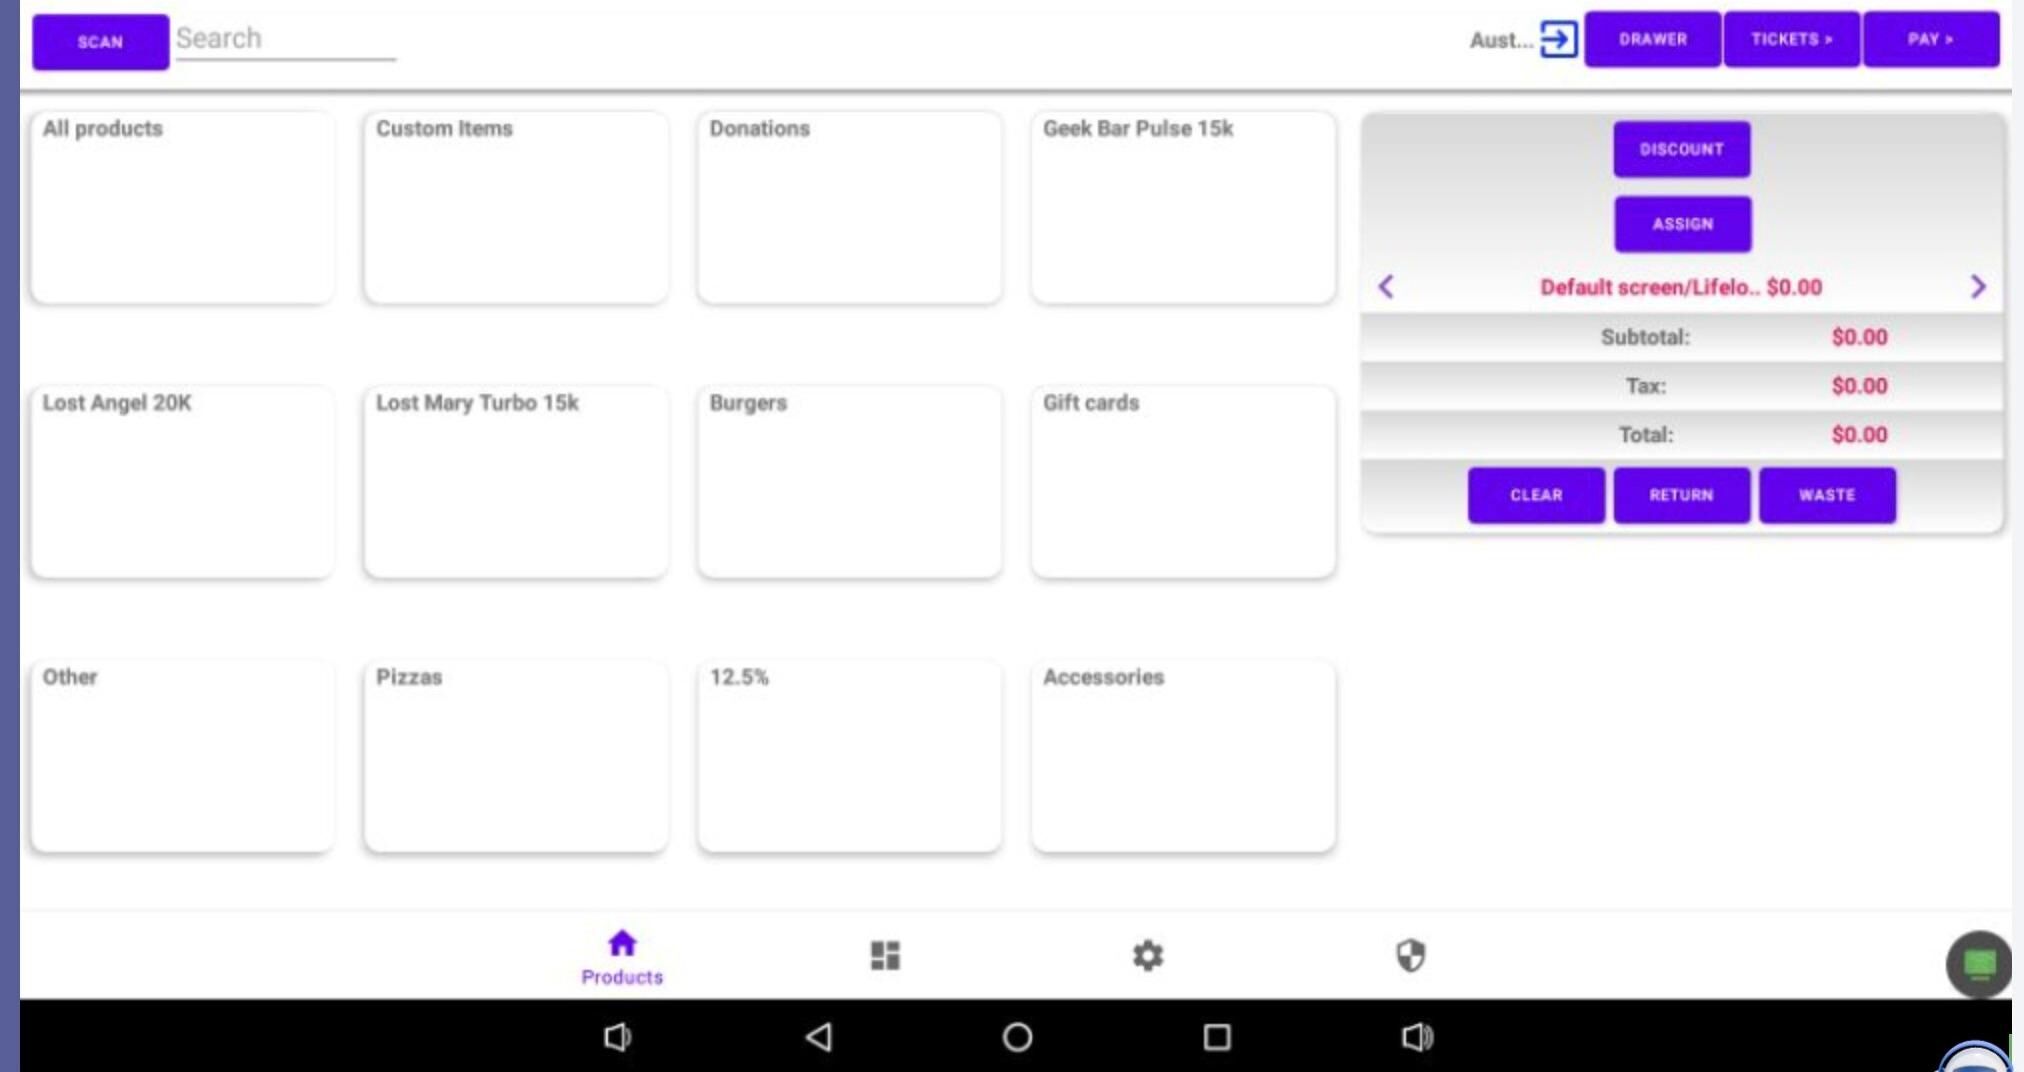
On the POS APP click “Discount”
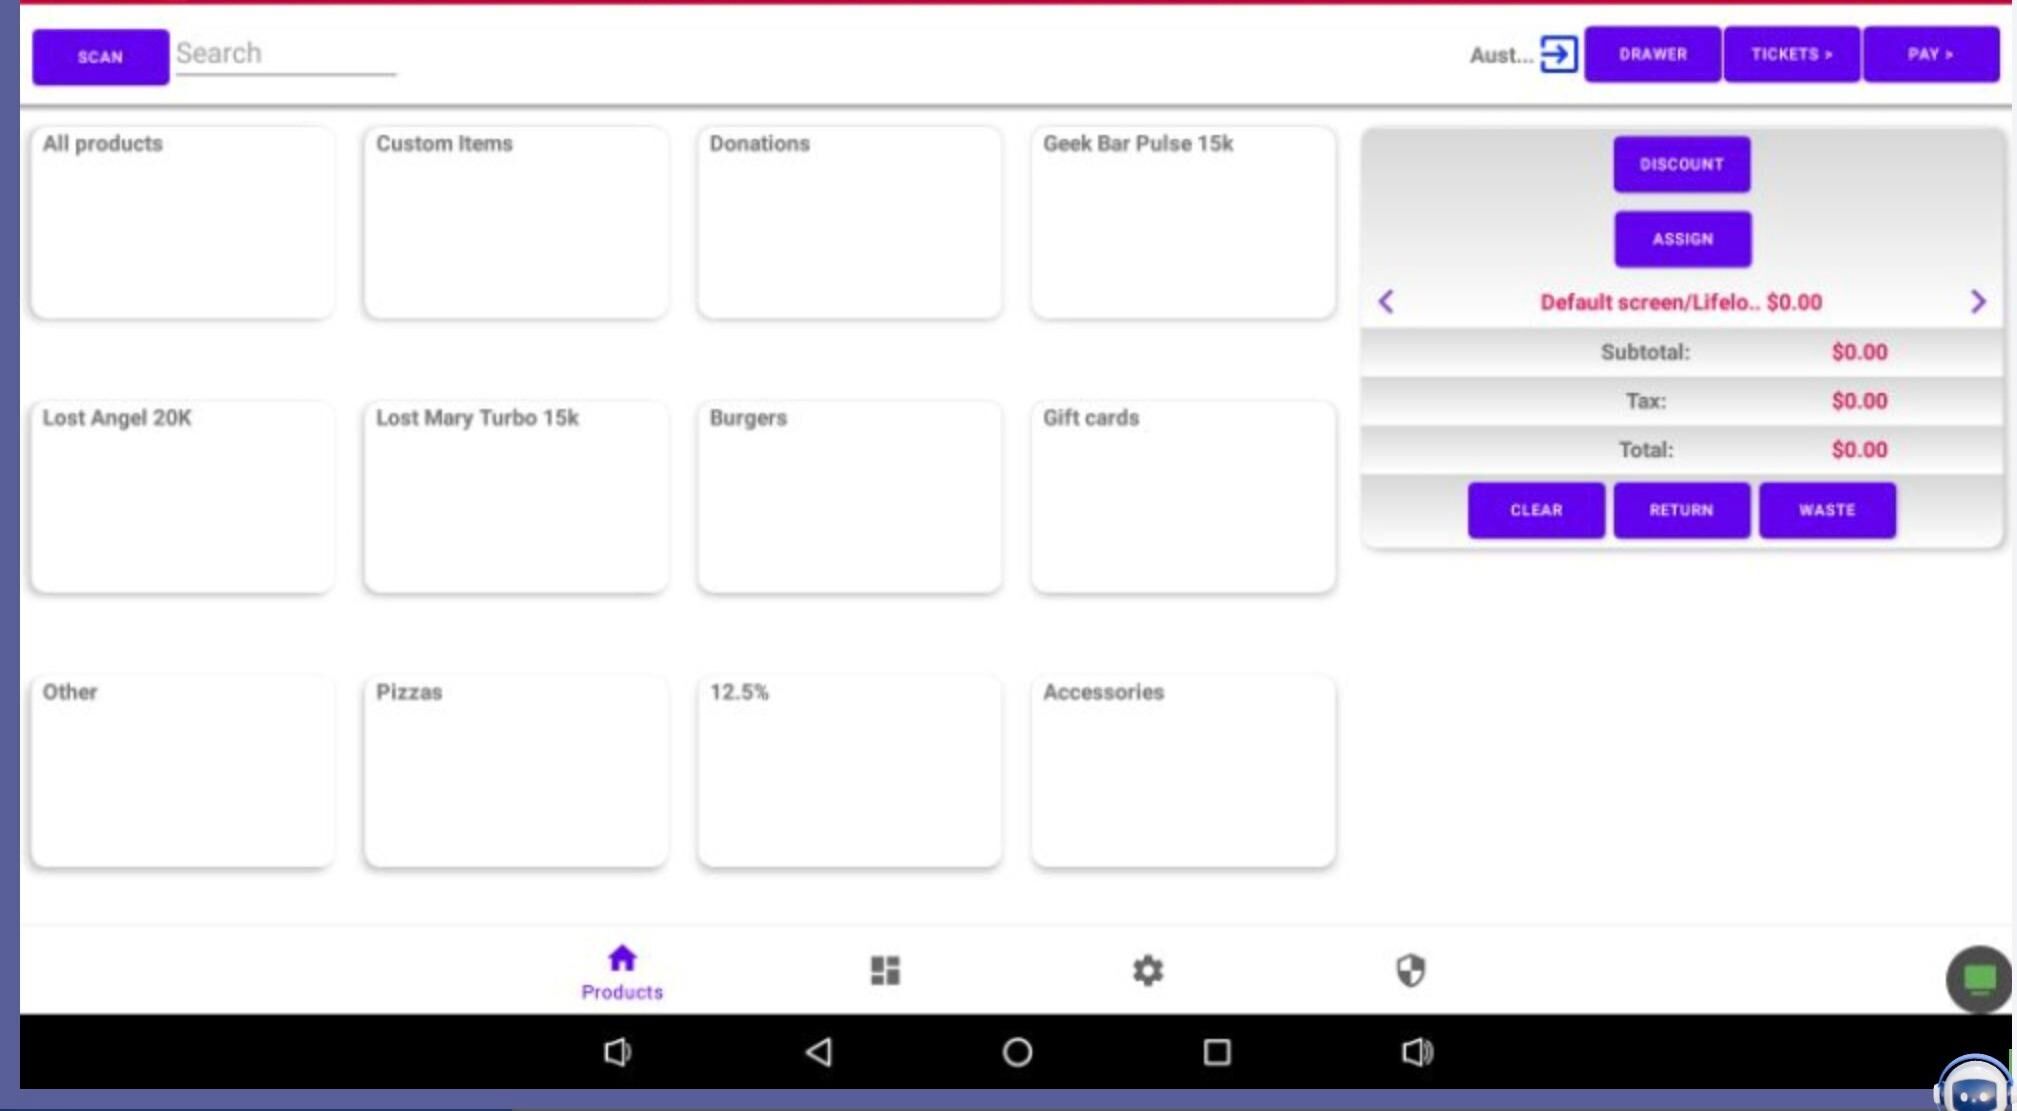
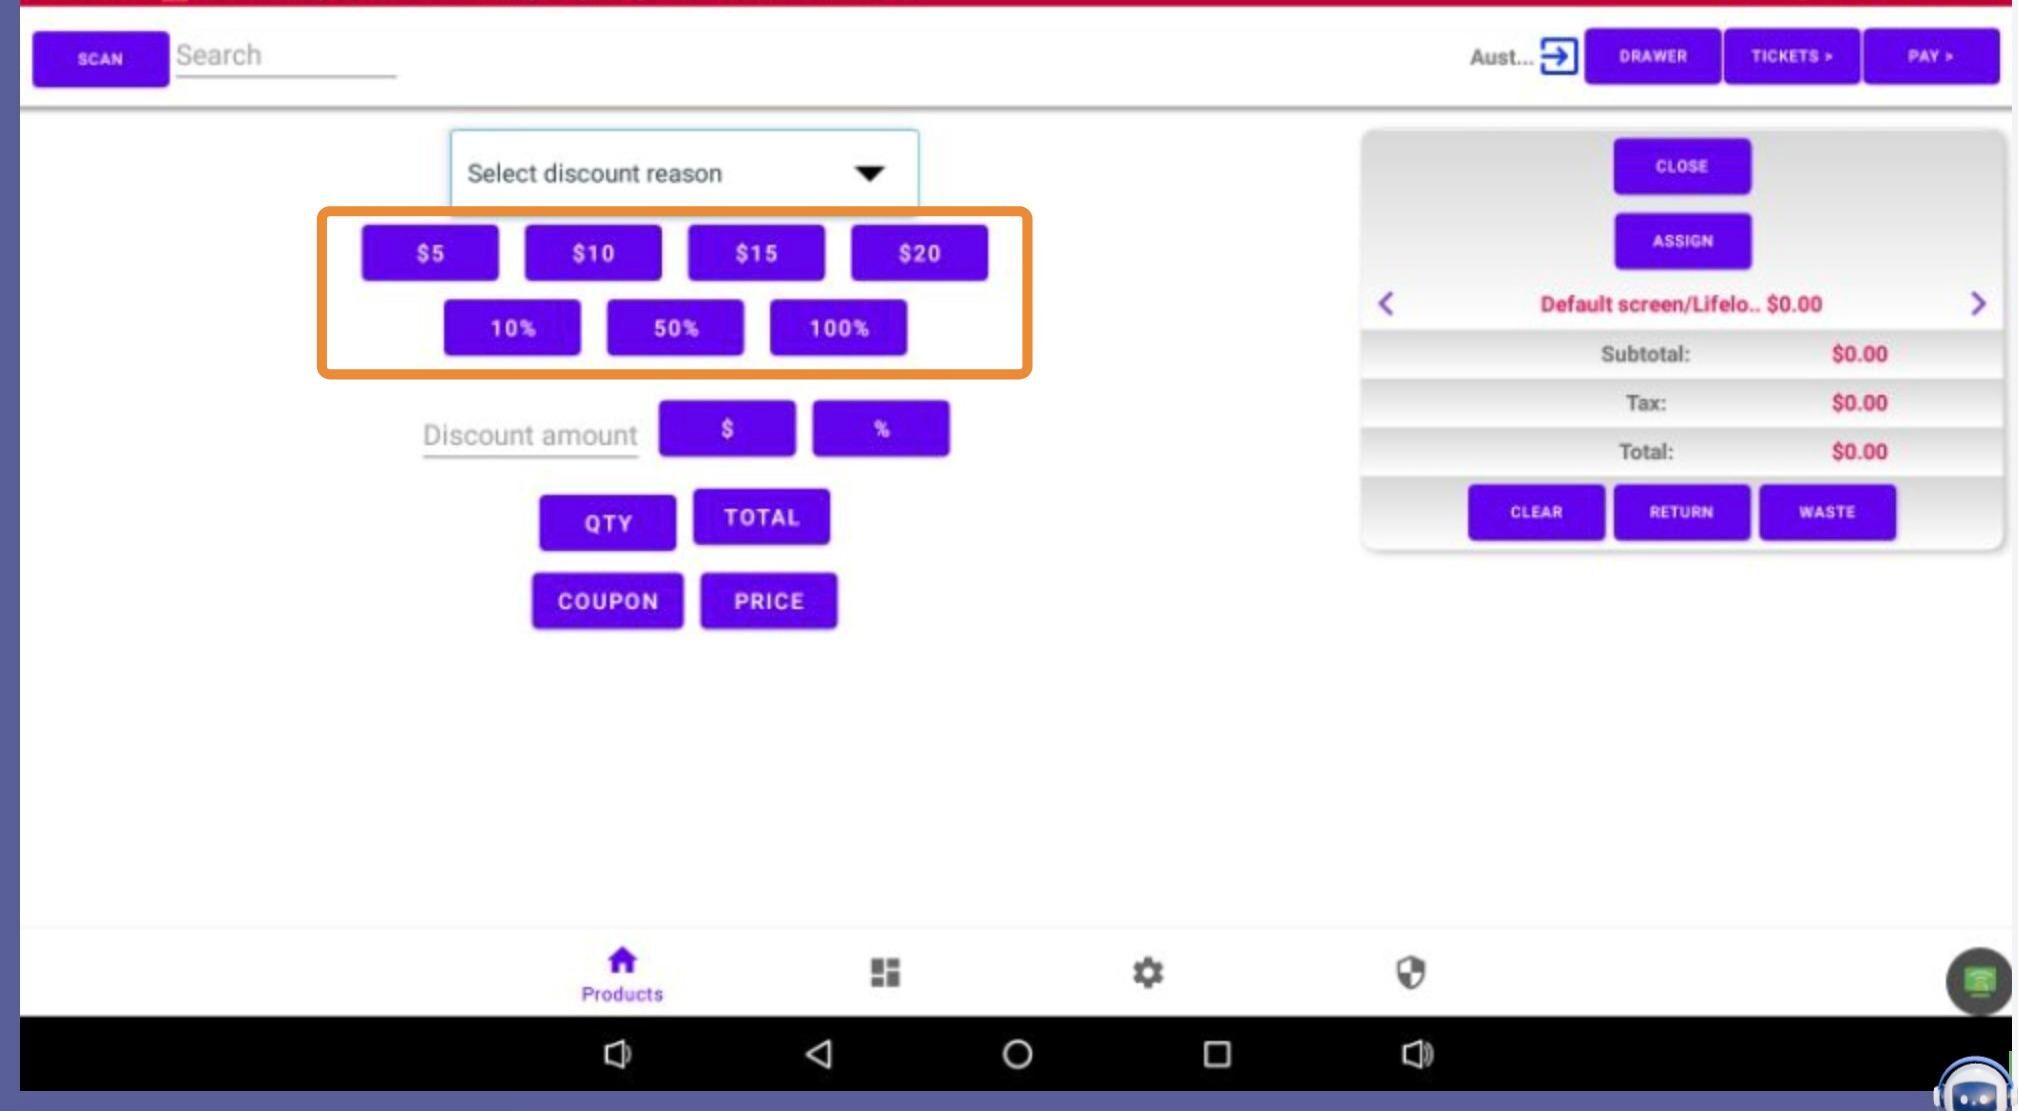
View Quick Discount Buttons #
You will see the percent quick discount buttons you created.
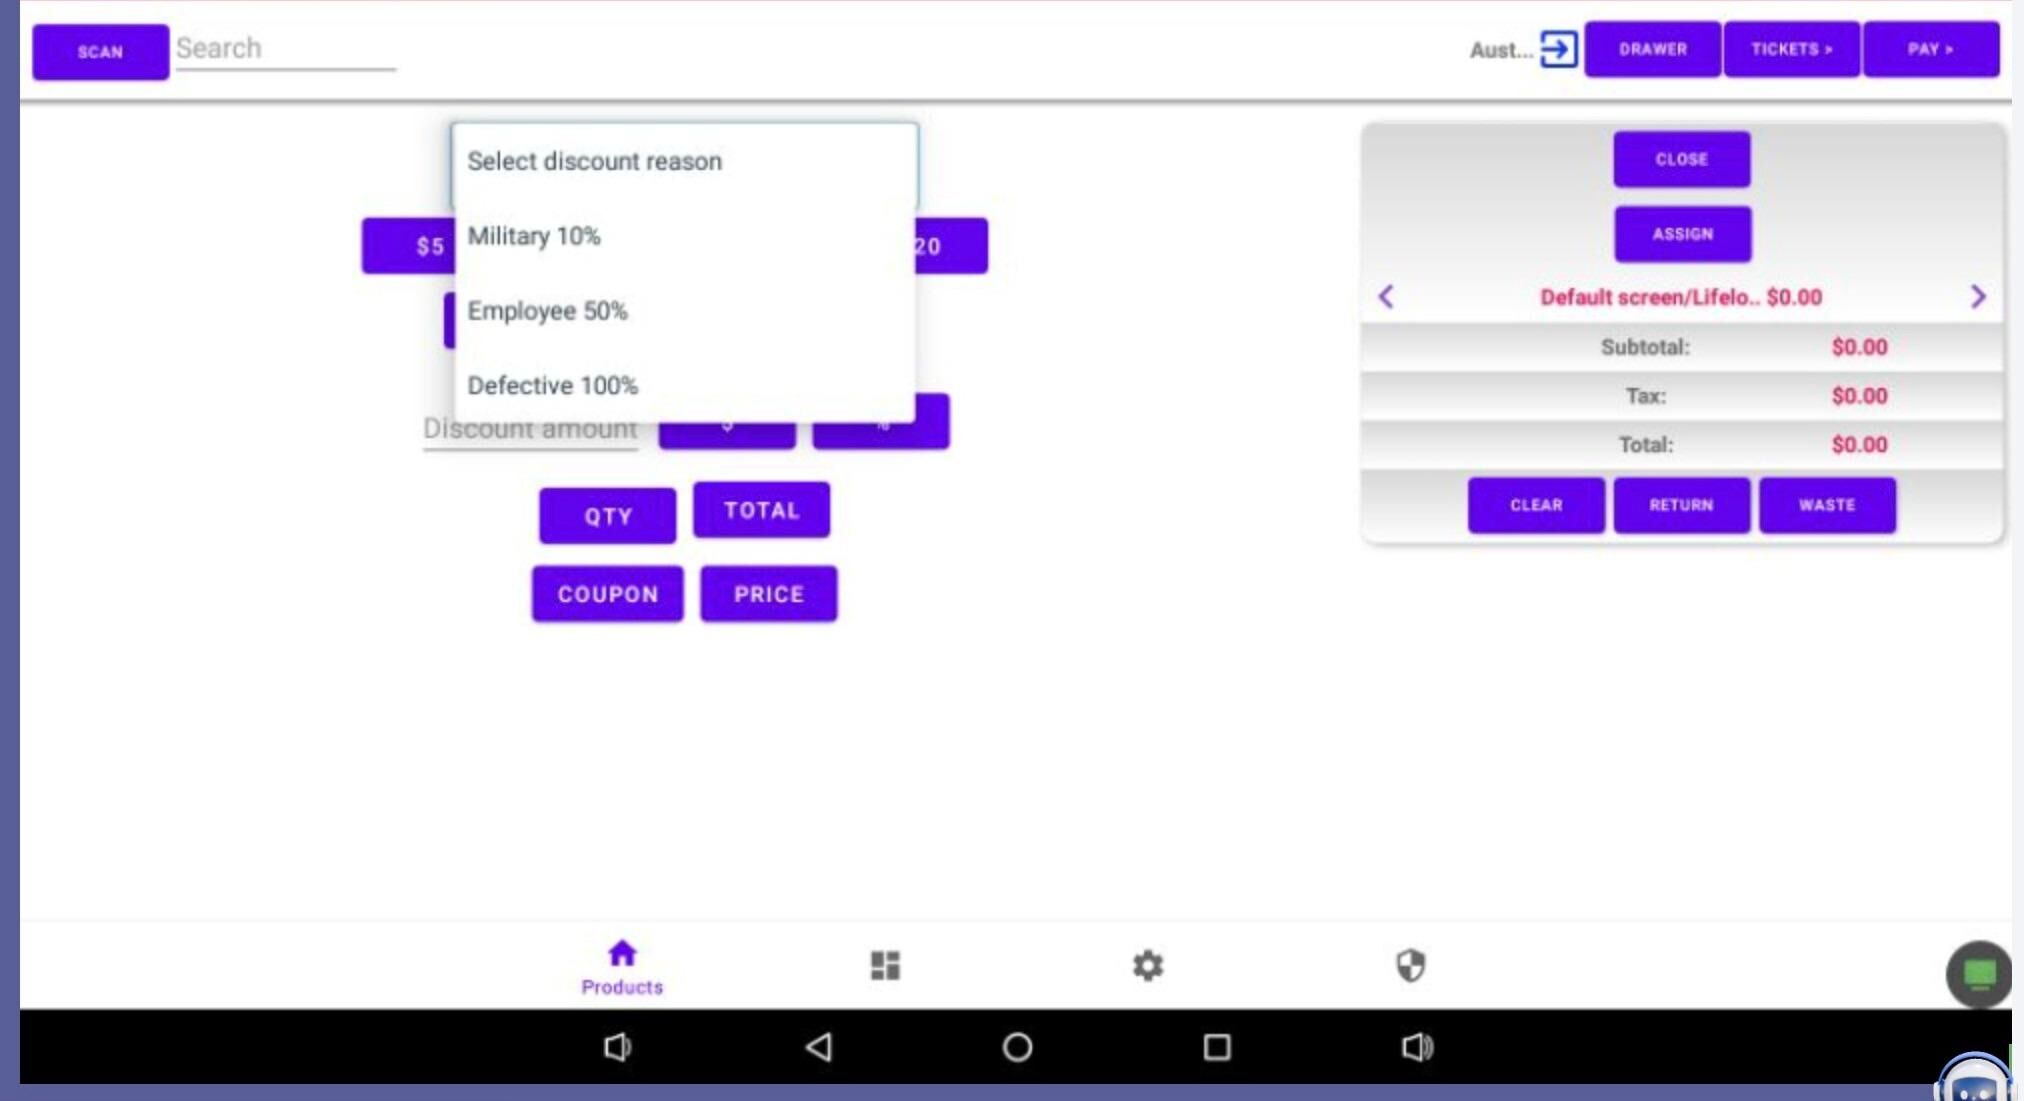
Select Discount Reasons (if applicable) #
If Discount Reasons were set up, select from the dropdown before applying a discount. Discounts cannot be applied without selecting a reason.
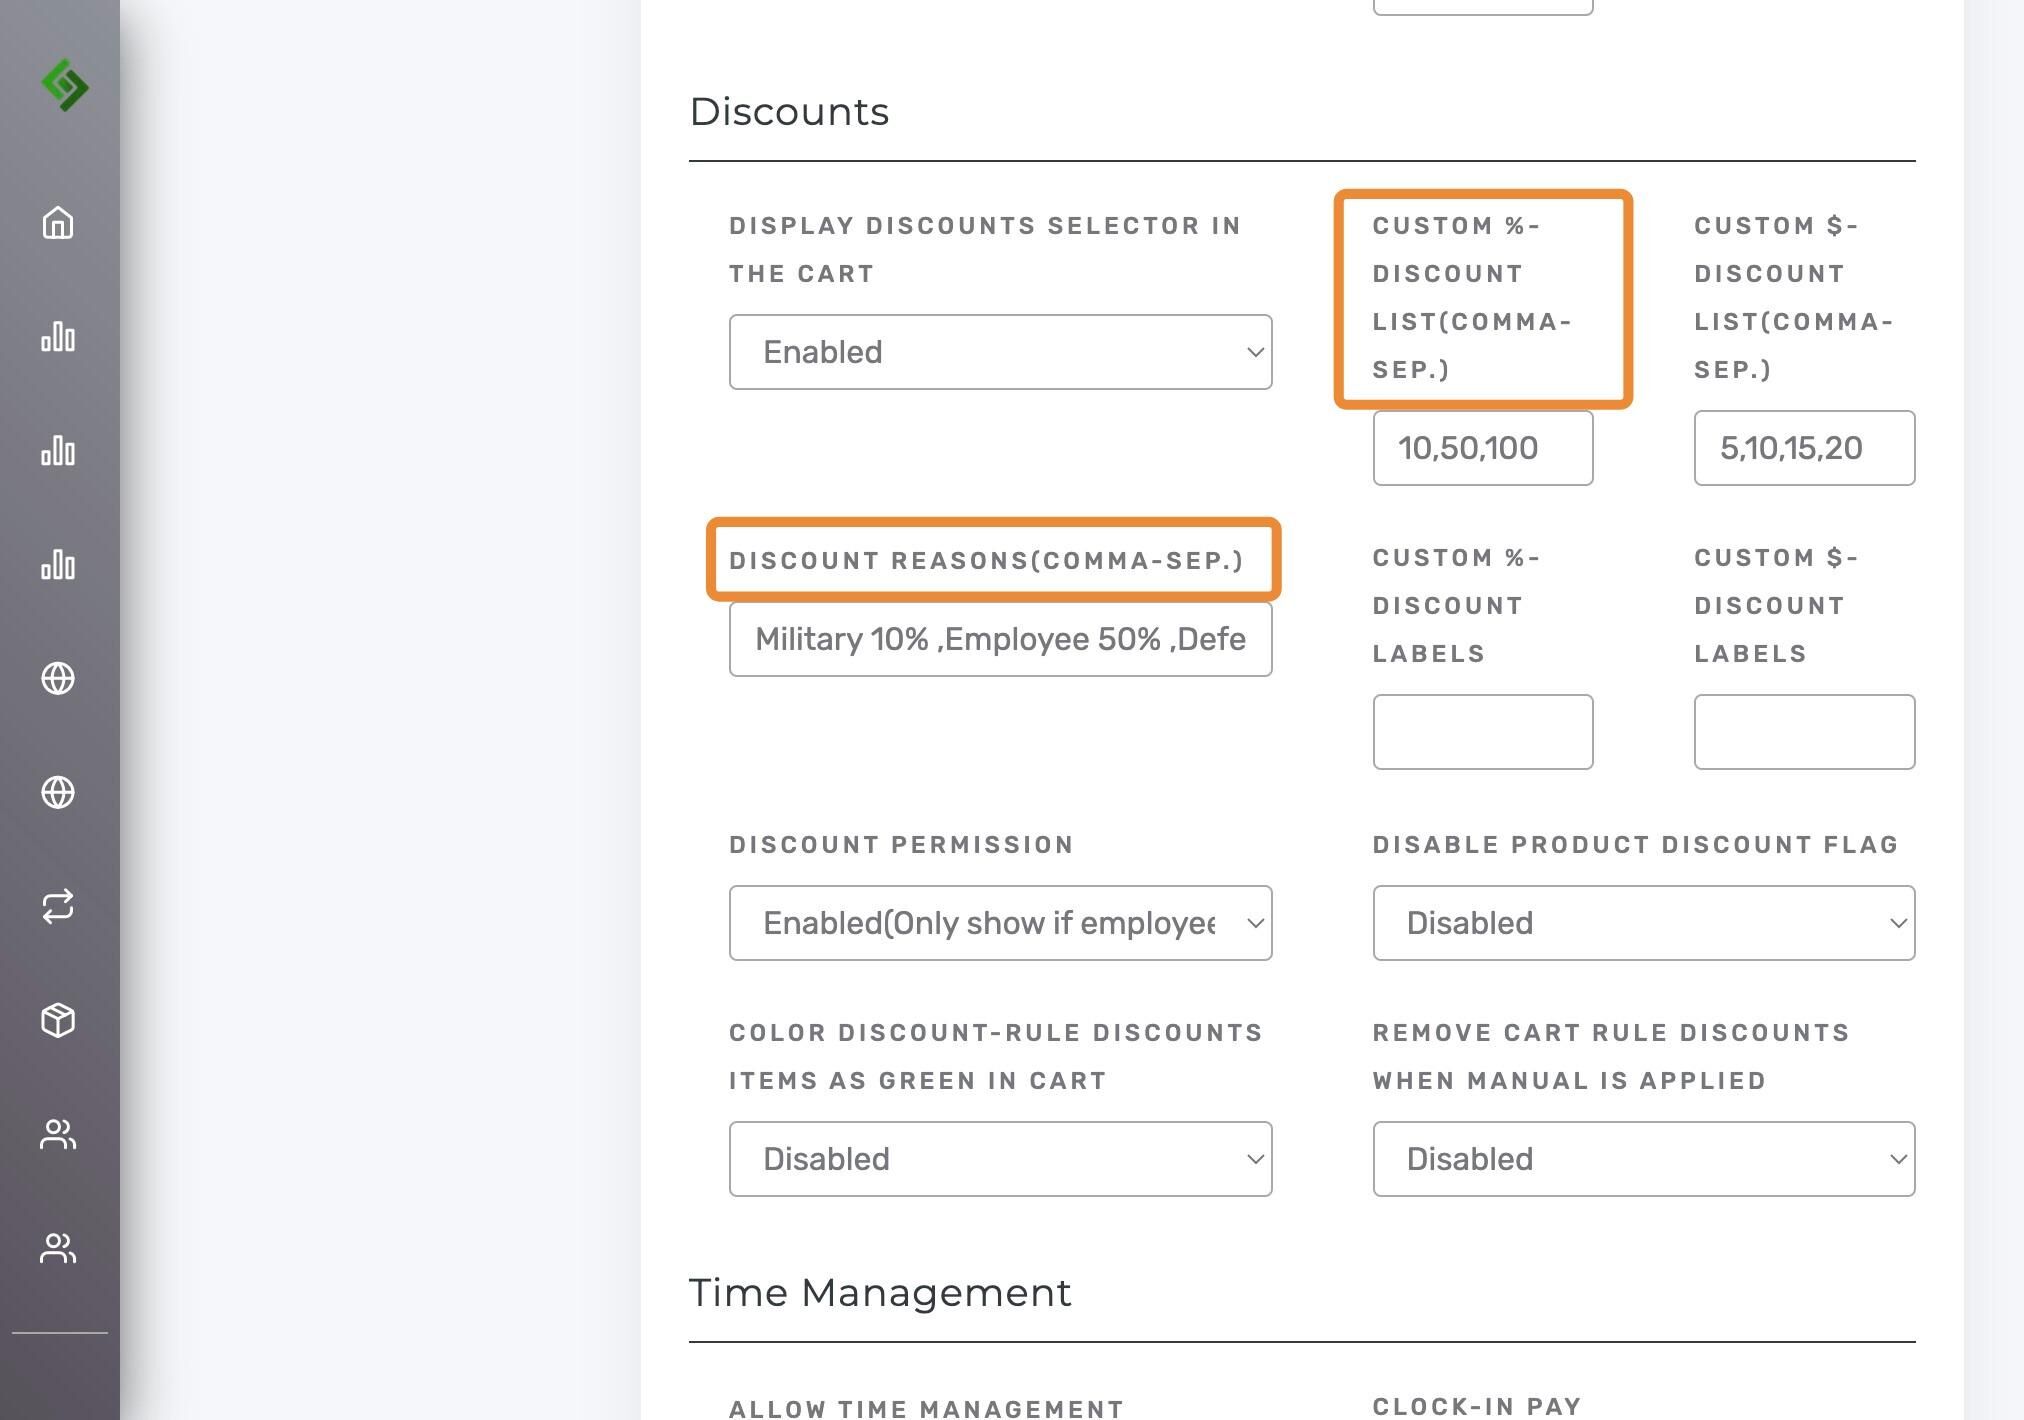
Creating Discount Button Labels #
Custom Discount Labels: To name the quick discount buttons, add labels separated by commas. Labels must exactly match the order of custom discount values.
Example: 10,50,100 for discounts; Military, Employee, Defective for labels. Clicking “Military” applies a 10% discount.
ALWAYS: Scroll down and click “SAVE”.
Important: The number of labels must equal the number of discount values.
View Labeled Discount Buttons on POS App #
On the POS APP click “Discount”
Verify Discount Label Functionality #
Discounts will appear as labeled. Example: Clicking “Military” applies a 10% discount to the selected item or cart.